6

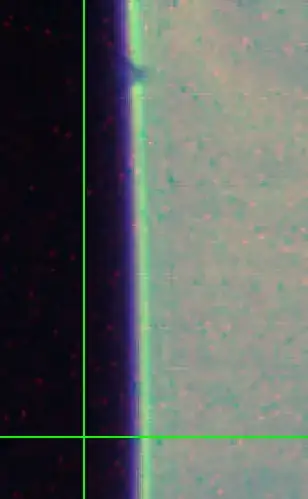
I took the picture below with our microscope. It's a 8mm roller bearing, lighted from below with a parallel light bundel (white). The width of the yellowish light fringe is maybe 5 micron.

Originally I was hoping to make pictures with an accuracy of like 1 micron. But I'm afraid that was way too optimistic.

-First I would like to know if this is really a diffraction pattern?

-If yes, would a blue back light make the fringes smaller? What else could I do to increase quality?

-Is there a way to calculate the distance between the fringes and the "real" object position? On this website, I found a similar question, but I don't think those formulae are valid for this case (the calculated distances are like 0.3mm between fringes).

microscope image of ball bearing with difraction pattern

Thanks in advance,

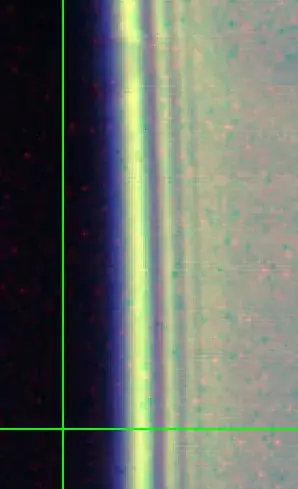
Edit; the first back light I used did not have a pin hole, and the light beam was not focused at all. The resulting image in the microscope looked like this; (distance per pixel is the same)

rather vague diffraction pattern.

At first I was a bit disappointed when I saw all these fringes with the truly parallel light, but maybe it's a good thing to hit the limitations of the microscope (as Rod suggests below)?
MTH
  • 75

3 Answers3

2

Yes, definitely this is due to diffraction. But I'm surprised by the contrast and number of fringes you have with white light. Is the focus optimized? The fringes can become larger if the image plane is not on the object plane. Is the light really white? The yellow fringe is suspicious. If you can change the illumination, you can try to find a white light with flat and large spectrum, it will help to reduce the fringes. A real white light will be better than a blue light. If you use a more monochromatic light (even if not coherent as a laser), eg a LED, diffraction will increase. The best is a real white light which "washes out" the fringes (adding all the fringes of different dimensions at the different wavelengths).

scrx2
  • 1,428
0

I can't add more than 2 pictures..

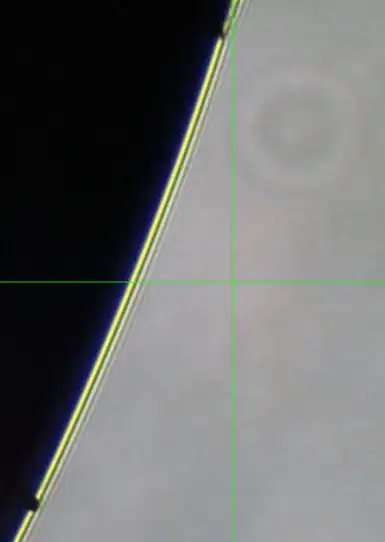
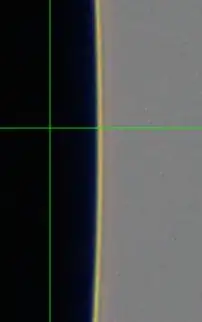
Edit2; I have done the same test with a blue back light, below the result. One picture is in focus (l), the other one slightly out of focus (r). At first sight, I would think monochromatic light gives better results. On the left picture, there is almost no diffraction visible and maybe the colour banding is more due to aberrations in the optics? Also, after some googling, I think the shape of the fringes is related to an "obscured airy pattern", wikipedia has some info about this. To be continued.. blue LED sharp blue LED out of focus

Edit; In the mean time, I found out why these pictures are so grainy and show different colours (<> LED back light is monochromatic) link

MTH
  • 75
0

After changing the back light to a blue LED and some extra test, I'm pretty sure the distances between the fringes of an obscured airy disc is the same as an Airy disc from a circular aperture. In the first picture I did some pixel counting, and the result was close enough.

Unlike with the white back light, It was also possible to get a much clearer picture without significant fringing. For the moment, I will first try which accuracy I can get working with the second picture.

I'm not confident such a noisy diffraction pattern could lead to more accurate results then the blue line a few pixels wide in the second picture. And it would save me a lot of work also.. (the location of the geometrical edge in the second picture is based on the first picture)

diffraction pattern obscured airy disc

enter image description here

MTH
  • 75