Introduction

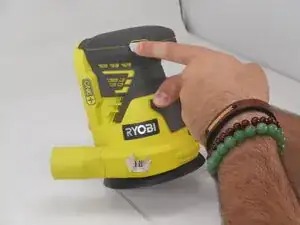
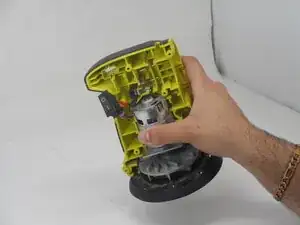
Use this guide to replace a faulty switch in your Ryobi P411. The switch is the part that is inside the sander that activates the machine when the switch trigger is depressed. If your device is not turning on, the cause might be a faulty or broken switch. Before replacing the switch, make sure to review the troubleshooting page to make sure nothing else is preventing your Ryobi P411 from turning on. Make sure to remove the battery before beginning.

  1. AqS5oXlJPL3shJcS
    AqS5oXlJPL3shJcS
    bKOJIQ5MRkjGiIph
    jEETMneQ6gTVVAqX
    • Remove the sanding pad to expose the screws at the bottom of the sander.

  2. i2622lUbyoV2cBeh
    i2622lUbyoV2cBeh
    C3HPYiwsXUCf4lcr
    jESSOUddUEVwJO1j
    • Remove the four M5 x 8.9mm screws with a T6 Torx screwdriver.

    • Remove the pad assembly.

  3. oBydQTJBh6wJQdwK
    oBydQTJBh6wJQdwK
    UoFJdxHL3WmGeVQe
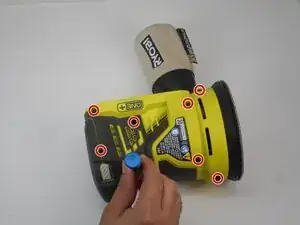
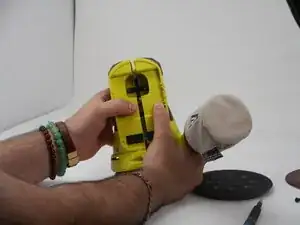
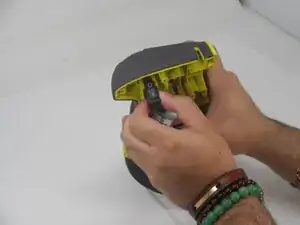
    • Use a Phillips #1 screwdriver to remove the eight M4 x 18.5mm screws from the side of the casing.

  4. N3x6bytqIK4OxM1L
    N3x6bytqIK4OxM1L
    dGue21CNaggyqP1c
    PHqqtuedNHl12pdH
    • Open the sander by separating each half of the case apart.

  5. omJh1dDvKiHFLLep
    omJh1dDvKiHFLLep
    NPARTf5qpJNvOCiQ
    OWuWnxmOLIOMAuqW
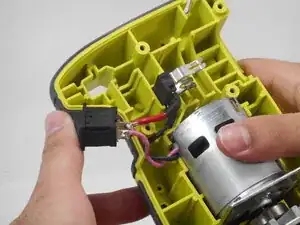
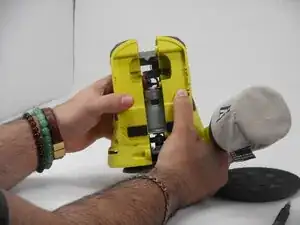
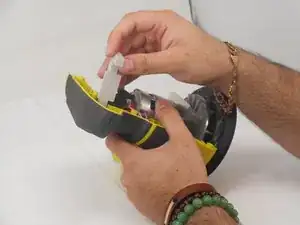
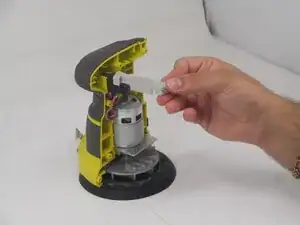
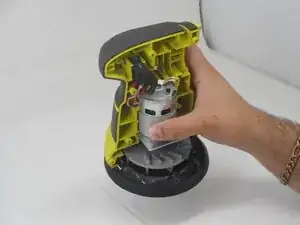
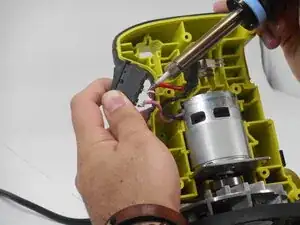
    • Push the switch trigger gently from the back to pull it out from the open face of the sander.

  6. cVZ4EUyobKZMTCYT
    cVZ4EUyobKZMTCYT
    Ys1dPO1XKDZaR5sl
    Cu6H4tNH3ieTR3nu
    • Remove the switch from its housing.

    • Take care not to strain the connected cables.

  7. Xi6FBQH2RVZXHKWu
    Xi6FBQH2RVZXHKWu
    JFbA4JkseqxswMeE
    OeMGrZJBQHgZlkIA
    • Use a soldering iron to desolder the two switch connections.

    • If you're unfamiliar with soldering, review this guide.

Conclusion

To reassemble your device, follow the above steps in reverse order.
Take your e-waste to an R2 or e-Stewards certified recycler.
Repair didn’t go as planned? Try some basic troubleshooting or ask our Answers community for help.

Paula Meier

Member since: 19/02/25

769 Reputation

0 comments