Introduction
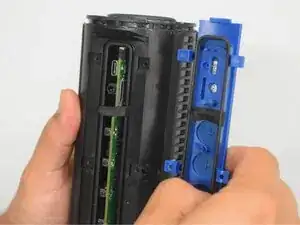
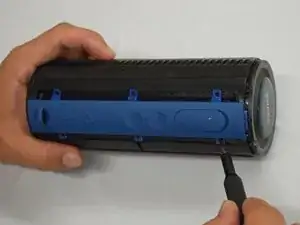
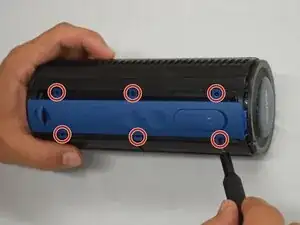
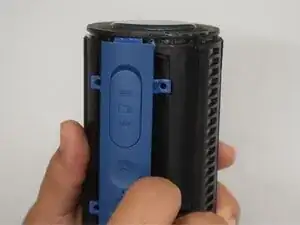
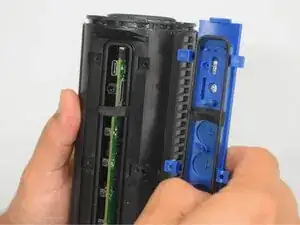
If the blue button panel on your Rienok S1 Mini is damaged, to access the buttons underneath, or to get into the internals of the device, follow this guide to remove and/or replace the button panel. Removing this panel is the last step before removing the housing.
Before beginning, power down the device to prevent shorts.
Tools
-
-
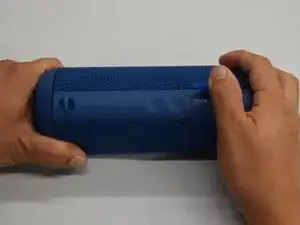
Start with the buttons panel up and facing you.
-
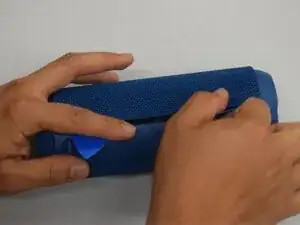
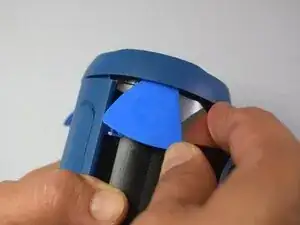
Wedge in one iFixit opening pick, and apply outward pressure to pop out one side of the grille.
-
Using a second pick, slide from the first pick towards the opposite end until one whole side is popped out.
-
-
-
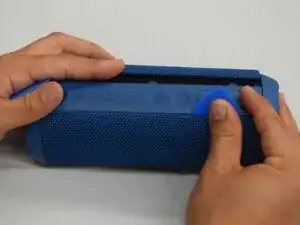
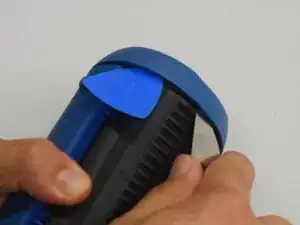
While holding the other side open so it doesn't snap closed, wedge in one opening pick into one corner of the closed side.
-
Apply outward pressure until that side also pops out.
-
Using a second opening pick, slide from the first one until both sides have popped out.
-
-
-
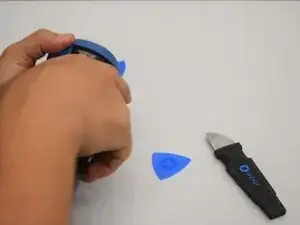
Pull outward on one end, while holding the other open.
-
Pull in the opposite direction on the top or bottom rings while slightly rotating the center until the whole grille is removed.
-
-
-
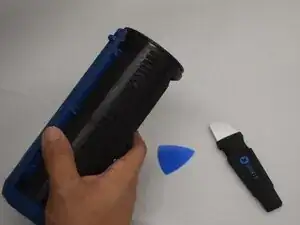
Wedge an iFixit opening pick into the space between the ring and the housing.
-
Insert a Jimmy into the gap created.
-
Apply an out-and-upward pressure with the Jimmy to disconnect the plastic clips surrounding the ring.
-
Work the Jimmy around the ring, disconnecting the clips along the way until they are all disconnected.
-
-
-
After removing the first ring, turn the device to the other side.
-
Repeat the previous step to remove the second ring.
-
To reassemble your device, follow these instructions in reverse order.
