
Introduction
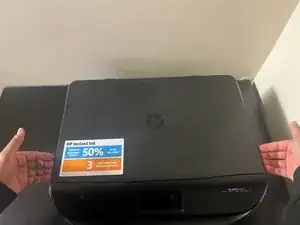
Nothing disrupts a productive day at work or home quite like a paper jam in your HP Envy printer. But don’t worry—we’ve got you covered! Paper jams are often caused by misaligned sheets, overfilled trays, or small bits of torn paper stuck inside the machine.
In this guide, we’ll walk you through how to check for and fix paper jams quickly by inspecting both the outside components and inside components of your printer. No special tools are required, though tweezers can be helpful for removing small, hard-to-reach bits of paper. These steps are simple enough for anyone to follow, and with a little patience, you’ll get back to printing in no time!
This guide isn’t only specific to the HP Envy 4520, as similar steps can be followed for the HP Envy 4500 series as well.
Tools
-
-
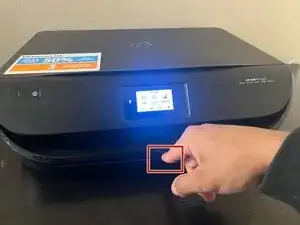
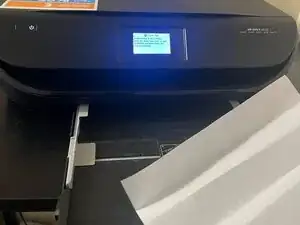
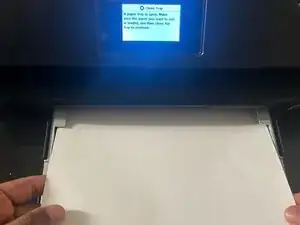
Ensure the printer remains powered on, then press down on the center of the paper tray and pull it out to open.
-
-
-
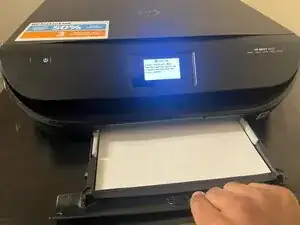
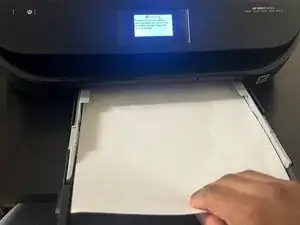
Carefully remove any loose paper from the paper tray. If you find any jammed paper, gently pull it out without tearing.
-
-
-
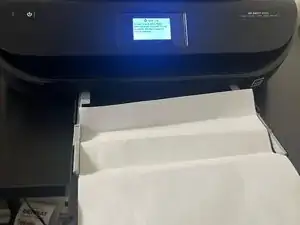
Shine a flashlight into the tray and remove any tiny paper scraps.
-
Close the paper tray by pulling it and ensure it is empty and free of any paper.
-
-
-
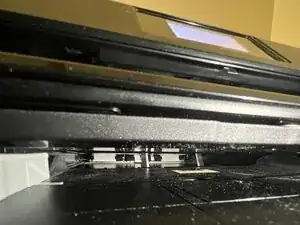
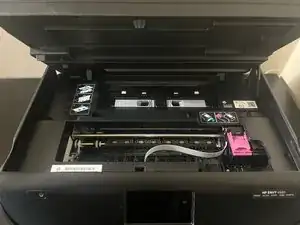
Place your hands on both sides of the printer near the front edge, then gently lift to open the cartridge access door.
-
-
-
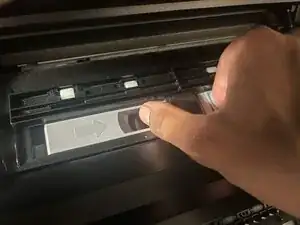
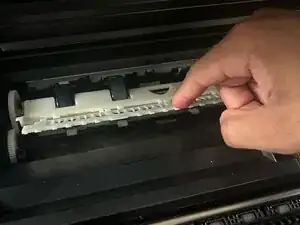
Place your fingers in the two slots on the paper path cover at the back of the printer. Gently pinch the tabs and lift to remove it.
-
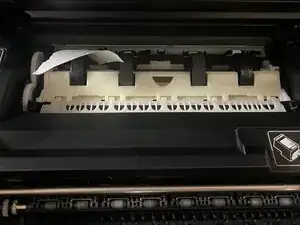
After removing the cover, look for any jammed paper inside and remove it. Using a flashlight can help you see more clearly and spot any hard-to-find pieces.
-
-
-
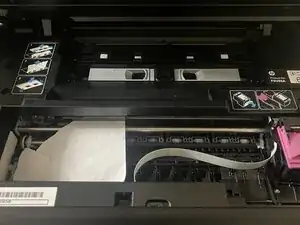
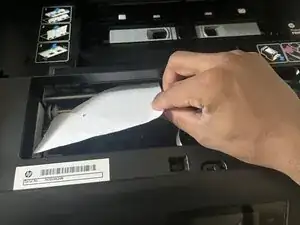
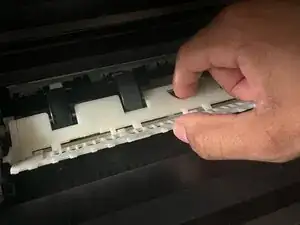
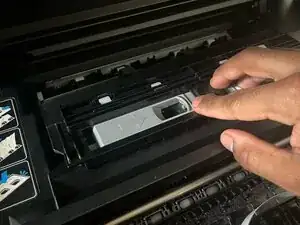
There is an opening in the duplexer cover where you can insert your fingers and lift in a hooking motion to access any jammed paper.
-
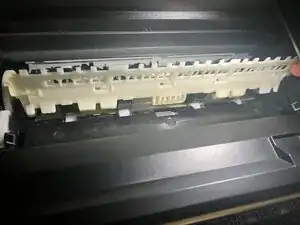
After opening the duplexer cover, carefully remove any loose or jammed paper. Using a flashlight can help you see more clearly and spot any hard-to-find pieces.
-
-
-
Once all jammed paper has been removed, carefully press down on the duplexer cover to secure it in place. Next, slide the paper path cover back into position and gently press down until it clicks securely. Finally, close the cartridge access door to complete the process.
-
-
-
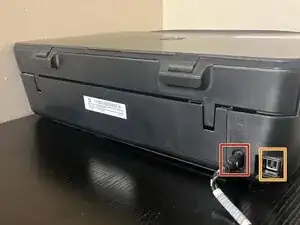
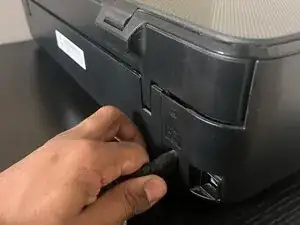
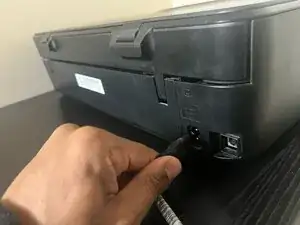
Reconnect the power and USB cables, then turn the printer back on. Finally, reload the paper into the tray, and your printer is good to go!
-


To reassemble your device, follow the instructions in step 9 and step 10.
Congratulations! You’ve fixed your printer and can get back to printing without any hassle. To keep it running smoothly, remember to load paper properly, avoid overfilling the tray, and perform regular maintenance. Happy printing!