Introduction

The speaker of your Anbernic RG 40XXV produces audio for gaming. In cases of extended use at a high volume, the speaker may require replacement.

This guide will walk you through replacing the speaker of your device to resume gameplay with audio.

Before beginning this guide, ensure your Anbernic RG 40XXV is fully powered off and disconnected from the charger.

  1. YRwpEDdnIb4X3BCx
    YRwpEDdnIb4X3BCx
    Ms6EGxbvhDpmacZX
    NwkxORvm53JiPXKc
    • Remove the micro SD card located on the left and right sides of the device by pushing into the SD card slot and pulling the card out.

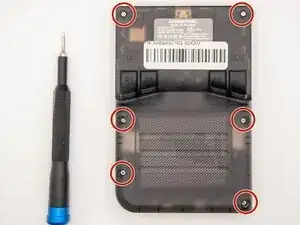
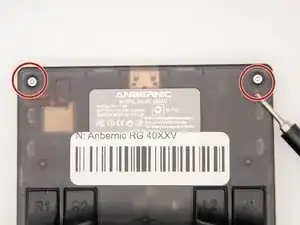
    • Unscrew all six 7.5 mm screws on the backside of the case using a 1.5 mm hex screwdriver.

  2. xonZ1HVsxZuONLDm
    xonZ1HVsxZuONLDm
    TWTqNLro5qWipheZ
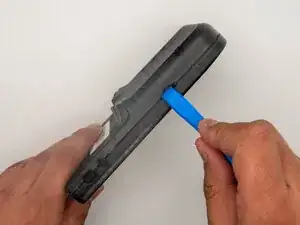
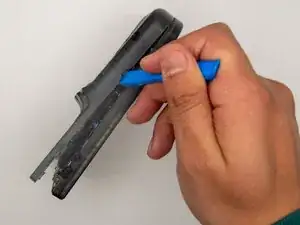
    • Take apart the case by separating the front and back sides using an iFixit opening tool.

    • When using the opening tool, carefully pry open the case to avoid damaging the device.

  3. e5U26GNK3MWYa6uj
    e5U26GNK3MWYa6uj
    pH1HqHOFF5g4vBOW
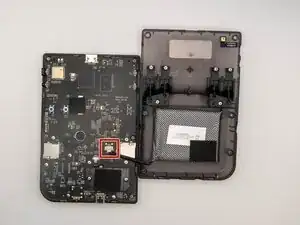
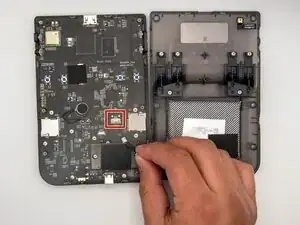
    • Disconnect the battery connection cable by gently pulling it away with angled tweezers from the slot that connects the cable to the motherboard.

    • The cable connection to the motherboard is labeled "+BAT-" for easy identification.

  4. ayq26DjEfkeJAuXK
    ayq26DjEfkeJAuXK
    ksXXQPUDQKDRIeHC
    tNlfwbADLkHGaeLT
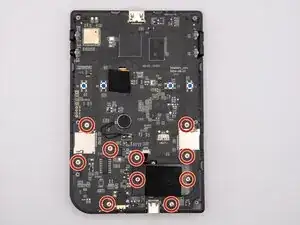
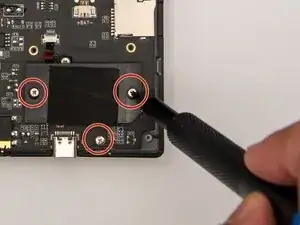
    • Using a Phillips #00 screwdriver, remove the 10 5.5 mm screws securing the circuit board to the case.

  5. QURVmVaJPBlQgosb
    QURVmVaJPBlQgosb
    BX4D42QhqqBPERd3
    IUZOXywvcgfYnK5X
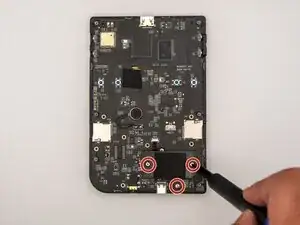
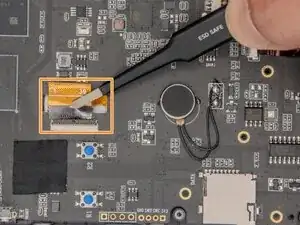
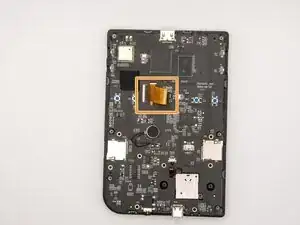
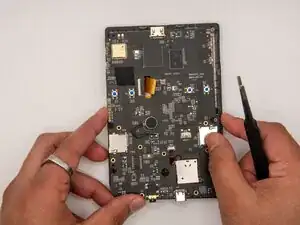
    • Remove the tape covering the ribbon cables.

    • Using ESD-safe tweezers, gently pull the ribbon cables away from the circuit board.

    • Using ESD-safe tweezers will prevent further damage to your device and harm to yourself.

  6. XeWmKxjuYZkQGryJ
    • Gently lift the circuit board out of the case.

  7. cm4RLElk5TWeFPER
    cm4RLElk5TWeFPER
    Yx4kYp11b6CTdK5H
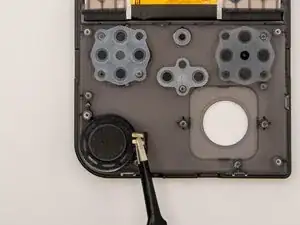
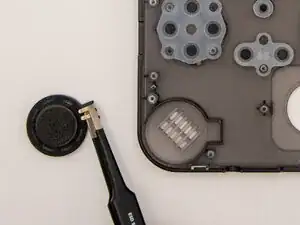
    • Using ESD-safe tweezers, gently pull the speaker out of the case.

    • Using ESD-safe tweezers will prevent further damage to your device or harm to yourself.

Conclusion

To reassemble your device, follow these instructions in reverse order.

Stevie Anne Hebert

Member since: 26/02/25

389 Reputation

0 comments