Introduction
The battery provides power to your Anbernic RG 40XXV. If the device does not power on, it may have these issues. If the device still does not power on following troubleshooting, the battery may be faulty. Replacing the battery is a quick and easy process and can be completed by following the steps in this guide. If you need to replace the battery in your RG 40XXV, you will need a Li-polymer 3200mAh battery.
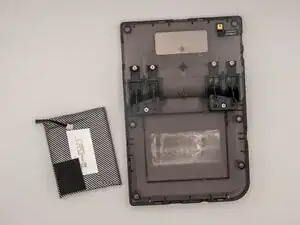
In this guide, you will open the case of your RG 40XXV, dislodge the battery, replace it, and reassemble your device. Before beginning the replacement of the battery, ensure your device is fully powered off.
Parts
-
-
Remove the micro SD card located on the left and right sides of the device by pushing into the SD card slot and pulling the card out.
-
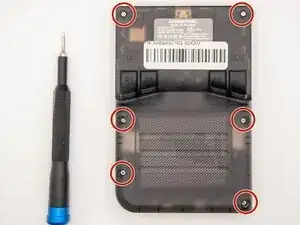
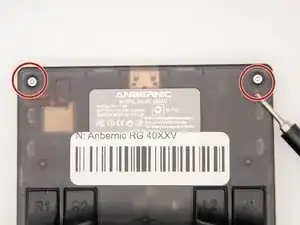
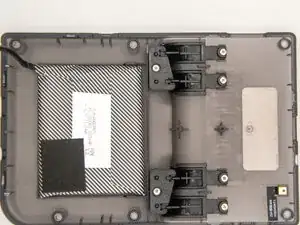
Unscrew all six 7.5 mm screws on the backside of the case using a 1.5 mm hex screwdriver.
-
-
-
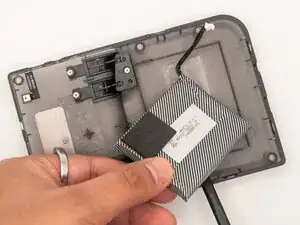
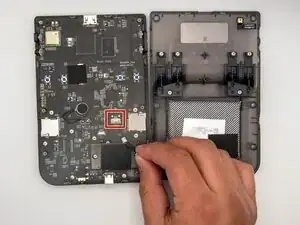
Disconnect the battery connection cable by gently pulling it away with angled tweezers from the slot that connects the cable to the motherboard.
-
-
-
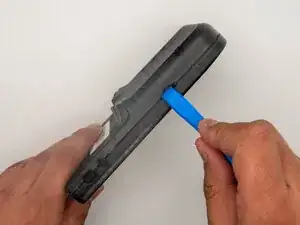
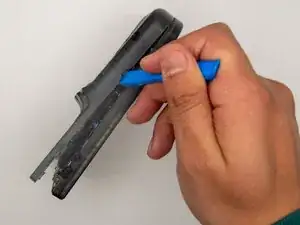
Slide a nylon spudger under the battery.
-
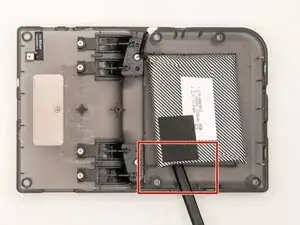
Gently pry the battery from the case, releasing the glue holding it in place.
-


To reassemble your device, follow these instructions in reverse order.
