You can use Avidemux

Avidemux is a free video editor used mainly for simple cutting,
filtering and encoding tasks. It is often dubbed as the VirtualDub for
Linux as it can do many things that VirtualDub can do. It supports
many files types, including avi, DVD compatible mpeg files, mp4, asf
and even the not-so-common ogm and matroska format.
Some of the useful features of Avidemux include a simple WYSIWYG
interface, easy conversion from one format to another, plenty of
filtering effects and a built-in subtitles processing capabilities.
Source: USC
You can also use Pitivi Video Editor
Adding a Screencast / Video Clip into Pitivi
In order to add video clips into your Pitivi project, simply click on
IMPORT CLIPS and select the appropriate video file. Note: video file
clips can also relate to screen-casts created with
gtk-recordmydesktop. The Pitivi video editor accepts many different
video clip file formats.
Examples of Accepted File Formats:
- MPEG
- AVI
- MP4
- OGV (Ogg Theora Vorbis)
Source: http://zenit.senecac.on.ca/wiki/index.php/Using_Pitivi_Non-Linear_Video_Editor
To add the video clip into the project area, simply click and drag the object into the area below the Timeline Ruler. Quoted from this site
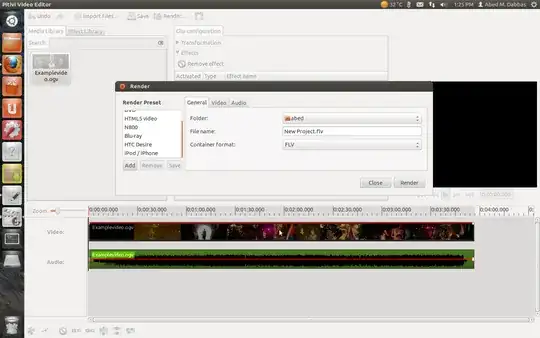
After you import the file, add it to the timeline, and do your editing, click on the render button, and it will allow you to save the file as .flv.