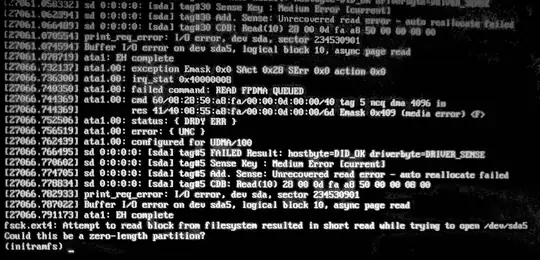
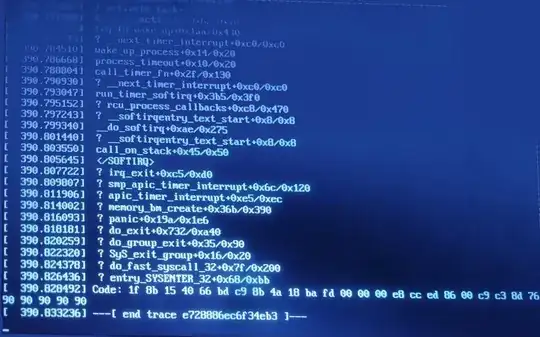
First we repair the disk with fsck. Then we fix the NCQ errors. Then we bad block the disk.
fsck
At the initramfs prompt, type:
fsck /dev/sda5
NCQ
You have NCQ disk errors.
Native Command Queuing (NCQ) is an extension of the Serial ATA protocol allowing hard disk drives to internally optimize the order in which received read and write commands are executed.
Edit sudo -H gedit /etc/default/grub and change the following line to include this extra parameter. Then do sudo update-grub to write the changes to disk. Reboot. Monitor hangs, and watch /var/log/syslog or dmesg for continued error messages.
GRUB_CMDLINE_LINUX_DEFAULT="quiet splash libata.force=noncq"
badblock
- Note: do NOT abort a bad block scan!
- Note: do NOT bad block a SSD
- Note: backup your important files FIRST!
- Note: this will take many hours
- Note: you may have a pending HDD failure
Boot to a Ubuntu Live DVD/USB in “Try Ubuntu” mode.
In terminal...
sudo fdisk -l # identify all "Linux Filesystem" partitions
sudo e2fsck -fcky /dev/sdXX # read-only test
or
sudo e2fsck -fccky /dev/sda5 # non-destructive read/write test (recommended)
The -k is important, because it saves the previous bad block table, and adds any new bad blocks to that table. Without -k, you loose all of the prior bad block information.
The -fccky means:
   -f    Force checking even if the file system seems clean.
-c    This option causes e2fsck to use badblocks(8) program to do
         a read-only scan of the device in order to find any bad blocks.
         If any bad blocks are found, they are added to the bad block
         inode to prevent them from being allocated to a file or direc‐
         tory.  If this option is specified twice, then the bad block scan
         will be done using a non-destructive read-write test.
-k    When combined with the -c option, any existing bad blocks in the
         bad blocks list are preserved, and any new bad blocks found by
         running badblocks(8) will be added to the existing bad blocks
         list.
-y    Assume an answer of `yes' to all questions; allows e2fsck to be
         used non-interactively. This option may not be specified at the
         same time as the -n or -p options.
Update #1:
When you were in the BIOS, you accidentally changed the boot order, and now you're getting the PXE boot error. Go back to the BIOS and change the boot order back to something like: DVD/USB/Disk/PXE


