8

I have installed Android 7.1 on VirtualBox 5.2 on Lubuntu 18.04 on Thinkpad T400 following this tutorial. Here is the configuration

VirtualBox dialog

In particular, I have assigned 1GB RAM to Android. On Lubuntu currently free shows this:

$ free -h
              total        used        free      shared  buff/cache   available
Mem:           7.7G        5.4G        492M        608M        1.8G        1.4G
Swap:           14G        850M         14G

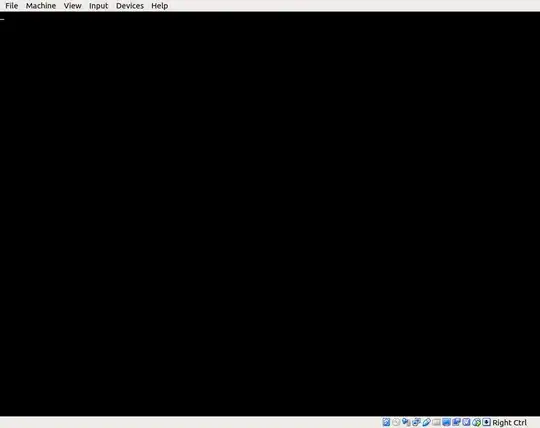
When I boot up the Android VM, the screen shows some information about booting Android, but eventually is stuck with a blank screen with a cursor on the top left corner, and at the same time Lubuntu has slightly changed free RAM as below

$ free -h
              total        used        free      shared  buff/cache   available
Mem:           7.7G        5.8G        242M        628M        1.6G        992M
Swap:           14G        863M         14G

I guess Android getting stuck is not because of a shortage of RAM. I was wondering what the reason is and what I can do to solve the problem? Thanks.

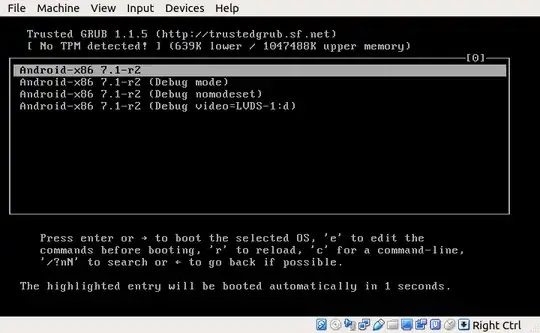
booting Android - GRUB menu

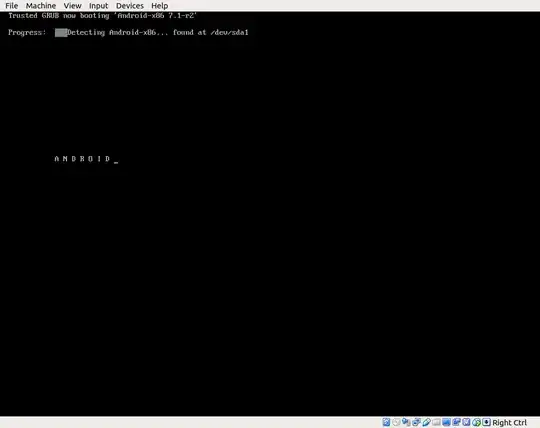
Android seems to be booting

black screen


Update

I've tried changing the assigned memory size in the settings of the virtual machine to 2GB and then to 4GB, but starting Android still gets stuck at the same place in both cases. I suspect that it is not the memory size but something else.


Related Why is starting Android from a vdi file in VirtualBox stuck?
Tim
  • 26,107

5 Answers5

16

A YouTube user by the name foodisgood1989 has posted the following solution which has fixed this error for me:

In the system tab under settings for the android machine uncheck "Hardware clock in utc time" in the display tab set graphics controller to "VBoxVGA" and enable 3d hardware acceleration.

It's one of the comments under this (youtube.com/watch?v=u4Bw2jeYwZg) video.

StayOnTarget
  • 130
  • 6
jahu
  • 101
11

You are missing many steps:

1) When you see the selection press e on keyboard(For editing). [ You will see a line after it ]

2) Replace quiet with "nomodeset xforcevesa" (without commas). [ Then press b for boot ]

3) Your android will boot correctly only one time. [ Android will start running ]

4) Now press (Alt + F1) to launch console.

5) Type : mkdir /mnt/sda

6) Type : mount /dev/block/sda1 /mnt/sda

7) Type : vi /mnt/sda/grub/menu.lst [ You can search use of vi on Google ]

8) Replace quiet with "nomodeset xforcevesa" (without commas).

9) Press Esc, and :wq

10) Type reboot.[ Your android will work fine ]

4

Your Lenovo ThinkPad T400 has an Intel Core 2 Duo processor and 8GB DDR3 RAM. You allocated only 1GB Base Memory to the Android guest OS, but Android-x86 VirtualBox How To recommends that you allocate at least 2GB of RAM to the Android guest OS. For optimal performance, make sure you have enabled either VT-x or AMD-V in your host operating system's BIOS. The recommended starting size of 8GB is enough for creating a new VM. Click through the rest of the options for creating your hard disk. By default, your installation of Android-x86 will be able to automatically connect to the internet.

For Ubuntu 19.04 and earlier an alternative to installing Android in VirtualBox is in this answer. Anbox has >=4GB RAM recommended hardware requirements. I was able to install Anbox successfully and run apps in it. For Ubuntu 20.04 and later an alternative to installing Android in VirtualBox is Waydroid. Waydroid is a fork of the no longer maintained Anbox project. It can be installed from ppa:waydroid/waydroid.

karel
  • 122,292
  • 133
  • 301
  • 332
1

If anyone else still has an issue after following the selected answer, it might be that you need to enable hardware virtualization for your computer. It seems Android VMs require this to be enabled. If you can not change the number of processors for your VMs (Settings > System > Processor), then you will know that hardware virtualization is not enabled for your machine.

You can turn on this setting in your BIOS. Here is a guide for Intel and AMD https://docs.fedoraproject.org/en-US/Fedora/13/html/Virtualization_Guide/sect-Virtualization-Troubleshooting-Enabling_Intel_VT_and_AMD_V_virtualization_hardware_extensions_in_BIOS.html.

After enabling hardware virtualization, follow the selected ansers directions if you're still having issues: https://askubuntu.com/a/1112620/1021026.

Note: In my BIOS settings it was called SMV, so make sure to read through all of your options (it's probably in there somewhere)!

1

Following jahu's suggestion I found that disabling "Hardware Clock in UTC Time", setting graphics controller to "VBoxVGA", but leaving "Enable 3D Acceleration" unchecked did the trick. I am virtualizing Android v9.0 (Pie).