How to score with GarageBand
|
How to get started using GarageBand to create a film score
|

Step 1
|
Step 1. Housekeeping: Before you start
Step 1
Reduce the size of the movie
|
Movie Player is a useful tool
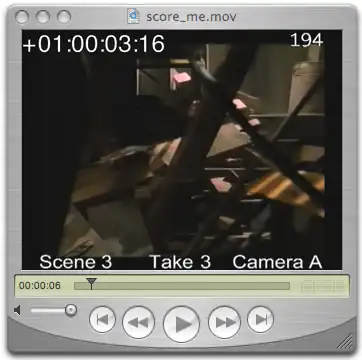
Before
After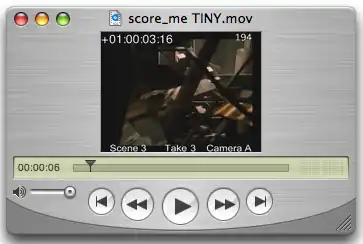 Now the movie is smaller and faster and requires very little computer power. |
|
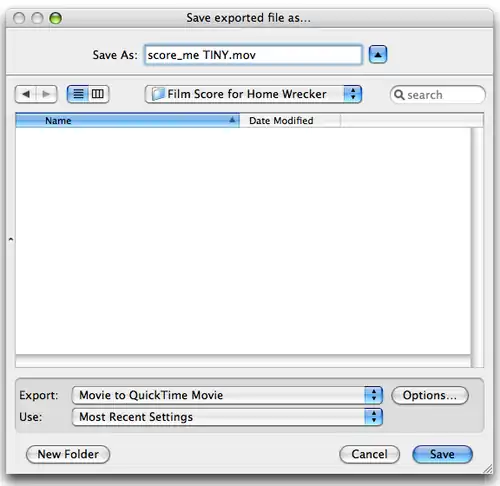
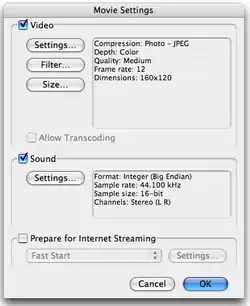
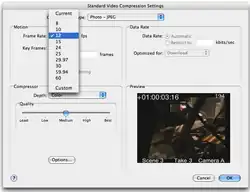
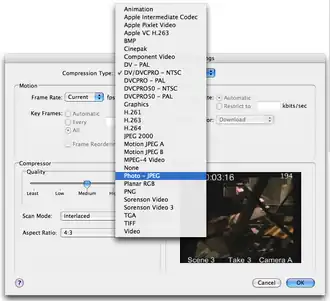
Here are the menus and settings for doing the export
To make your movie file run faster by exporting to a new codec, you can change the settings to Photo-JPEG compression with only 12 frames per second at half size. The audio should be the same as the project so you hear it clearly.
|
Step 2
|
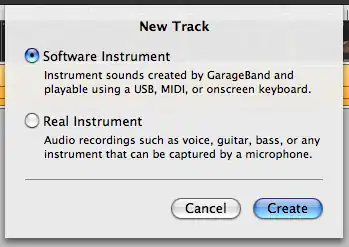
Step 2. Set up GarageBand for a single cue
Step 2 Set up GarageBand for scoring
|
Movie Player is a useful tool
|
|
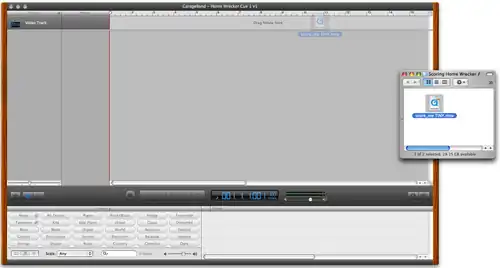
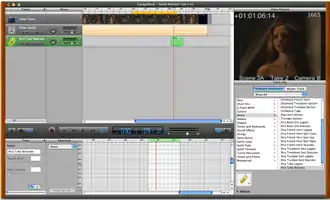
Here are the settings that make scoring much easier in GarageBand
Now you can add new instruments and create new regions (Command Click) and draw notes (also Command Click) and import Midi files. Have fun! |
Step 3
|
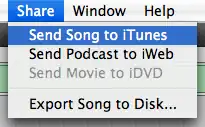
Step 3. Export the finished music for the first cue
Step 3 Convert the first cue to an AIFF file
|
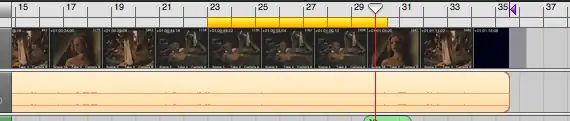
The film cue is ready for exporting
 |
|
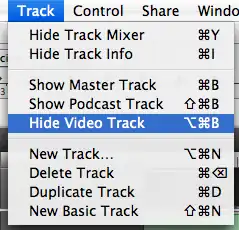
Here are the settings that make scoring much easier in GarageBand
To do that, simply turn off the region control.
 |

Step 4
|
Step 4. Set up GarageBand for the next cue
Step 4 Set up GarageBand for the next film cue
|
Movie Player is a useful tool
|
Step 5
|
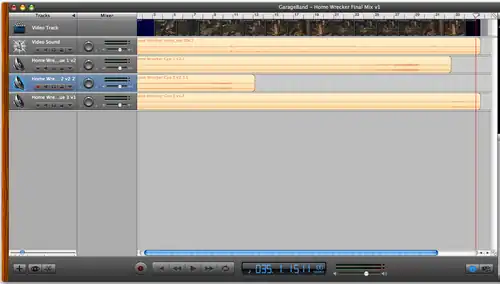
Step 5. Set up GarageBand to mix all the cues
Step 5 Set up GarageBand to combine all the cues
|
Start the same way you start any GarageBand project
|
|
If you have any questions
 Contact your instructor
|