Introduction
This is the teardown for the Apple iMac G3 Model M4984. I don’t think there is much more to say before beginning.
Tools
-
-
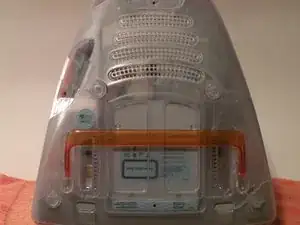
Start by flipping the iMac upside-down. It may help to lay it on a towel, so you don't damage the screen, or scratch the face.
-
-
-
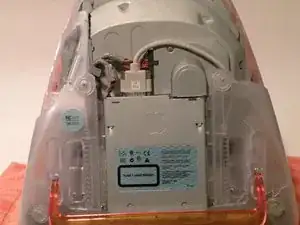
Remove this Phillips screw.
-
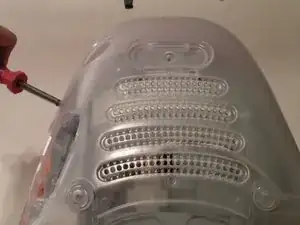
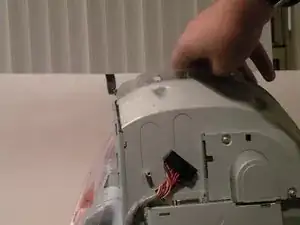
Using a flathead screwdriver, work your way around the bottom cover, until it comes off.
-
Then, lift the bottom cover up and out, and set it aside.
-
-
-
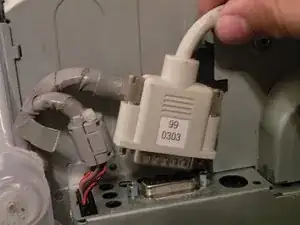
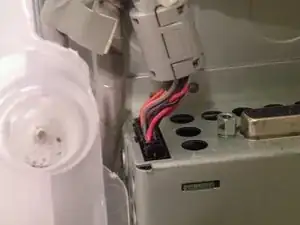
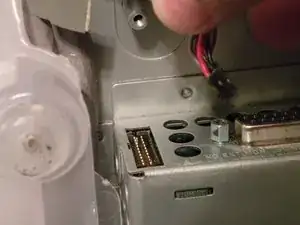
Now, remove the DB-15 Video connector from the logic board.
-
It may be helpful to use a Phillips screwdriver to remove the thumbscrews.
-
-
-
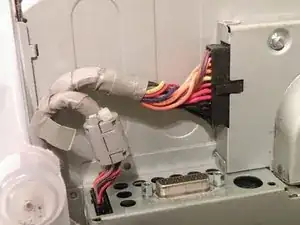
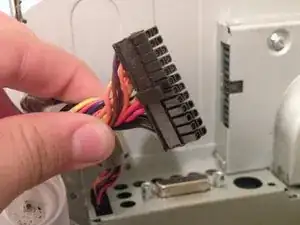
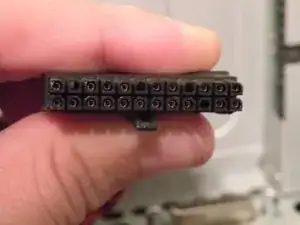
Remove the front panel connector. (You may also need to remove an additional screw that connects the front panel connector to the logic board assembly).
-
-
-
Now, remove these Phillips screws.
-
Now, grab the logic board assembly by the piece of plastic, and lift it out.
-
-
-
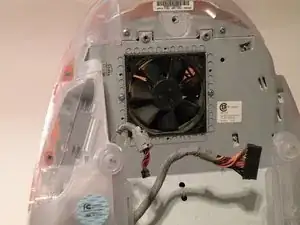
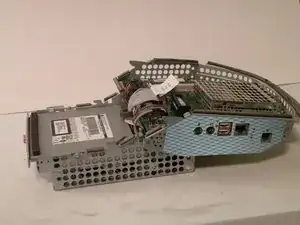
The logic board assembly. This is the heart of the computer, it contains the motherboard, CPU, RAM, V-RAM, PRAM battery, the hard drive, and the optical drive.
-
-
-
To remove the bottom cover, remove these phillips screws, and pull the bottom cover off the iMac. (Start with the very back and use a flat head screwdriver to pop the main clip. The rest will come off relatively easily.)
-
-
-
Removing the faceplate:
-
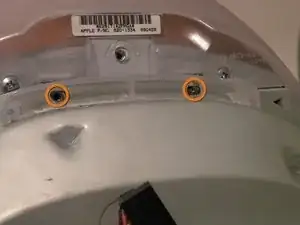
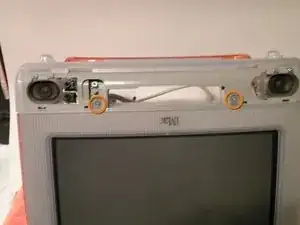
Remove these phillips screws.
-
Now, pivot the faceplate up about 60 degrees and pull it away from the imac, with some wiggleing, it should come free
-


2 comments
yo what happened to this lmao
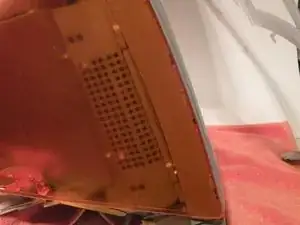
The last step was left off by the previous post. The last plastic piece to pull is tricky. Do not try and pry it off because there are literal hooks that link with the inner shroud. You CAN get it off with a little muscle once you understand how they hook inside. Here is a video from MOOT that explains. Basically, the trick is (with the iMac on it's bottom, CRT facing you), you must yank the sides upwards to unhook them. then you can work them out.