Introduction
-
-
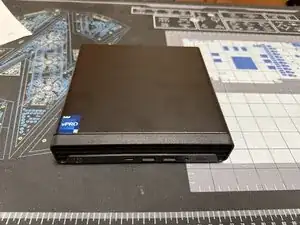
First we need to turn the device around.
-
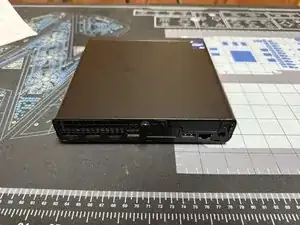
Unscrew the thumbscrew on the back using a Torx 15 bit or a flathead screwdriver
-
-
-
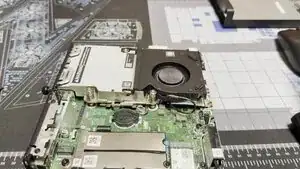
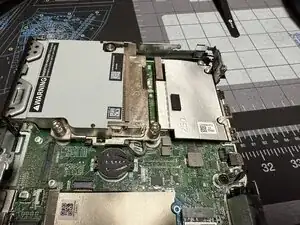
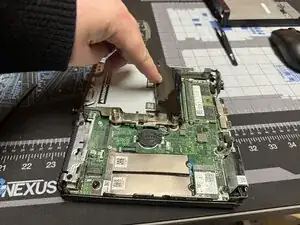
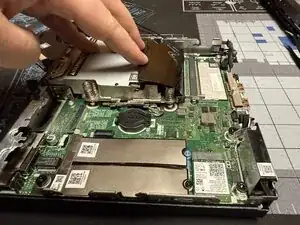
The fan can be removed by rotating it up and out as shown
-
Once the fan is out of the way unplug the fan
-
-
-
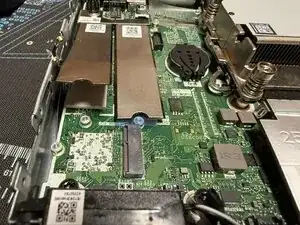
The RAM shrowd can be moved out of the way to give access to the RAM
-
Press down and out on the installed RAM to unclip it then pull it out
-
-
-
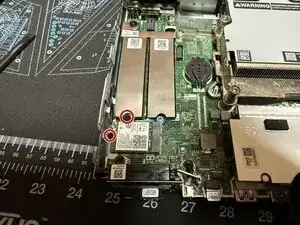
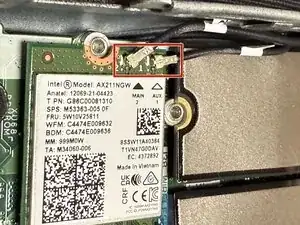
Remove both marked screws with a Phillips #1
-
Unclip both WIFI antenna
-
From there they can both be removed
-
There is a small amount of adhesive on the SSD cover. It can be peeled off to release the SSD
-
-
-
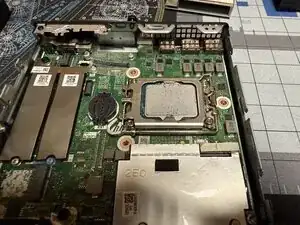
Remove the three marked screws with a Torx 15 bit
-
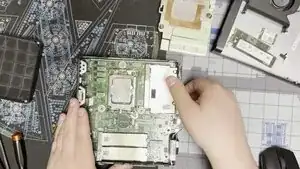
Once unscrewed the heatsink can be lifted up and towards you at a diagonal
-
The CPU can now be removed by pressing down on the lever, pulling it away from the CPU, and letting it come up to release the CPU latch.
-
-
-
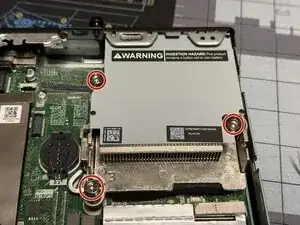
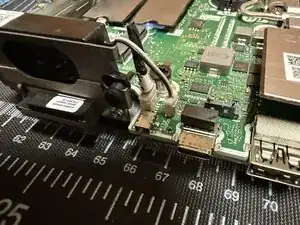
First unplug the front speaker and IR receiver.
-
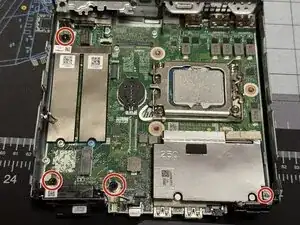
Then using a Torx 15 remove the marked screws
-
One comment
I don't think that's an IR receiver.
Kev. inc -