Introduction
Sometimes it the optical drive in your iMac comes to the end of its life. Use this guide to help you replace a faulty or broken optical drive in the 24" iMac EMC 2267.
-
-
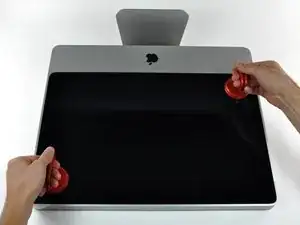
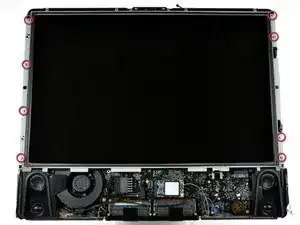
Lay your iMac front side down on a table with the lower edge facing yourself.
-
Loosen the single Phillips screw in the center of the access door.
-
Remove the access door from your iMac.
-
-
-
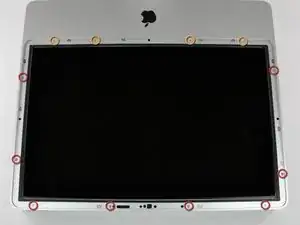
Remove the following 12 screws securing the front bezel to the rear case:
-
Eight 13 mm T8 Torx.
-
Four 25 mm T8 Torx.
-
-
-
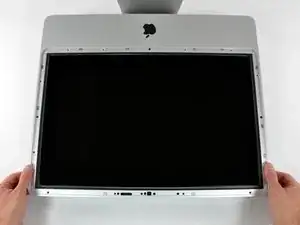
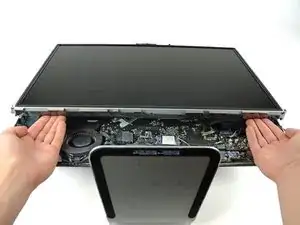
Gently lift the front bezel from its top edge off the rear case.
-
Once the top edge of the front bezel has cleared the rear case, rotate the front bezel toward the stand and lift it off the rear case.
-
Rotate the front bezel away from the rest of the device and lay it above the top edge of the iMac.
-
-
-
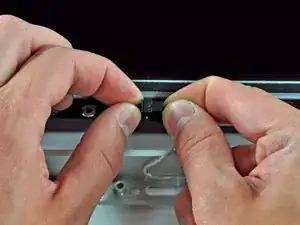
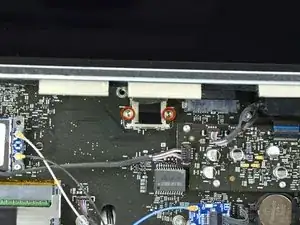
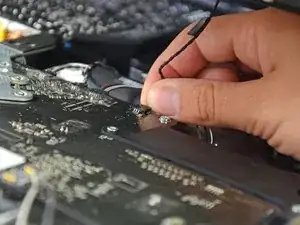
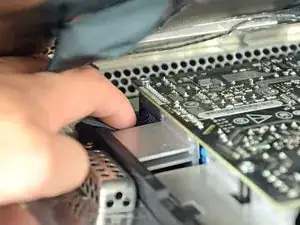
Remove the two 5.3 mm T6 torx screws from the LCD connector.
-
Firmly grasp the pull tab on top of the connector and pull it straight up out of its port.
-
-
-
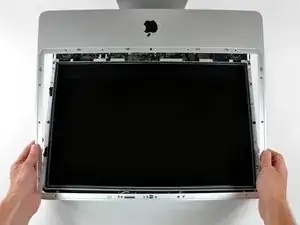
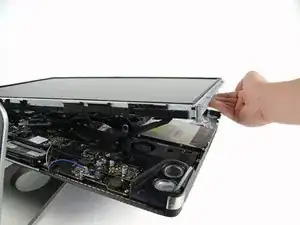
Place your hands on either side of the bottom of the display panel, and lift it up enough that you can reach the connectors inside.
-
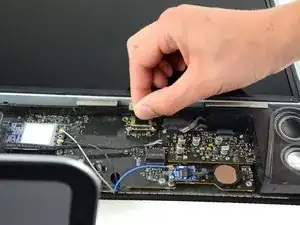
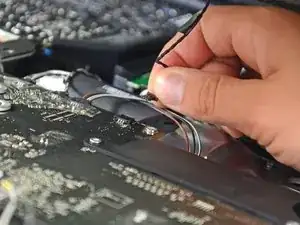
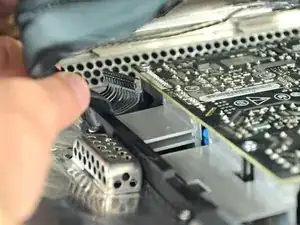
While holding the display panel up with one hand, locate and remove the display thermal sensor cable from its connector.
-
-
-
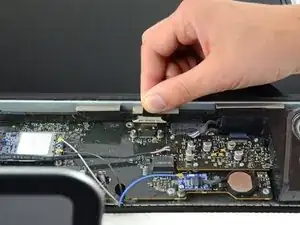
While still holding the display panel up, use two fingers to firmly push down on the power supply cable connector from its socket.
-
-
-
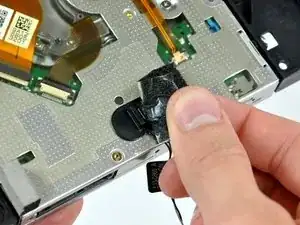
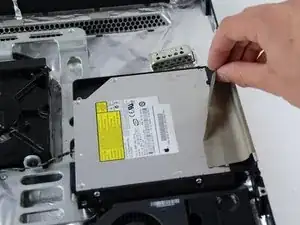
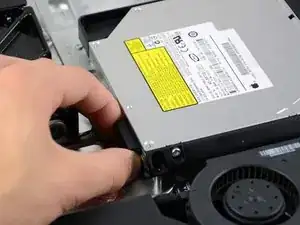
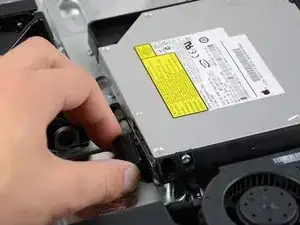
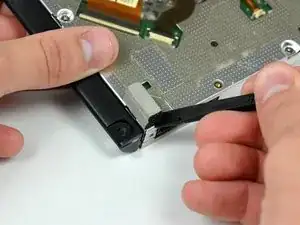
Peel off the tape holding the optical drive in place.
-
Remove the two 7.1 mm T10 torx screws.
-
-
-
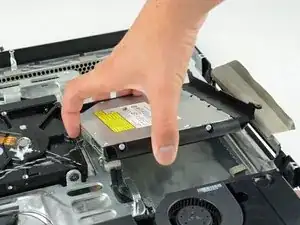
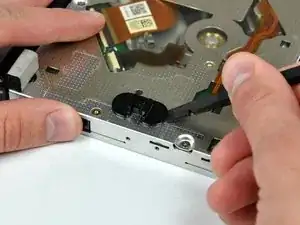
Firmly grab the optical drive connector and pull it straight out of the optical drive.
-
Remove the optical drive from the device.
-
-
-
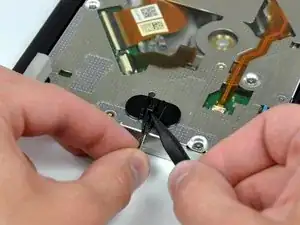
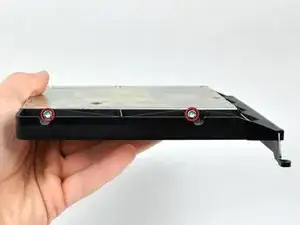
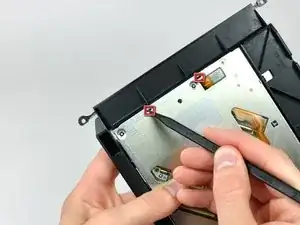
To remove the optical drive thermal sensor, use the tip of a spudger to lift the center finger of the thermal sensor bracket while applying slight tension to the thermal sensor cable.
-
-
-
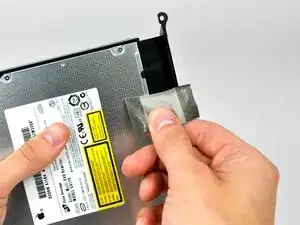
Use the flat end of a spudger to pry the optical drive thermal sensor bracket up off the adhesive securing it to the optical drive.
-
-
-
Use the tip of a spudger to press each of the optical drive bracket tabs out of their slots on the bottom of the optical drive.
-
-
-
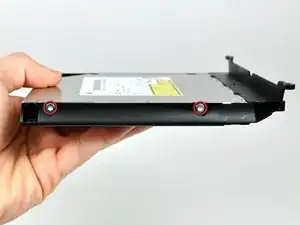
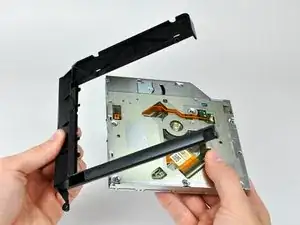
Rotate the optical drive bracket slightly away from the optical drive.
-
Pull the optical drive bracket away from the open end of the optical drive, minding any tabs that may get caught.
-


To reassemble your device, follow these instructions in reverse order.

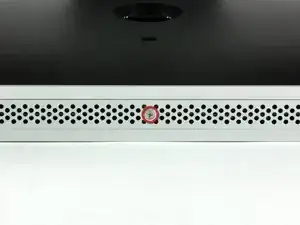
The grid won't fall off by itself. You'll have to help it. Use the smallest screwdriver you have; the Torx 6 worked fine for me. It should enter in one of the many holes composing the grid. Use it as a lever to ploy the grid a little bit. You may catch it with your fingers and that's it.
Be carefull not to damage the hole by a too strong leverage.
Laurent -
much more safer to use duct tape, instead of torx 6. (glue it along the length of the grid and pull). it will loose instantly and smooth;)
Hofmann78rus -
Anyone know a guide to replace the plastic piece this screw connects to? I accidentally forgot this step - went to remove the front bezel and bent the plastic piece the access door connects to.
Jason Augustin -