Introduction
Power your iMac by replacing the power supply.
-
-
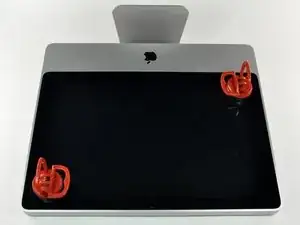
Lay your iMac front side down on a table with the lower edge facing yourself.
-
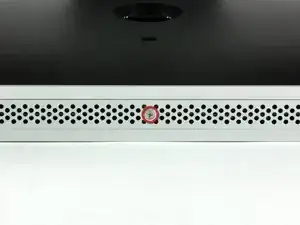
Loosen the single Phillips screw in the center of the access door.
-
Remove the access door from your iMac.
-
-
-
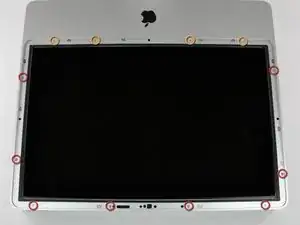
Remove the following 12 screws securing the front bezel to the rear case:
-
Eight 13 mm T8 Torx.
-
Four 25 mm T8 Torx.
-
-
-
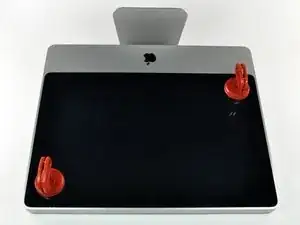
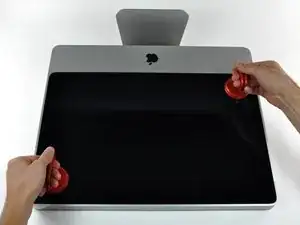
Gently lift the front bezel from its top edge off the rear case.
-
Once the top edge of the front bezel has cleared the rear case, rotate the front bezel toward the stand and lift it off the rear case.
-
Rotate the front bezel away from the rest of the device and lay it above the top edge of the iMac.
-
-
-
Pull the LCD temperature sensor connector straight up off its socket on the logic board.
-
(located at the top of the logic board on the 24")
-
-
-
Remove the two T6 Torx screws securing the display data cable to the logic board.
-
Use the attached black tab to pull the display data cable connector straight away from the logic board.
-
-
-
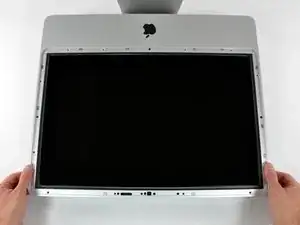
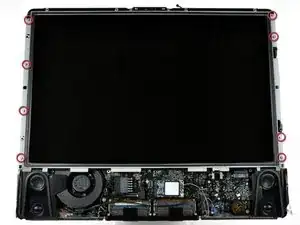
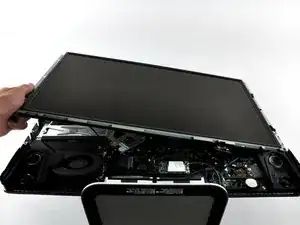
Remove the eight T8 Torx screws securing the display panel to the rear case.
-
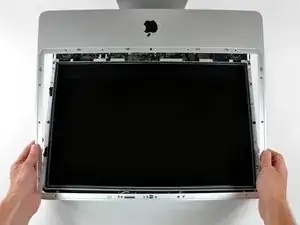
Lift the display panel from its left edge and rotate it toward the right edge of the iMac.
-
-
-
With the display panel still lifted, disconnect the four inverter cables.
-
(combined into one plug in on the 24")
-
-
-
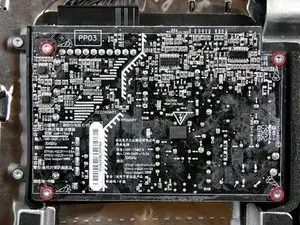
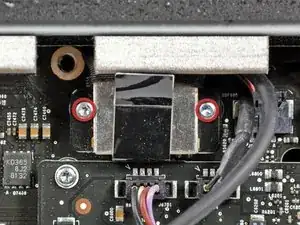
Remove four T10 Torx screws securing the power supply to the rear case.
-
Grab the power supply by its edges and slightly lift it out of the rear case.
-
-
-
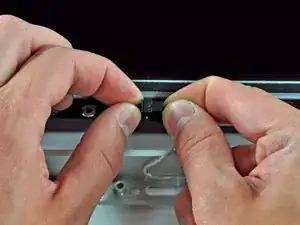
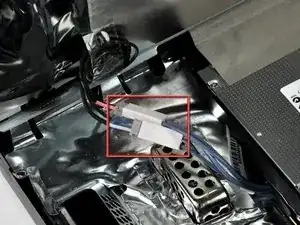
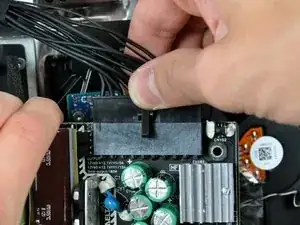
Disconnect the AC inlet cable connector by pulling it away from its socket while depressing the lock mechanism.
-
-
-
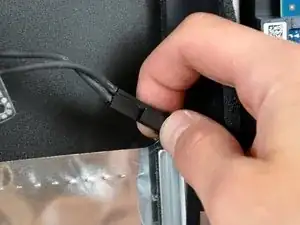
Grab the connector between the nails on your thumb and index fingers and pull it toward the top of your iMac, disconnecting it from the power supply.
-
-
-
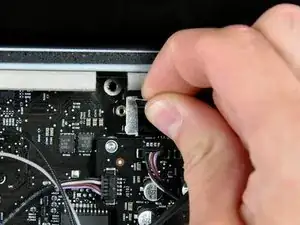
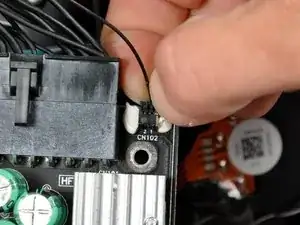
Disconnect the DC power supply cable connector from the power supply by pulling it straight up from its socket.
-
Lift the power supply out of the rear case.
-


To reassemble your device, follow these instructions in reverse order.

The grid won't fall off by itself. You'll have to help it. Use the smallest screwdriver you have; the Torx 6 worked fine for me. It should enter in one of the many holes composing the grid. Use it as a lever to ploy the grid a little bit. You may catch it with your fingers and that's it.
Be carefull not to damage the hole by a too strong leverage.
Laurent -
much more safer to use duct tape, instead of torx 6. (glue it along the length of the grid and pull). it will loose instantly and smooth;)
Hofmann78rus -
Anyone know a guide to replace the plastic piece this screw connects to? I accidentally forgot this step - went to remove the front bezel and bent the plastic piece the access door connects to.
Jason Augustin -