
Introduction
-
-
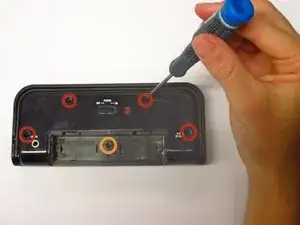
Unscrew the four outer 1.0 mm screws with a Phillips-Head screwdriver.
-
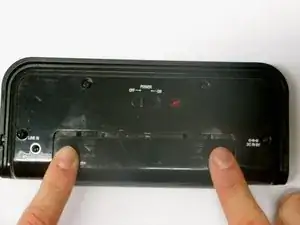
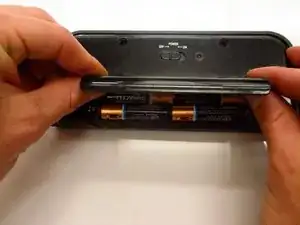
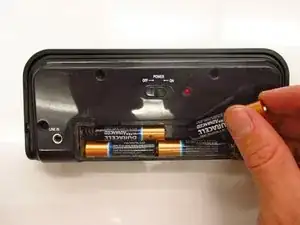
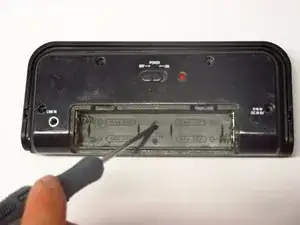
Push down gently on the battery case cover and slide it in the direction the arrows indicate. Remove the batteries.
-
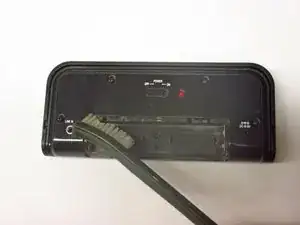
Unscrew the 0.6 mm screw located in the center of the battery case.
-
Keep the 1.0 mm and 0.6 mm screws separate from each other for reassembly.
-
-
-
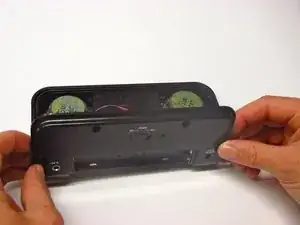
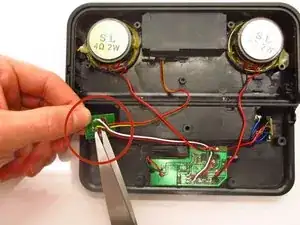
Position the portable speaker device so that the back cover and the speaker are both laying flat, giving you access to the inside of the device
-
If the motherboard is at the bottom when you are looking down at the device, the LINE IN adapter should be on the left side of the back cover
-
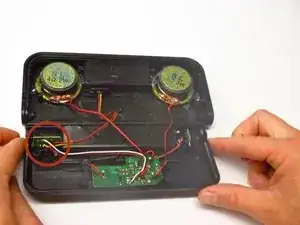
Carefully remove the LINE IN adapter using a pair of tweezers
-
-
-
Remove the black and red wires attached to the LINE IN adapter that extend from the motherboard by cutting them with scissors
-
Repeat previous step for the blue and second black wire connecting the adapter to the battery case.
-
At this point, you should be able to carefully remove the entire faulty adapter and the wires.
-
-
-
Position the newly purchased LINE IN adapter and wires in place
-
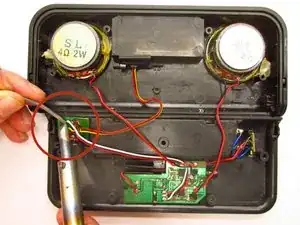
Using a soldering iron and soldering wire, reattach the red and black wires that extend from the motherboard to their original position on the LINE IN adapter
-
Use the soldering iron and soldering wire again to reattach the black and blue wires that extend from the battery case to their original position on the LINE IN adapter
-
The blue wire should attach on the bottom of the battery case and the black wire on the top insertion.
-
The new LINE IN adapter should now be properly assembled in place with the wires connected to their proper location.
-


To reassemble your device, follow these instructions in reverse order.