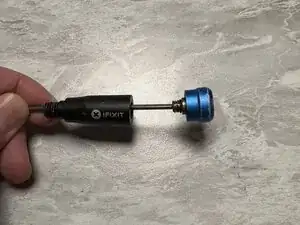
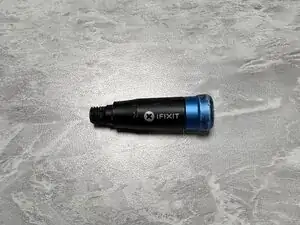
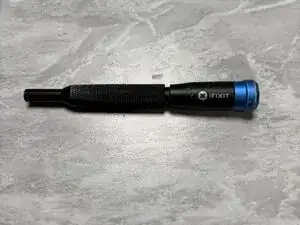
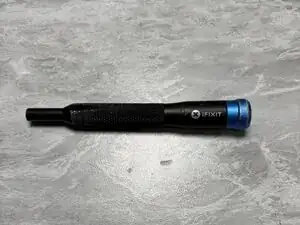
Introduction
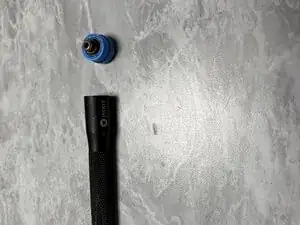
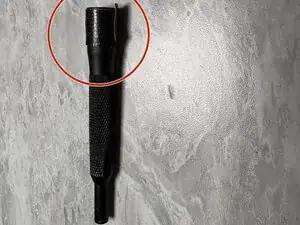
I've recently noticed a number of folks asking how to reassemble the aluminum iFixit Precision Bit Driver when the top bearing assembly comes off. Threw together a quick guide
Tools
-
-
Unscrew the center of the barrel
-
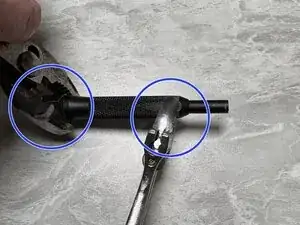
Note: Assembly utilizes threat locker. You may need tools to unscrew. Use a small piece of duct tape on the smooth part to protect the aluminum.
-
Use pliers on the duct tape, and an adjustable wrench on the flat of the knurled part near the bottom of the screw driver to create leverage to unscrew the barrel.
-
-
-
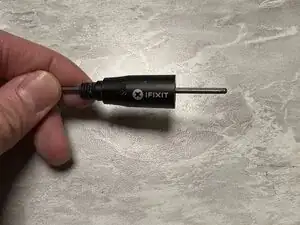
Next use a 2.5mm hex key with a long shaft such that it fits all the way through the top half of the screw driver.
-
Insert the bearing/top assembly onto the hex key, and begin tightening the bearing assembly into the screwdriver.
-
There are other ways to do this, such as the floss trick. But if you have the tools lying around here's the proper way to reassemble your iFixit Precision screwdriver!
