
Introduction
If your ZTE Tempo smartphone (model 9131) has poor sound—distorted, cutting in and out, or no audio at all—through headphones or auxiliary speakers, this guide will show you how to replace the headphone port (also called a jack).
The headphone port sends audio to external speakers through an aux cord. A faulty headphone port will transmit distorted audio or no audio at all.
Before using this guide, inspect the headphone port for debris that may be interfering with sound quality. Typically, a small buildup of dust can be removed using an ESD-safe brush or small dust blower. Be sure to test a few sets of headphones or auxiliary cords with your device to confirm that the faulty part is coming from the ZTE Tempo’s headphone port.
In Step 5, you’ll remove the circuit board from the device. From there, you will need to desolder the surface-mounted headphone jack and solder a new one in place.
Before beginning, make sure to power off your phone completely and disconnect from any external power source.
-
-
Pry open the back case to get to access the phone’s internals.
-
Remove eight 5mm screws with a PH0 screw.
-
Pry open the back cover with a plastic opening tool.
-
Slide the plastic opening tool alongside the side seam twisting your hand forcefully to open the back cover.
-
Note: Find an edge and apply steady pressure with the tool to pry open the cover.
-
-
-
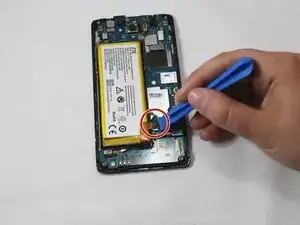
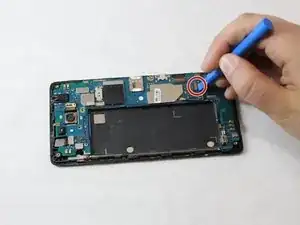
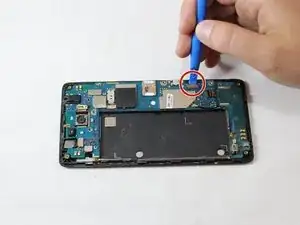
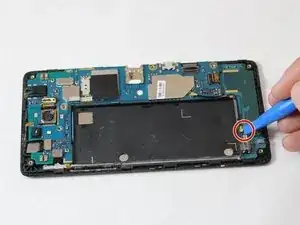
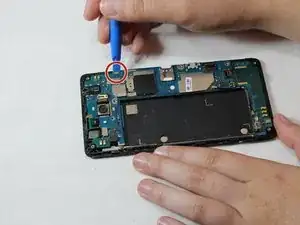
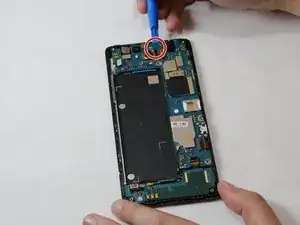
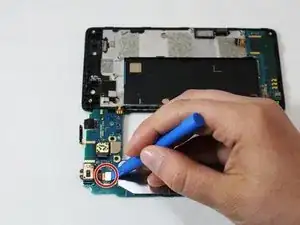
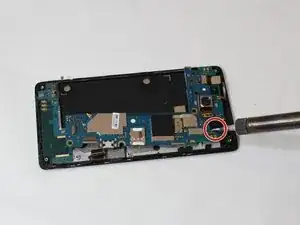
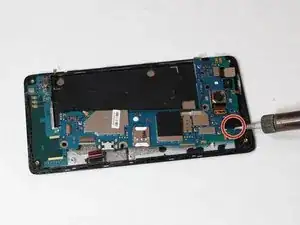
Push up with the plastic opening tool to remove the motherboard.
-
Slide the plastic opening tool alongside the side seam and twist your hand carefully to open the motherboard.
-
To reassemble your device, follow these instructions in reverse order.