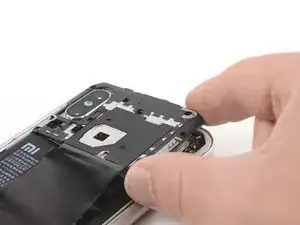
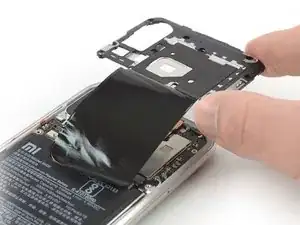
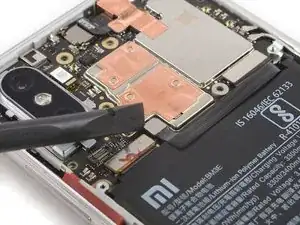
Introduction
prereq battery disconnect
Tools
-
-
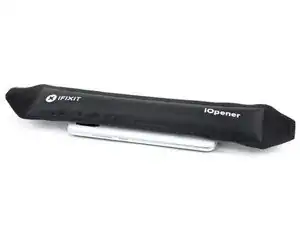
Apply a heated iOpener to the rear glass to loosen the adhesive beneath the edges. Apply the iOpener for at least two minutes.
-
-
-
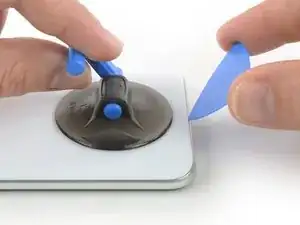
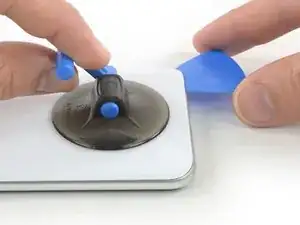
Secure a suction handle to the lower edge of the rear glass, as close to the edge as possible.
-
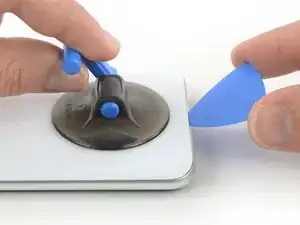
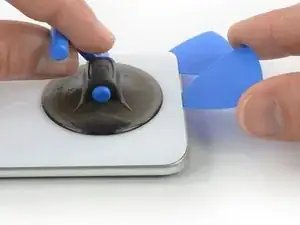
Lift the rear glass with the suction handle to create a gap between the glass and the frame.
-
Insert an opening pick into the gap.
-
Slide the opening pick to the bottom right corner of the phone.
-
-
-
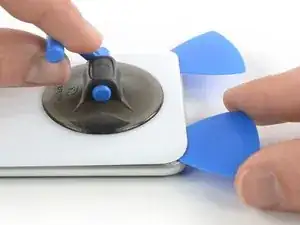
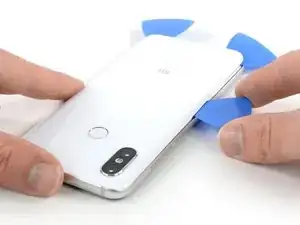
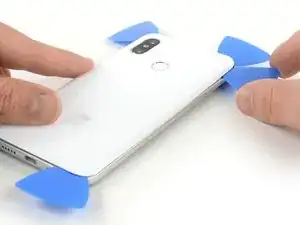
Insert a second opening pick and slide it to the bottom left corner to cut the adhesive.
-
Leave the opening picks in place to prevent the adhesive from resealing.
-
-
-
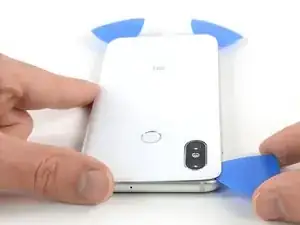
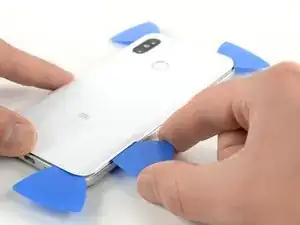
Insert a third opening pick at the bottom left corner.
-
Start to slide the opening pick from the bottom left corner along the side of the Xiaomi Mi 8 to cut the adhesive.
-
As the adhesive cools down it gets harder to cut. If necessary use your iOpener to reheat it.
-
Leave the opening pick in the top left corner to prevent the adhesive from resealing.
-
-
-
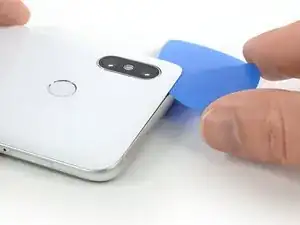
Insert a fourth opening pick under the top left corner of the rear glass.
-
Slide the opening pick along the top to cut the adhesive.
-
Leave the opening pick in the top right corner to prevent the adhesive from resealing.
-
-
-
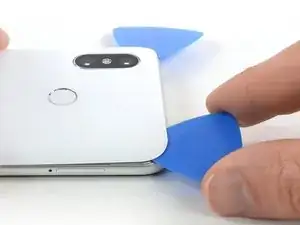
Insert a fifth opening pick at the top right corner of the phone.
-
Slide the opening pick along the right edge to cut the remaining adhesive.
-
-
-
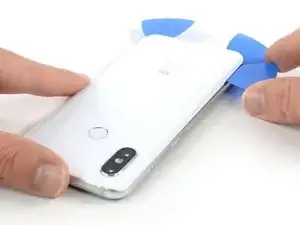
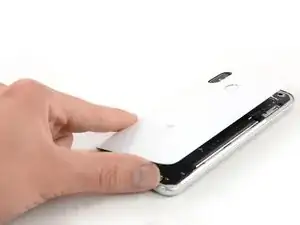
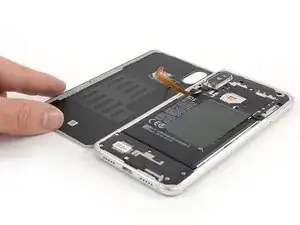
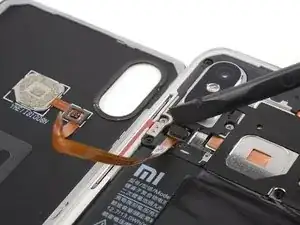
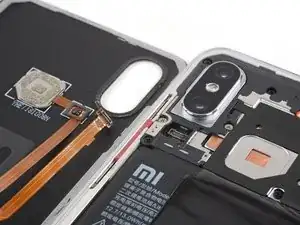
Carefully lift the rear glass and fold it to the left side to access the fingerprint flex connector.
-
-
-
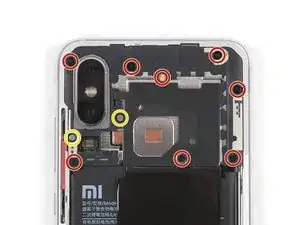
Remove the ten screws that secure the motherboard cover.
-
Eight Phillips #00 screws (3.4 mm length)
-
Two Phillips #00 screws (3.5 mm length)
-
-
-
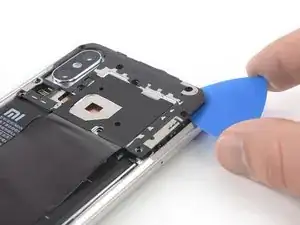
Slide an opening pick under the right side of the motherboard cover.
-
Twist the opening pick sideways to pry up and slightly lift the motherboard cover.
-
-
-
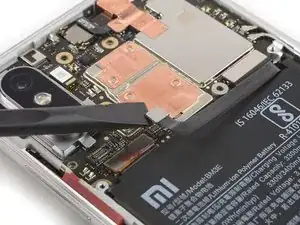
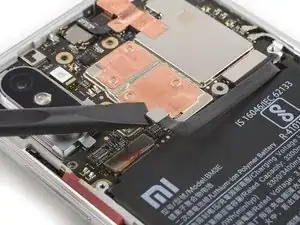
Use a spudger to pry up and disconnect the battery flex cable located at the bottom of the motherboard.
-
To reassemble your device, follow these instructions in reverse order.
