Introduction
The USB video port on the Wacom Cintiq 24HD allows you to connect the device to any computer with a USB connector. Extended use can damage or render the video port non-functional. This guide will show you how to replace the USB port. You need basic soldering skills and a soldering kit for this replacement guide. iFixit has a guide to soldering which you can find here.
-
-
Unplug any cables from the USB, power, display or DVI-D ports by gripping the cord by the connector and pulling straight out of the port.
-
-
-
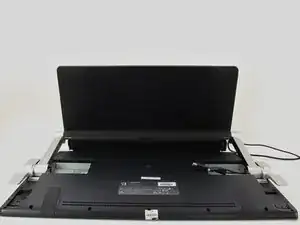
Place the device screen down on a flat surface.
-
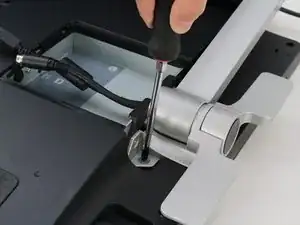
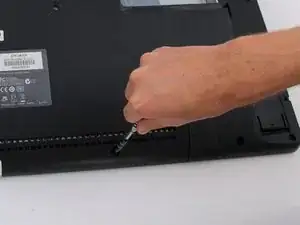
Remove eight 10mm Phillips #2 screws (four on each leg of the stand) by turning the screwdriver counterclockwise.
-
-
-
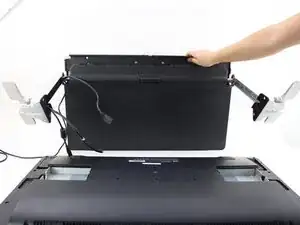
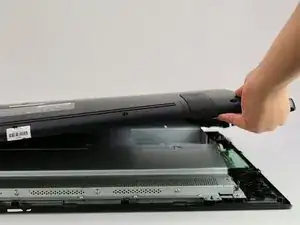
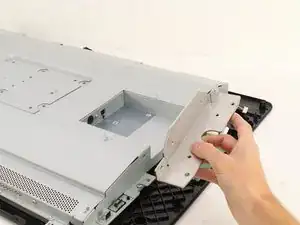
Lift the stand up and away from the rest of the device so the legs separate from the mounting plate.
-
-
-
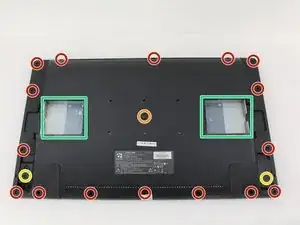
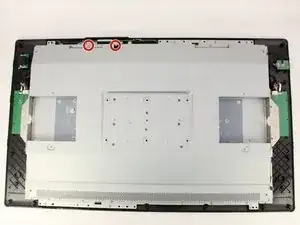
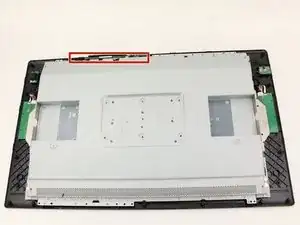
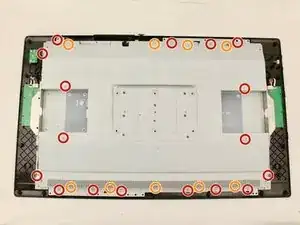
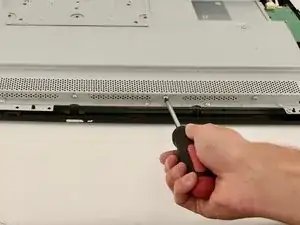
Remove eighteen 10.2mm Phillips #1 screws from the perimeter of the back panel by turning the screwdriver counterclockwise.
-
Remove one 11.9mm Phillips #1 screw from the center of the back panel.
-
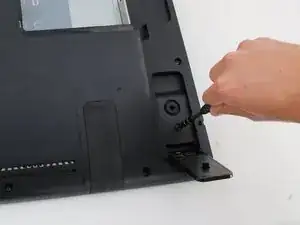
Remove two 10.2mm Phillips #1 screws from underneath hinged panels in the bottom right and left corners.
-
-
-
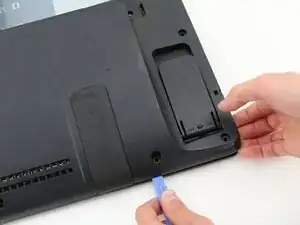
Lift the back panel up by a corner and insert a plastic opening tool in the gap.
-
Slide the tool along the gap around the perimeter of the device while lifting to unlatch the back panel.
-
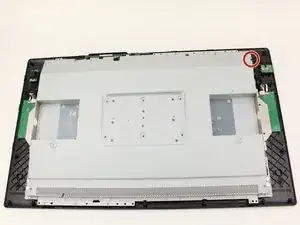
Remove the panel by lifting it up and off of the device.
-
-
-
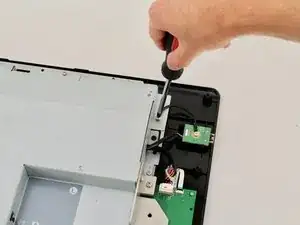
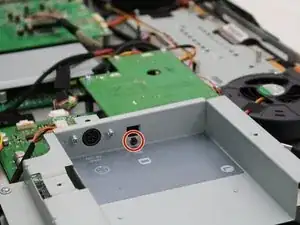
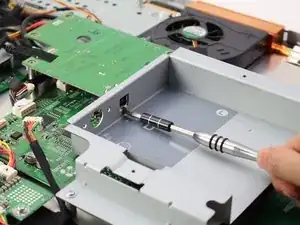
Detach the small black wire connecting the back metal plate to the USB video port by removing the one 8 mm Phillips #2 screw from the back metal plate and turning the screwdriver counterclockwise.
-
-
-
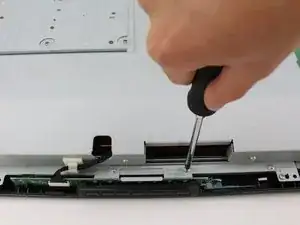
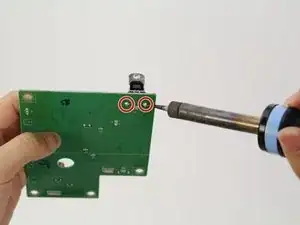
Remove the two 8 mm Phillips #2 screws from the metal button plate by rotating the screwdriver counterclockwise.
-
Remove the metal button plate from the back metal plate.
-
-
-
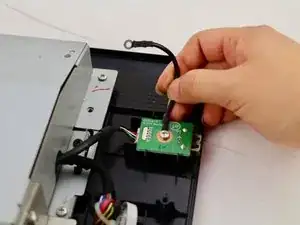
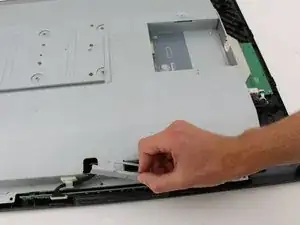
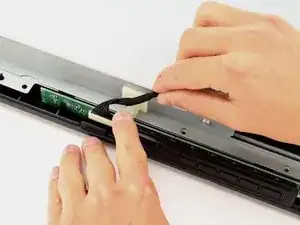
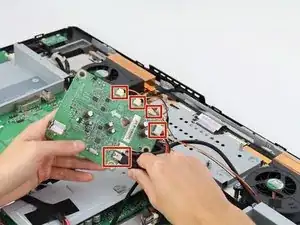
Remove the button wires from the support clip by pushing down on the clip.
-
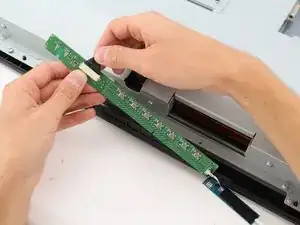
Detach the button wires from the button board by pulling the button wires away from the board.
-
Place the button board back in to the device.
-
-
-
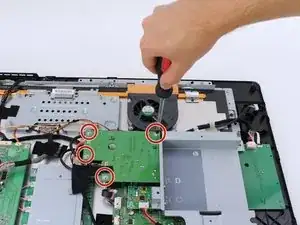
Remove the eight (four on each plate) 10.2mm Phillips #2 screws with locking washers from the metal mounting plates by rotating the screwdriver counterclockwise.
-
Remove the two metal mounting plates.
-
-
-
Remove the sixteen 8 mm Phillips #2 screws with flanges from the horizontal side of the plate by turning the screwdriver counterclockwise.
-
Remove the ten 8 mm Phillips #2 screws with flanges from the vertical sides of the plate by turning the screwdriver counterclockwise.
-
-
-
Remove the back metal plate by lifting up along one edge , then lifting the plate off and away from the device.
-
-
-
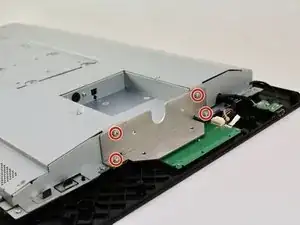
Remove the four 8mm Phillips #1 screws with flanges by turning the screwdriver counterclockwise.
-
-
-
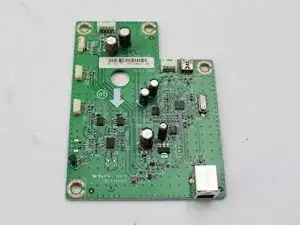
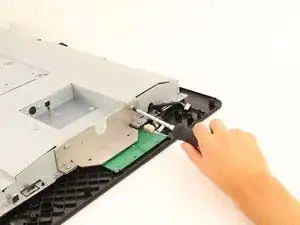
Remove the five cables connected to the USB board by pinching near the connector and pulling the cables straight out.
-


To reassemble your device, follow these instructions in reverse order.