Introduction
Use this guide to remove or replace the Motherboard in the TomTom XL.
Parts
-
-
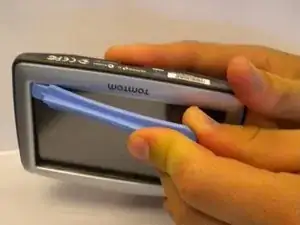
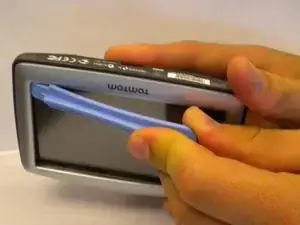
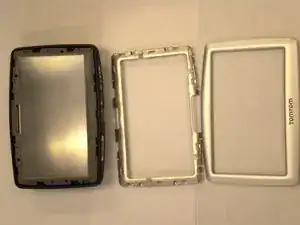
Slip a small plastic opening tool underneath the screen bezel, gently sliding it around the inside edge.
-
Starting at the corners, carefully pry up the screen bezel.
-
-
-
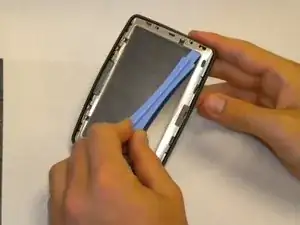
Slide a small plastic opening tool under the top portion of the metal frame and gently lift it up.
-
Slide the plastic opening tool around the inner edge of the metal frame until it feels loose.
-
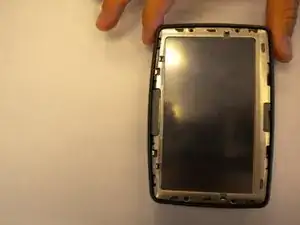
Remove the frame from the housing.
-
-
-
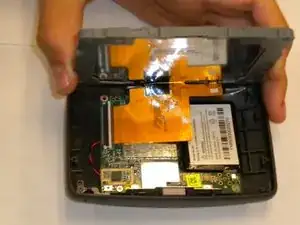
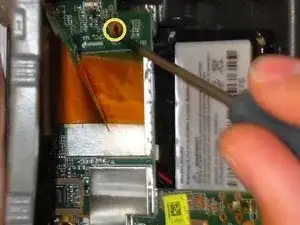
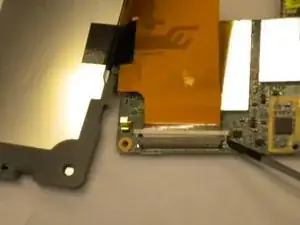
Remove the three Phillips #00 screws connecting the motherboard to the plastic housing:
-
Two Phillips #00 screws are located at the bottom of the first picture.
-
The third screw is hidden under the orange ribbon cable, near the screen.
-
-
-
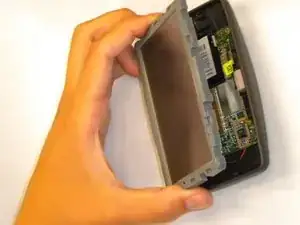
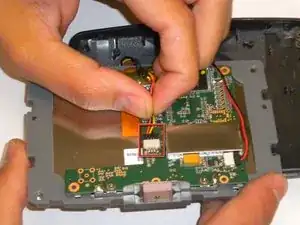
Flip the screen and motherboard over.
-
Gripping the plastic casing, disconnect the battery cable connector from the motherboard.
-
Disconnect the speaker cable connector from the motherboard.
-
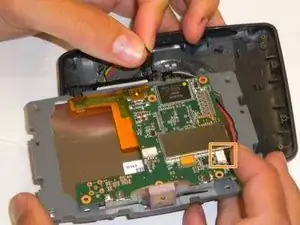
Remove the motherboard and screen from the housing.
-
-
-
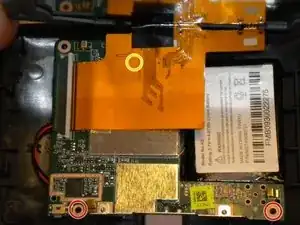
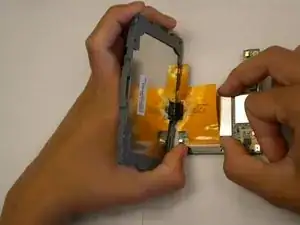
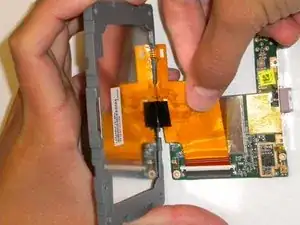
Using your thumbs or the flat end of a spudger, push back the white tabs on the display cable ZIF connector.
-
Gently pull the orange display cable out of the ZIF connector.
-


To reassemble your device, follow these instructions in reverse order.
Some models have 2 Torx T-6 screws that must be removed first. One is under the C in the FC mark, the other is at the very beginning of the white bar code field. The bezel may be black with a silver stripe on the outside.
Morten -