Introduction
This guide provides a step-by-step approach to safely removing the back cover of the Sony MVC-FD200. It ensures that users can access the internal parts of the camera for troubleshooting or replacement without harming the device. Whether you are replacing a faulty screen, cleaning the internal parts, or making other adjustments, this guide will help you navigate the process effectively.
-
-
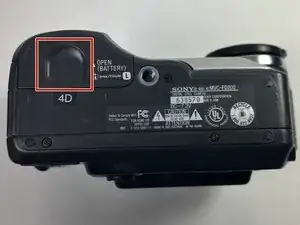
Lift the battery door to reveal the battery compartment.
-
Push the gray lever to the left side to remove the battery.
-
-
-
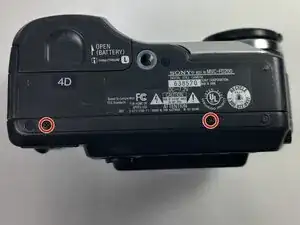
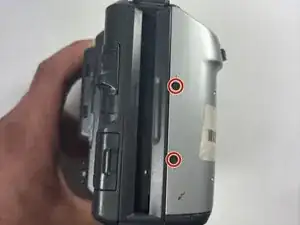
Turn the camera so that the top is facing down towards the table.
-
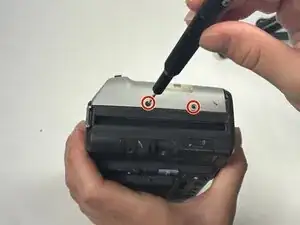
Using the Phillips #00 screwdriver, remove all 2.0 mm screws with the arrows facing towards them.
-
-
-
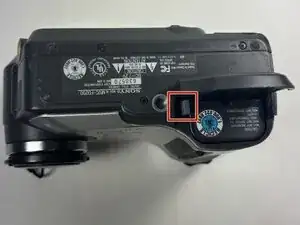
Flip the camera on both sides and remove the rest of the screws with arrows facing towards them.
-
Remove the 2.0 mm screws with the Phillips #00 screwdriver for both sides of the camera.
-
To reassemble your device, follow these instructions in reverse order.
