Introduction
Tools
-
-
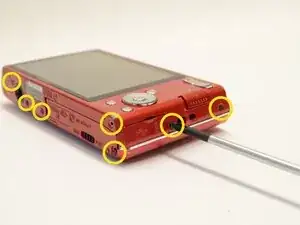
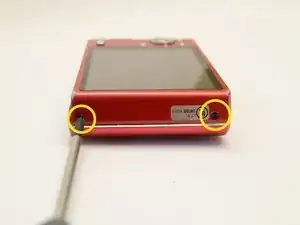
Begin by placing the camera flat against a surface and remove the nine (9) black screws. Each screw is of the same length and can be used interchangeably
-
-
-
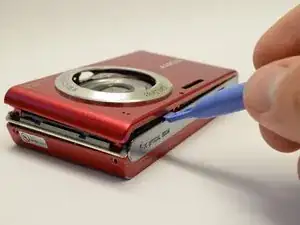
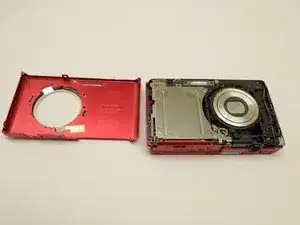
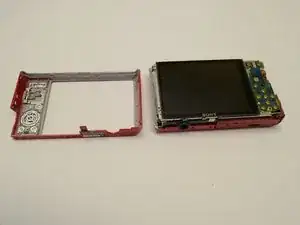
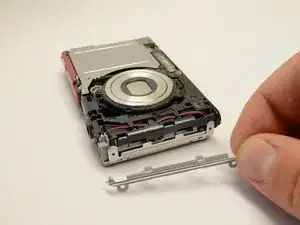
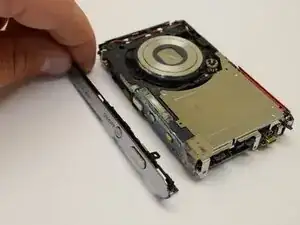
Once the outer casings have been removed, the silver side trim should come loose from the camera.
-
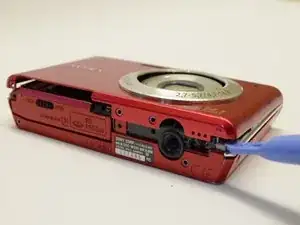
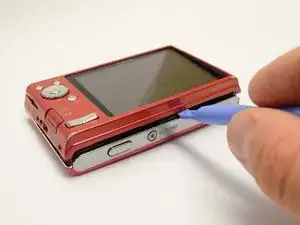
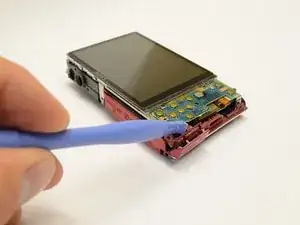
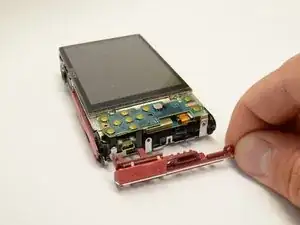
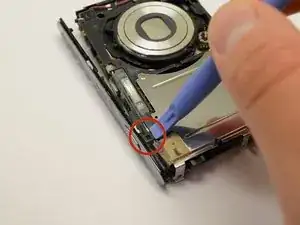
Place the camera with the lens facing down. Use the plastic opening tool to pry off the side panel with the USB plug.
-
-
-
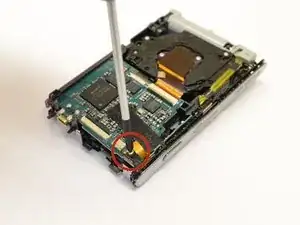
Place the camera with the lens facing down. Use the phillips head screwdriver to remove the silver screw in the corner near the photo capture button.
-
Flip the camera over. Use the plastic opening tool to detach the black clip near the capture button.
-
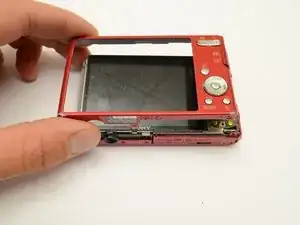
Grasp the top cover and gently remove it from the camera body.
-
-
-
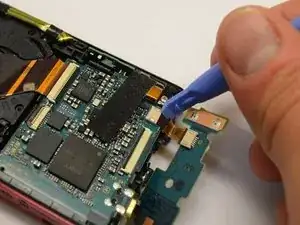
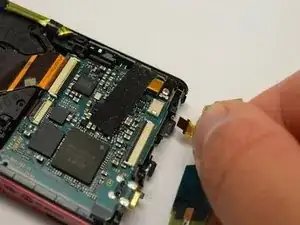
Gently pry the tab holding the ribbon cable connecting the cameras control board to the camera sensor and battery housing.
-
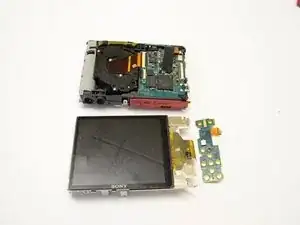
The camera control board is now removed and can be replaced if faulty.
-
-
-
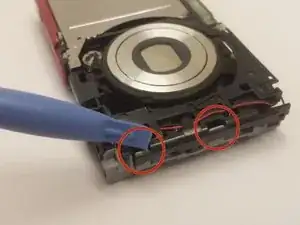
With the camera laying with the lens up, use the plastic pry tool to gently push the two gray tabs located on the edge of the camera face.
-
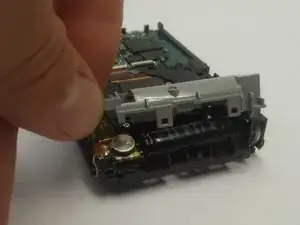
Flip the camera over. With the camera laying face down, grab the gray cover on the side and gently remove it.
-
-
-
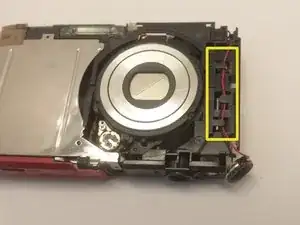
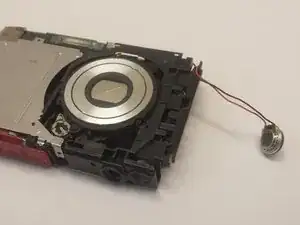
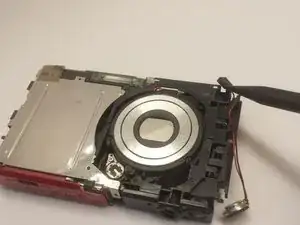
Use the plastic pry tool to push the small round silver speaker out through the slot on the side.
-
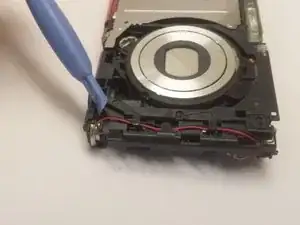
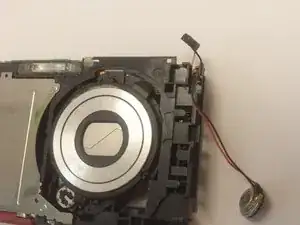
With your hand, grab the speaker and gently remove the wires from the retaining clips.
-
-
-
With the camera laying with the lens up, use the spudger tool to grab the small square piece of rubber and gently pull it out.
-
-
-
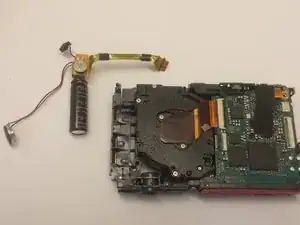
Place the camera facing with the lens down. Grab the black capacitor and gently remove the assembly from the holder.
-
Locate the ribbon cable connecting the capacitor to the top of the camera. Grasp the ribbon cable with your fingers, and gently pull outwards.
-
Now the flash capacitor assembly is disconnected from the camera and can be removed.
-
To reassemble your device, follow these instructions in reverse order.
