Introduction
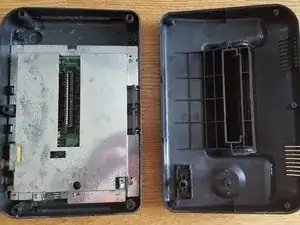
In this guide I'll show you how to disassemble the motherboard of the Sega Master System II.
Tools
-
-
Once the console is upright, first gently pull the rear of the top up.
-
After the top is at an angle, gently remove it by pulling upwards.
-
-
-
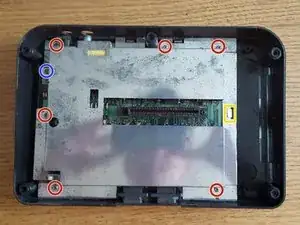
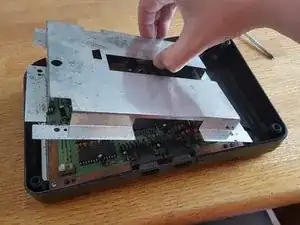
Next step is the removal of the RF shield.
-
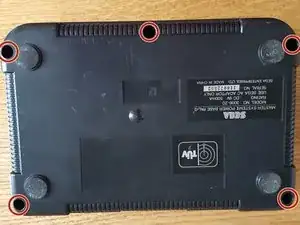
There are 7 screws in total, please unscrew those.
-
The blue marked screw is shorten than the other 6 screws, this screw has to be put back in the exact same location during reassembly.
-
-
-
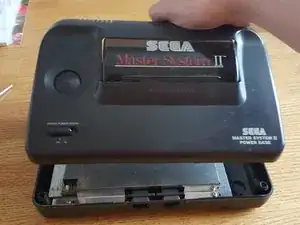
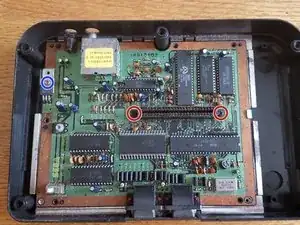
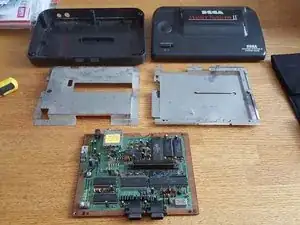
Now we have a complete view of the motherboard, thus coming to the last step.
-
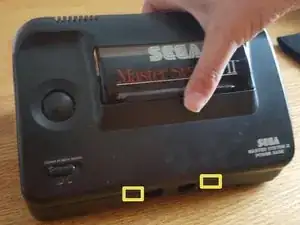
For this step you only need to remove 3 remaining screws.
-
2 screws on the connector.
-
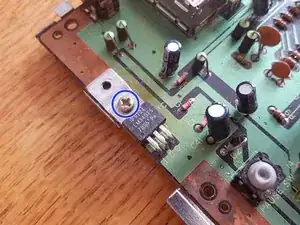
There's 1 shorter screw as previously with the RF shield. This small screw keeps the voltage regulator in place.
-
To reassemble your device, follow these instructions in reverse order.