Introduction
The charging port on your Samsung Galaxy Tab A9+ (Models SM-X210, SM-X16B, SM-X215) is essential for keeping your device powered, as it allows you to charge the battery and transfer data. If you're experiencing issues such as slow charging times, intermittent connection problems where the cable feels loose or charging stops, or the device not charging when plugged in, the charging port itself may be damaged or worn out.
This guide will walk you through the steps needed to replace the charging port module in your Galaxy Tab A9+ and restore your device's charging and data transfer capabilities. Symptoms such as unreliable charging are strong indicators of a faulty port. If basic troubleshooting has not resolved the problem, replacing the port is necessary.
Opening the tablet requires using a heat gun to safely soften the strong adhesive securing the back panel, as tools like iOpeners are typically insufficient for this purpose. While accessing internal components is part of this repair, this guide makes the process relatively straightforward and suitable for users with little prior repair experience.
Before you begin the repair, power off and unplug your device to avoid electrical hazards. Back up important data beforehand. Be aware that opening the device breaks the water-resistant seals, requiring a new adhesive to restore them. If your screen is cracked, wear safety glasses and gloves, and consider taping it to prevent injury. While not the primary focus, be cautious if you encounter a swollen battery during disassembly to handle it carefully, as it poses a fire hazard. Be sure to organize parts, use the correct tools, and avoid excessive force.
By following this guide and taking these precautions, you can successfully replace the charging port on your Galaxy Tab A9+.
Tools
-
-
Power the device off by holding the power button for 10-15 seconds.
-
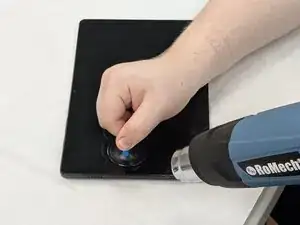
Use the heat gun to evenly heat the edge of the device and loosen the adhesive securing the screen to the tablet.
-
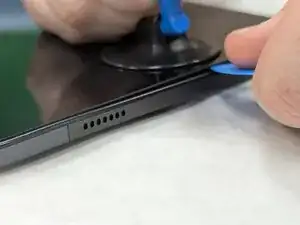
Use the suction tool to separate the screen from the case, and insert an opening pick to help keep the screen edge separated from the rest of the device.
-
Slide a second pick around the edge to cut through the remaining glue of the screen.
-
Continue placing plastic opening picks in the gaps about every inch or so intill the screen fully separates.
-
-
-
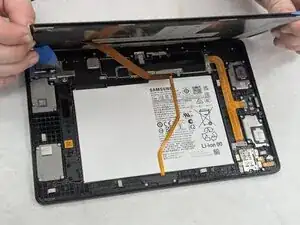
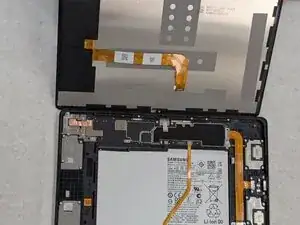
Gently lift the screen towards the top of the device (the side with the front camera), being careful not to damage the orange flex cable.
-
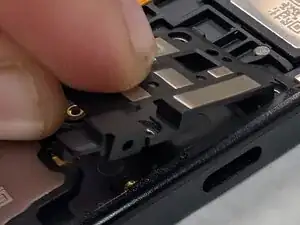
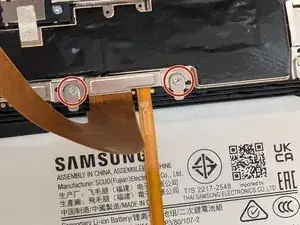
Use a JIS #00 screwdriver to remove two 2.4 mm screws securing the metal bracket.
-
Remove the metal bracket covering the connector and place it to the side to use for reassembly.
-
-
-
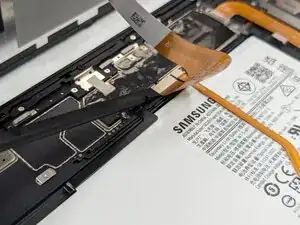
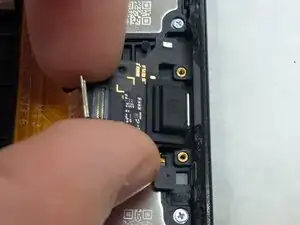
Carefully slide a spudger or opening pick under the glued-down cable to separate its adhesive and disconnect the cable.
-
Remove the display screen from the tablet.
-
-
-
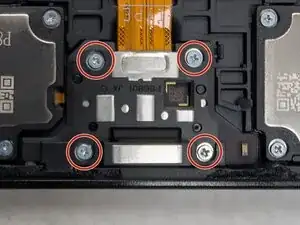
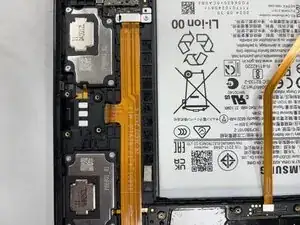
Use a JIS #00 screwdriver to remove the four 2.3 mm screws from the USB port at the bottom edge of the device.
-
-
-
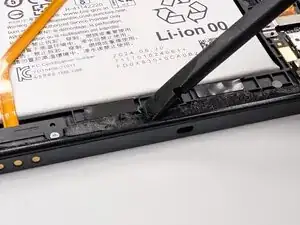
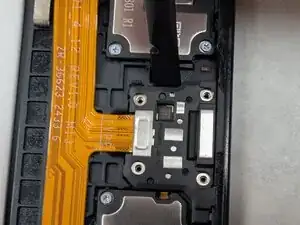
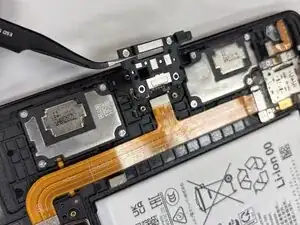
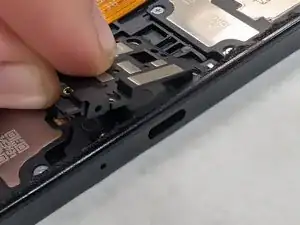
Firmly press a spudger into the edge between the USB cover and the device's exterior casing to remove it.
-
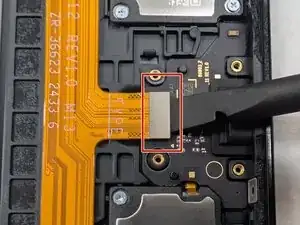
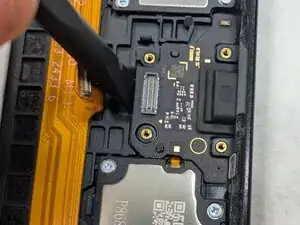
Place a spudger or an opening tool under the connector's edge and pry straight up to disconnect it from the motherboard.
-
To reassemble your device, follow these instructions in reverse order. Take your e-waste to an R2 or e-Stewards certified recycler.
