Introduction
If your rear camera is taking blurry pictures or otherwise not working properly, it may need to be replaced. This guide will demonstrate how to replace the rear-facing camera.
Tools
-
-
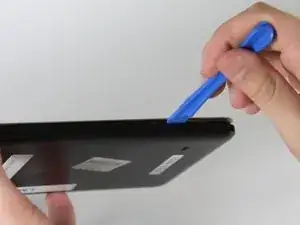
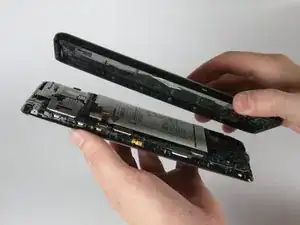
Insert the plastic opening tool into the gap between the device frame and the back panel on any side of the device.
-
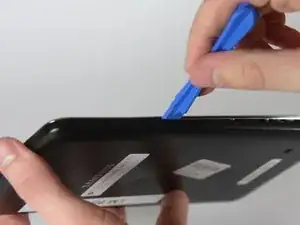
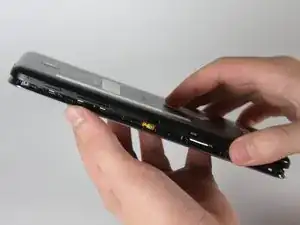
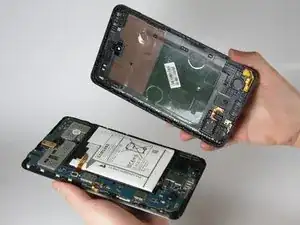
Slide the opening tool around the edges of the device to disconnect the back panel from the frame.
-
-
-
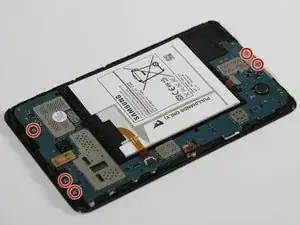
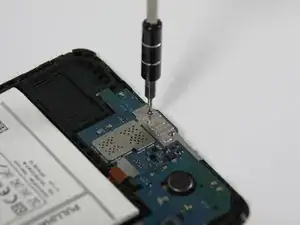
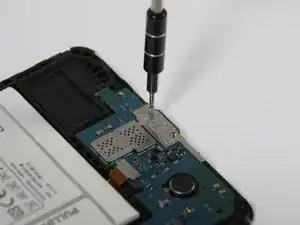
Using a Phillips #00 Screwdriver, remove the five 4 mm screws connecting the motherboard to the frame of the device.
-
-
-
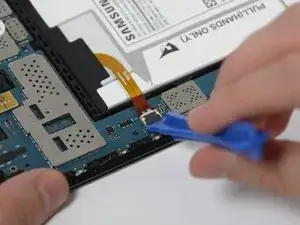
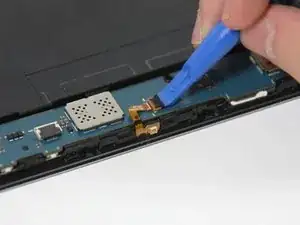
Use the plastic opening tool to unlock the wire on the narrow section of the motherboard by flipping-up the retaining flap.
-
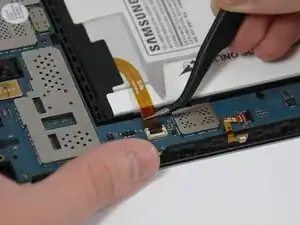
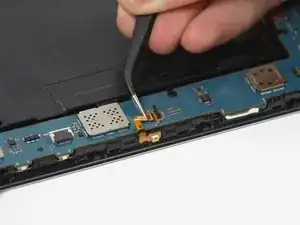
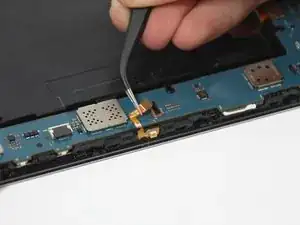
Use the tweezers to carefully remove the wire from the motherboard by sliding it away from the retaining flap.
-
-
-
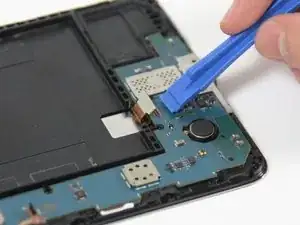
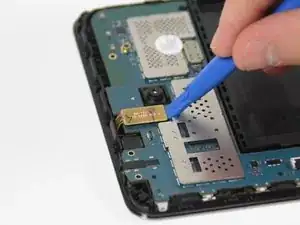
Disconnect the wire near the bottom of the motherboard by placing the plastic opening tool under the edge of the connector to flip it up.
-
-
-
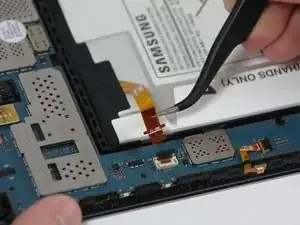
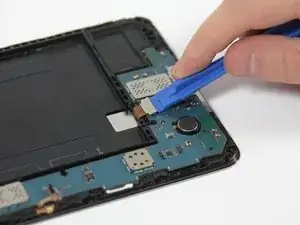
Disconnect the wire near the top of the motherboard by placing the plastic opening tool under the edge of the connector to flip it up.
-
-
-
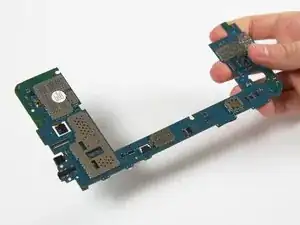
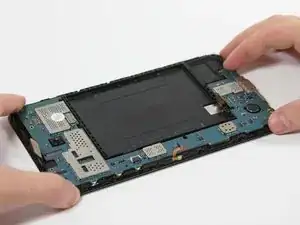
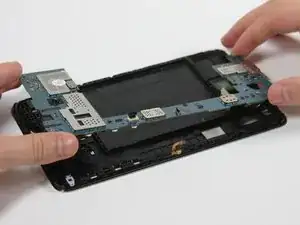
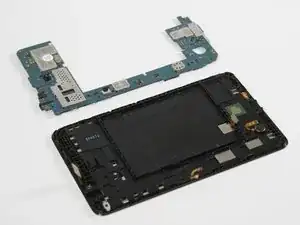
Gently remove the motherboard from the frame of the device by grabbing the top and bottom ends and pulling it toward you.
-
-
-
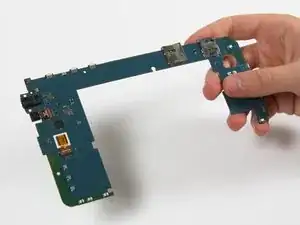
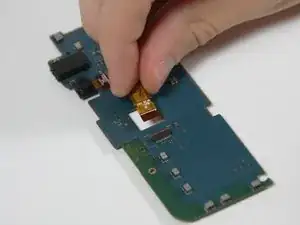
Flip the motherboard over to view the back side.
-
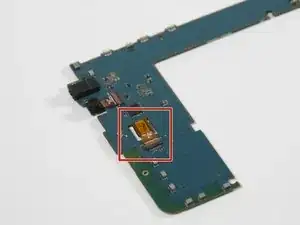
Locate the rear-facing camera on the motherboard.
-
-
-
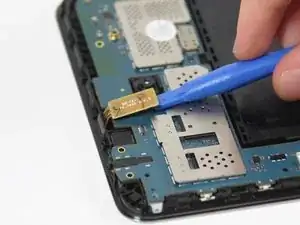
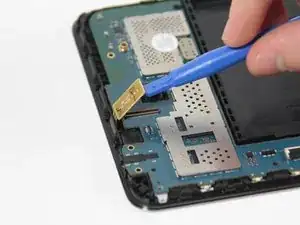
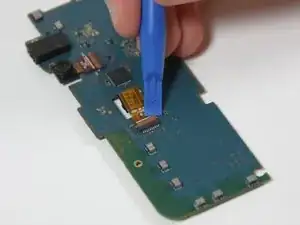
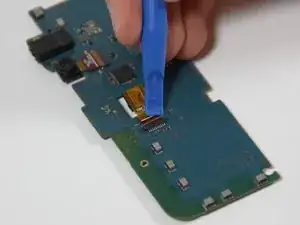
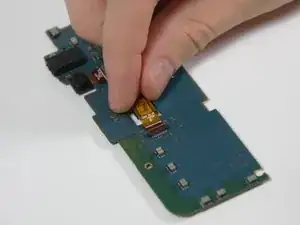
Use a plastic opening tool to unlock the rear-facing camera wire from the motherboard by flipping up the retaining flap.
-
To reassemble your device, follow these instructions in reverse order.
