Introduction
If no more coffee comes out, one of the solenoid valves may not be working. To check, you can use the test mode, which will allow you to hear the valves clicking quietly. If you don't hear a click, it is probably defective.
Note: The opening is shown on a different model; there are slight visual differences.
Tools
-
-
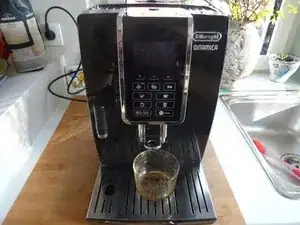
Remove all attachments such as water tank, pulp drawer, brew group.
-
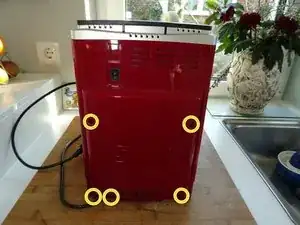
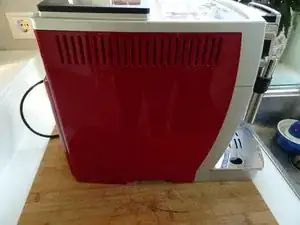
Turn the machine with the back facing you.
-
Remove five Torx T20 security screws.
-
-
-
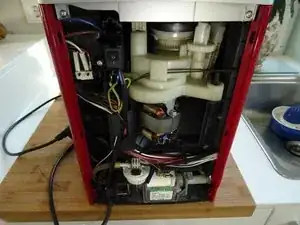
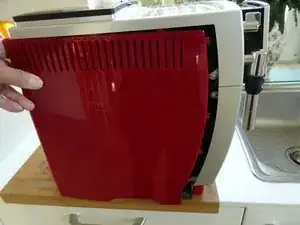
Push the side panel back about 1.5 cm.
-
Lift off the panel.
-
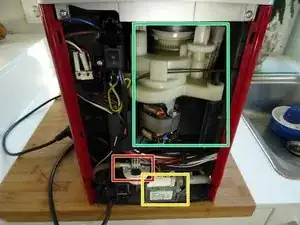
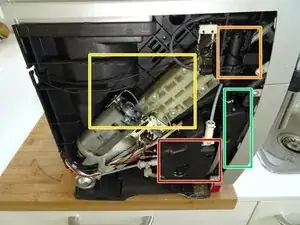
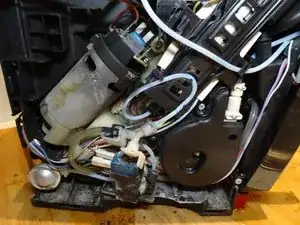
The following compononents are exposed:
-
Heater
-
Expansion chamber
-
Gear drive
-
Steam valve
-
-
-
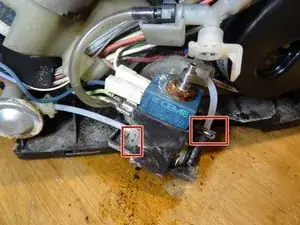
Pull out the clip between the solenoid valve and the pressure relief valve.
-
Lift the pressure relief valve upwards.
-
There is a seal between them. It will probably get stuck in the pressure relief valve. Remove it and replace it with a new one.
-
-
-
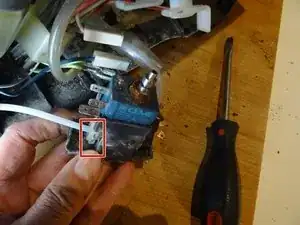
Pull the valve together with the rubber sleeve away from the machine toward you.
-
Note how the cables are connected and remove all the blade terminals.
-
Remove the clamps and take out the hoses.
-
There is a seal ring between them. It will probably remain stuck in the solenoid valve. Remove it and replace it with a new one.
-
-
-
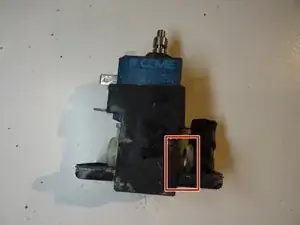
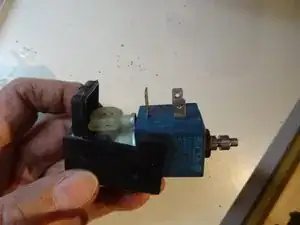
Remove the valve from the rubber housing.
-
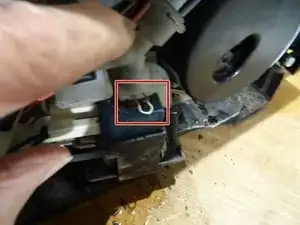
There is a black angle fitting on the right side of the valve. Pull out the clip and remove the angle fitting. The clip is slightly larger then the others. There is also a seal between them, which you should replace later
-
Follow the steps in reverse order to reassemble your device.
Screwdriver must have a hole? What does that mean? Is it a standard Tx20 bit?
Kevin -
No, it is a TR20 Security Bit, which really has a hole (if you look to the star shape) . See TR10 Torx Security Screwdriver
VauWeh -
Bits from iFixit are equipped with it.
VauWeh -