
Introduction
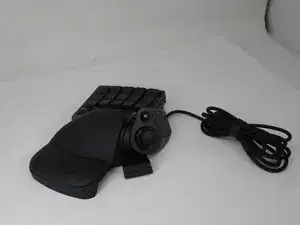
The scroll wheel on the Razer Tartarus V2 model number RZ07-02270100-R3U1 serves as an essential input feature that allows users to navigate, zoom, and interact with programs quickly and efficiently. One of the most common issues with the scroll wheel is that its click feature occasionally fails to register. In some cases, this can be due to internal misalignment or wear over time. This replacement guide is designed to help you restore your scroll wheel’s performance and extend the overall lifespan of your device.
-
-
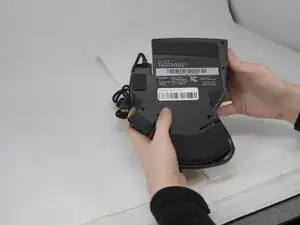
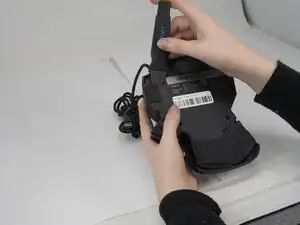
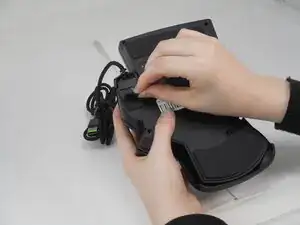
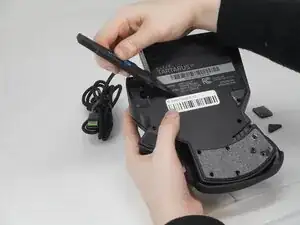
Gently peel off the rubber feet with a Jimmy.
-
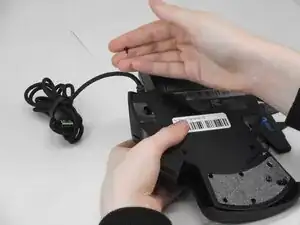
Use a Phillips #0 screwdriver to remove the following screws:
-
Twelve 6.4 mm-long screws
-
Two 3.7 mm-long screws
-
-
-
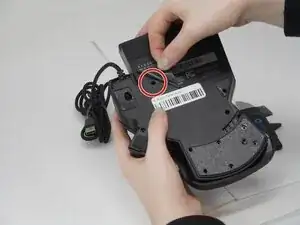
Peel up the bottom left corner of the largest sticker.
-
Remove the 6.4 mm-long Phillips #0 screw.
-
-
-
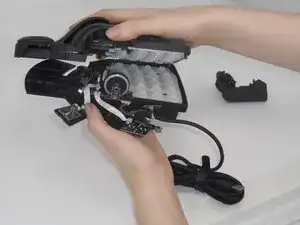
Carefully lift the joystick module up and out.
-
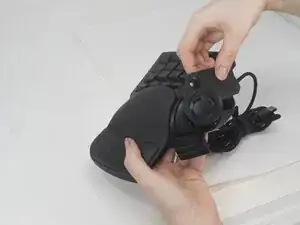
Separate the top and bottom casing of the keypad.
-
-
-
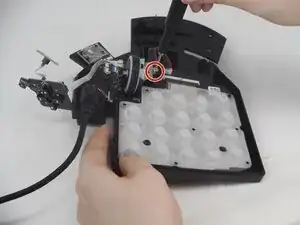
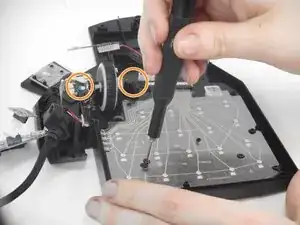
Remove the 5.9 mm Phillips #0 screw, that secures the daughter board and bottom casing together.
-
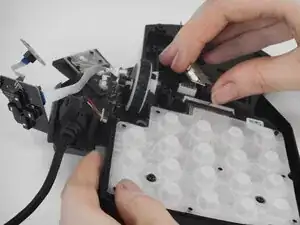
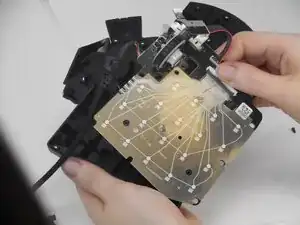
Lift the keycap stabilizer off from the mother board.
-
-
-
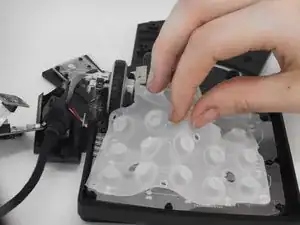
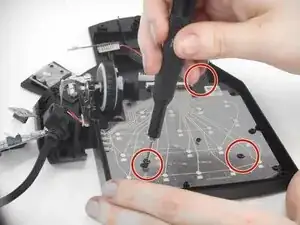
Then, remove all five of the black Phillips #0 screws holding the motherboard and bottom casing of keyboard together.
-
Two of these screws are behind or between the objects in the circles.
-
-
-
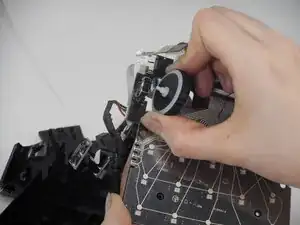
Gently pull the scroll wheel out of the wheel encoder (small metal part that allows the wheel to move back and forth).
-


To reassemble your device, follow the above steps in reverse order.
Take your e-waste to an R2 or e-Stewards certified recycler.
Repair didn’t go as planned? Try some basic troubleshooting or ask our Answers community for help.