Introduction

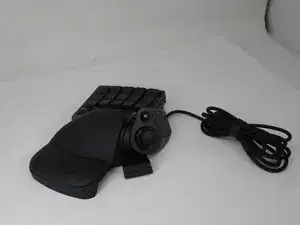
The keyboard on the Razer Tartarus V2, model number RZ07-02270100-R3U1, holds the keys in place and helps with the "click" when you press down a key. The main white frame or the metal contacts of the keyboard can be damaged by excessive force when pressing keys. This replacement guide is designed to help you restore your Key bed's performance and extend the overall lifespan of your device.

  1. esqXmtbMOe3gNYbF
    esqXmtbMOe3gNYbF
    Eat2r3IO1dVQAQ6s
    • Turn the keypad upside down.

  2. gINNFspeR6QpTnNE
    gINNFspeR6QpTnNE
    TTyLAo5HFtbDwmdb
    qmydu2IZ31YIBDpI
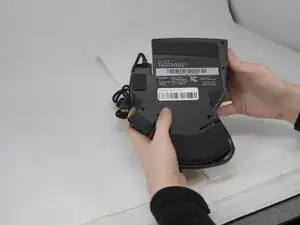
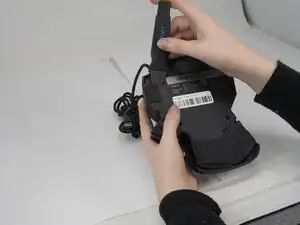
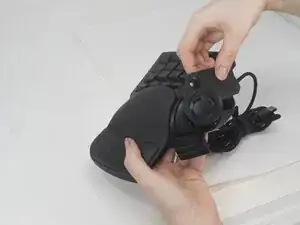
    • Gently peel off the rubber feet with a Jimmy.

    • Set the rubber grip pads aside so you can reapply them later.

    • Use a Phillips #0 screwdriver to remove the following screws:

    • Twelve 6.4 mm-long screws

    • Two 3.7 mm-long screws

  3. VboHTghAokWRsYV6
    VboHTghAokWRsYV6
    yLVlLJaSIxtIpgXF
    DLHIZSNOqlW6MGUJ
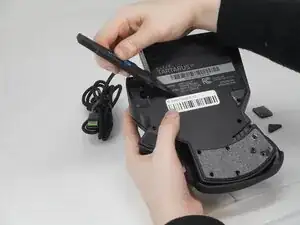
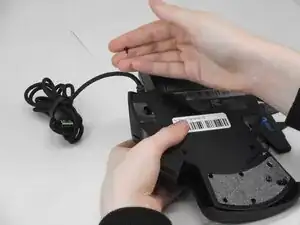
    • Peel up the bottom left corner of the largest sticker.

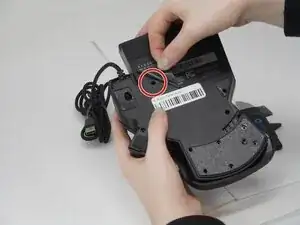
    • Remove the 6.4 mm-long Phillips #0 screw.

  4. voILCt1KDWsKB5gX
    voILCt1KDWsKB5gX
    1EDGne2X5EMIXmFF
    ypUYc6Zf4NmI46XX
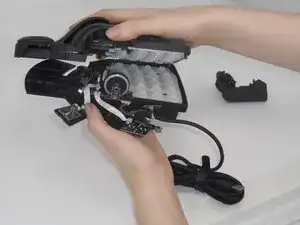
    • Carefully lift the joystick module up and out.

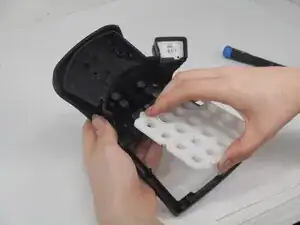
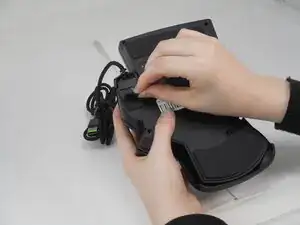
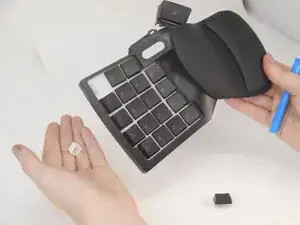
    • Separate the top and bottom casing of the keypad.

    • Use an Opening tool to pry the case open along the edges if necessary.

  5. 1lpl1P5VbxfLZZ6X
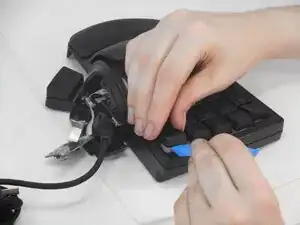
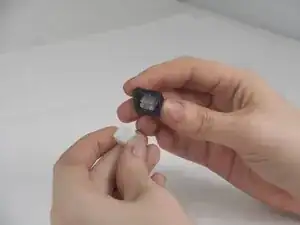
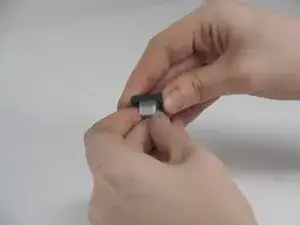
    • To take off the keys, place the flat end of the opening tool under the edge of the key. Gently pry the key cap off of the board.

  6. BrRPdXmKJkJj5YOS
    BrRPdXmKJkJj5YOS
    DccylvAiVjgYOw5w
    oxltrnZRtMsmOrM6
    • The key stem, a small white block-like object, may be left behind. If this happens the keyboard must be opened. Once opened separate the top casing from the bottom casing and gently press the stem towards where the inside of the keyboard would be. They should pop out in this direction.

  7. tfvbUeUemnfAZ5Zg
    tfvbUeUemnfAZ5Zg
    tJFuiBQack16iDRX
    • You can then place them back on the keycap by placing the end that has a small number on it back into the connector on the keycap. There is a small bump on the bottom edge of the stem, this should be facing direction of the top edge of the keycap.

  8. 2h1KBRTkinHgefMM
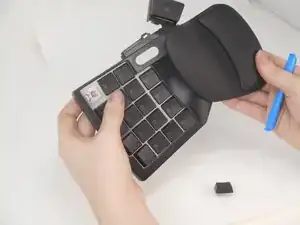
    • Remove the entire key bed, flip the top casing over.

    • Remove the four screws securing the key bed from the back using a Phillips #0 screwdriver.

  9. mLivFg2cCThXlAGg
    • Carefully pull the key bed off.

  10. rH2jQxBBo1YwIkHB
    • If you only want to replace the Metal Contacts, gently pop out the old metal contacts with your fingers from the key bed. Be careful not to damage the surrounding plastic.

Conclusion

To reassemble your device, follow these instructions in reverse order.

Derrick

Member since: 21/02/25

569 Reputation

0 comments