Introduction
The Razer Cynosa Lite (Model RZ03-0274) is a membrane-based gaming keyboard designed for durability and smooth key response. Over time, membrane keyboards can develop issues such as unresponsive, stuck, or inconsistently registering keys due to wear and tear. This guide will walk users through the process of replacing the membrane, restoring full keyboard functionality without needing to replace the entire device.
This repair requires careful handling to avoid damaging internal components, but it can be completed with basic tools and patience. Before beginning, ensure that you have a clean, well-lit workspace and that the keyboard is completely unplugged to prevent electrical hazards.
Tools
-
-
Flip keyboard upside down.
-
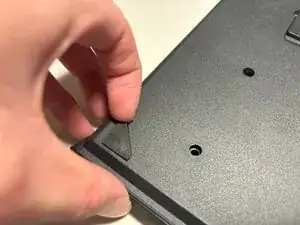
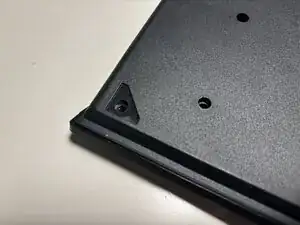
Remove the four corner stickers to reveal screws.
-
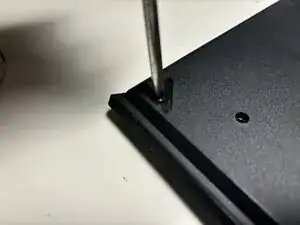
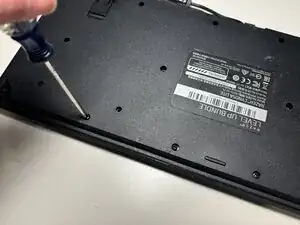
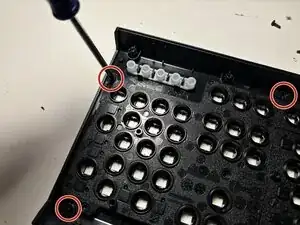
Remove all four 2 mm screws under the stickers with a Phillips #1 screwdriver.
-
-
-
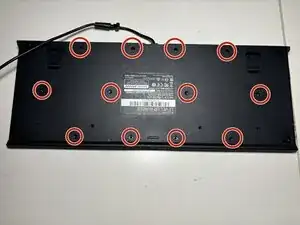
Use a Phillips #1 screwdriver to remove the remaining twelve screws from the bottom of the keyboard.
-
-
-
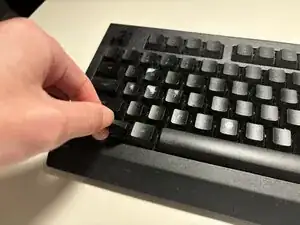
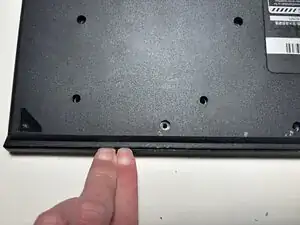
At the very bottom of your computer, create an opening between the top and bottom covers of the keyboard using your fingers.
-
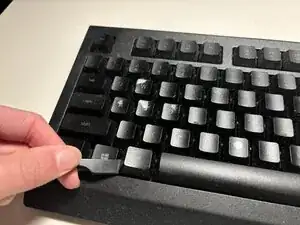
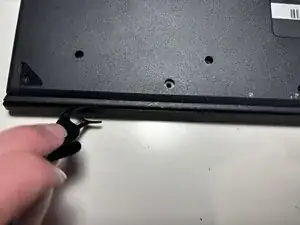
Insert a spudger into the space and slide it around the perimeter to release the clips that connect the top and bottom case.
-
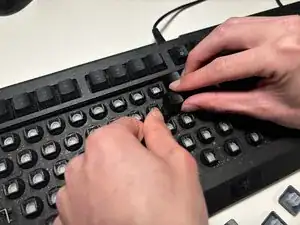
Flip the keyboard so the top side is facing up, then carefully separate the top cover from the bottom casing.
-
-
-
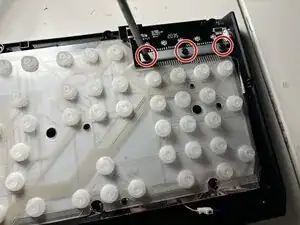
Use a Phillips #1 screwdriver to remove three 2 mm screws from the bracket at the right corner of the keyboard.
-
Remove the bracket from the keyboard.
-
-
-
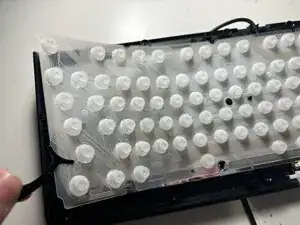
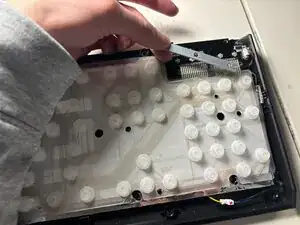
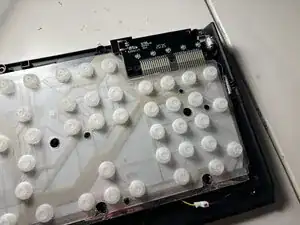
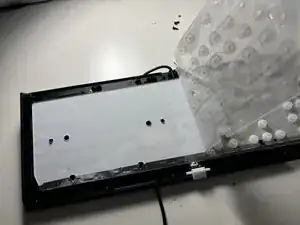
Use tweezers to grab the edge of the membrane and remove the membrane layers from the keyboard.
-
-
-
Use a Phillips #1 screwdriver to remove the eight 2 mm screws from the keyboard overlay and shield and separate them.
-
-
-
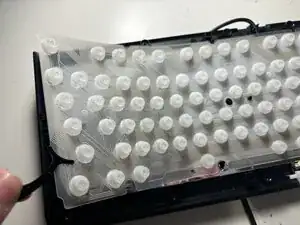
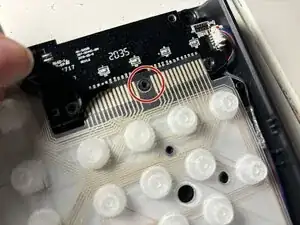
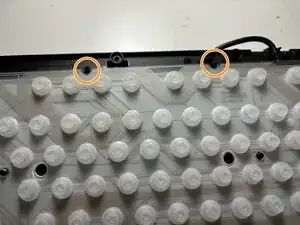
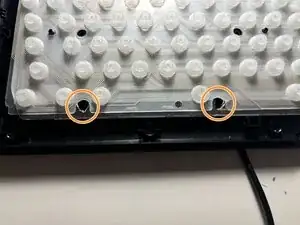
Using tweezers, align the new membrane's screw hole near the top right.
-
Align all of the divots in the membrane with the screw holes.
-
To reassemble your device, follow these instructions in reverse order. Take your e-waste to an R2 or e-Stewards certified recycler.
