Introduction
Tools
Parts
-
-
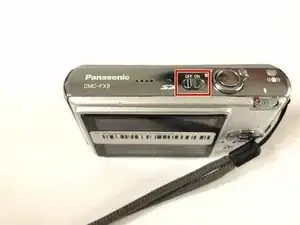
Make sure the power is off by making sure the switch is to the right. The power switch can be found on the top side of the camera.
-
-
-
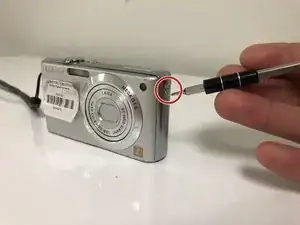
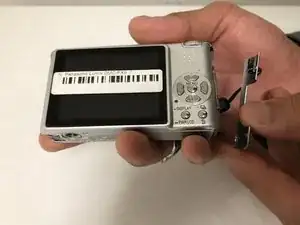
Use the Philips #00 Screwdriver on the screw on the left side of the camera.
-
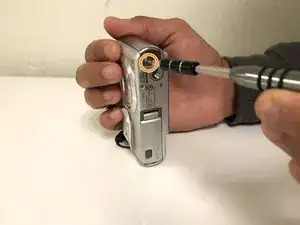
There is another screw on the underside of the camera that is part of the left cover.
-
-
-
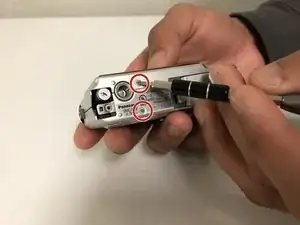
Use the Philips #00 Screwdriver to remove the screws on the bottom side of the camera.
-
Make sure to grasp the camera because these are the last two screws that hold the camera in place.
-
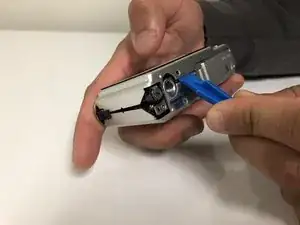
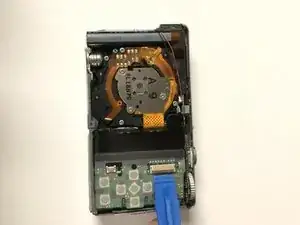
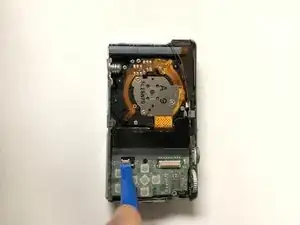
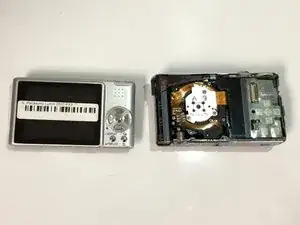
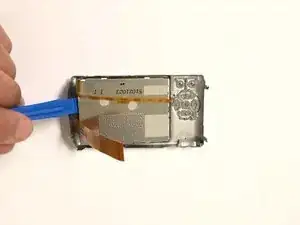
Carefully place the opening tool between the two covers and gently apply force upward to separate the covers.
-
-
-
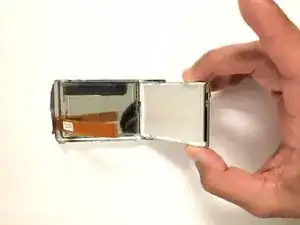
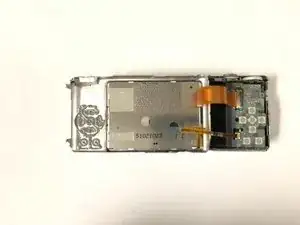
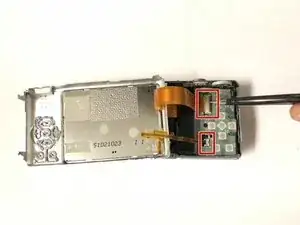
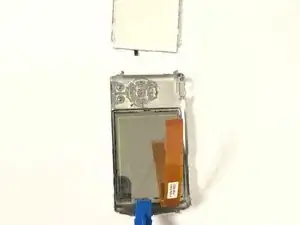
There are two digitizer cables that connect the LCD Screen to the camera motherboard.
-
The digitizer cables are held down by retaining flats.
-
Carefully use the opening tool to push the retaining flats upward to allow the digitizer cables to disconnect.
-
To reassemble your device, follow these instructions in reverse order.
One comment
Hi.. May i know where to buy a new screen with backlight?
