Introduction
-
-
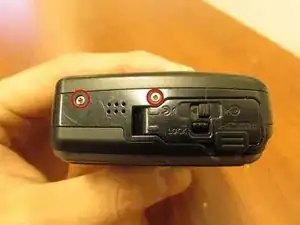
Remove both 6 mm screws from the clip side of the camera.
-
After you have removed the two screws, remove both the clip and the plate behind the clip so that the inside of the camera is exposed.
-
-
-
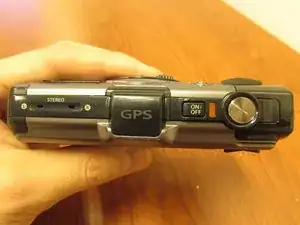
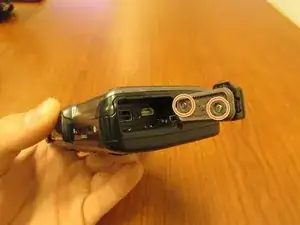
The top of the camera does not contain screws. You do not need to remove anything from the top of the camera.
-
-
-
Remove the two 5 mm screws on the side of the camera with the plug.
-
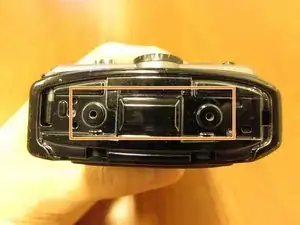
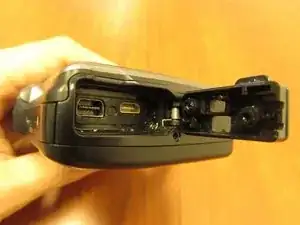
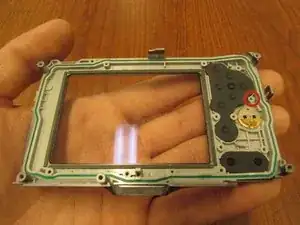
Open the compartment door and remove both 6 cm screws inside of the compartment door. This will allow you to remove the tan piece held by the screws.
-
-
-
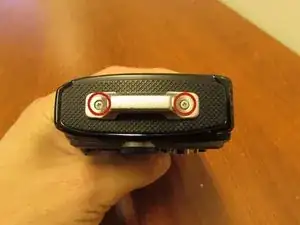
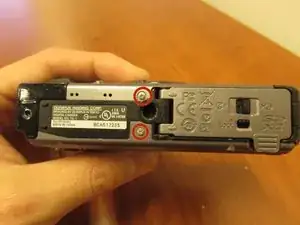
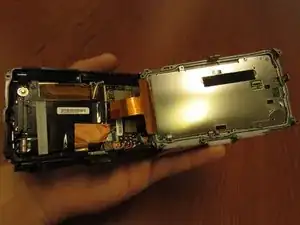
Turn the camera so that you are looking at the bottom of the camera.
-
Remove the two 4 mm screws from the bottom of the camera.
-
-
-
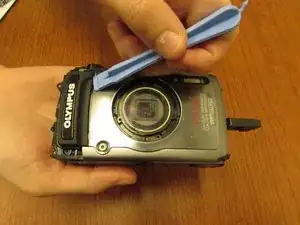
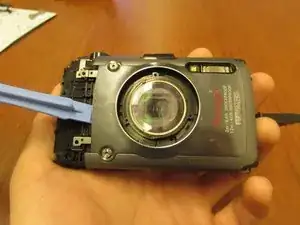
Use the plastic opening tool to remove both components of the front panel. This includes the black part on the outside of the front panel and the main silver panel.
-
-
-
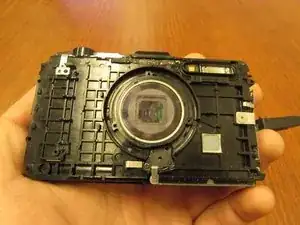
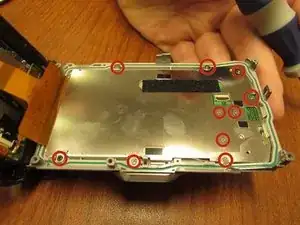
Using the screwdriver, remove the ten 3mm anchor screws.
-
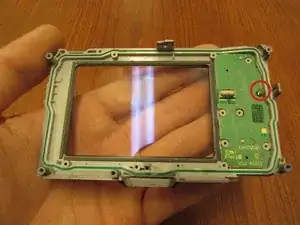
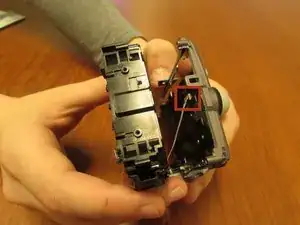
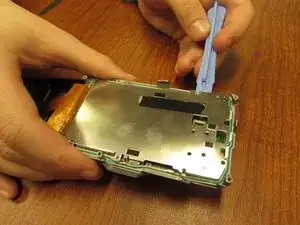
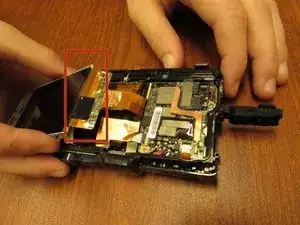
Using the plastic opening tool, open the protective cover so that the screen is exposed.
-
-
-
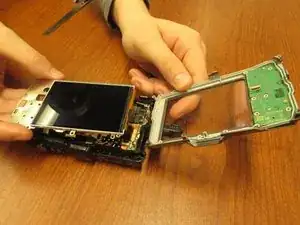
After removing this plastic casing from the screen, the only thing holding the circuit board to the plate is a screw 3 mm in length, with a diameter of 2.5 mm. Remove this screw.
-

To reassemble your device, follow these instructions in reverse order.