Introduction
-
-
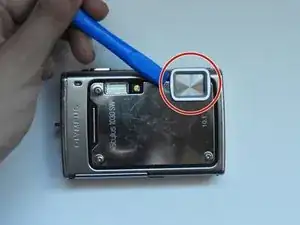
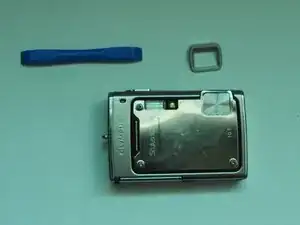
Using the iFixit Opening Tool, pry off the plastic part of the lens.
-
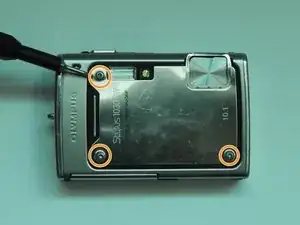
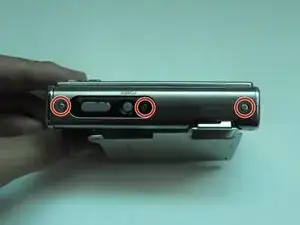
Using the T6 Torx screwdriver, unscrew the three screws.
-
-
-
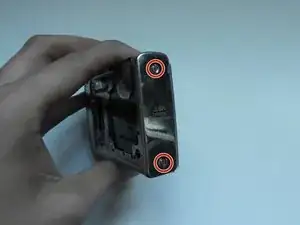
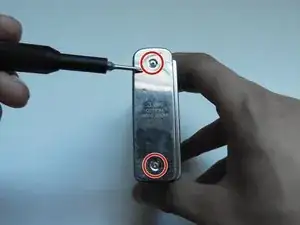
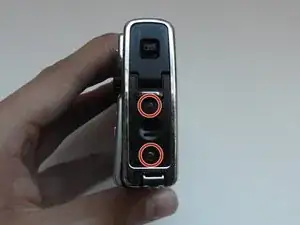
On the opposite side, use the Phillips #00 screwdriver to unscrew both screws.
-
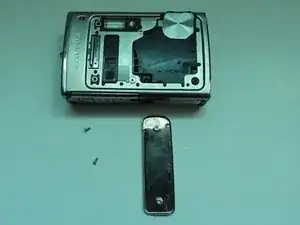
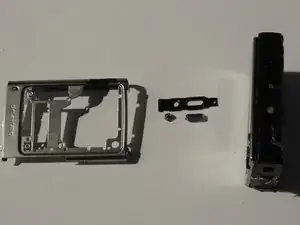
Take out the speaker plate.
-
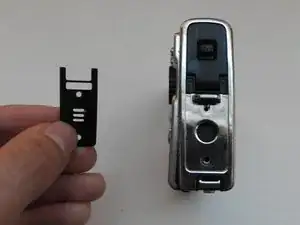
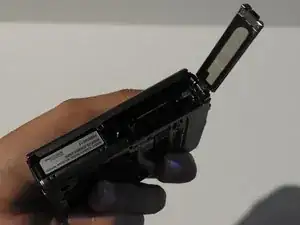
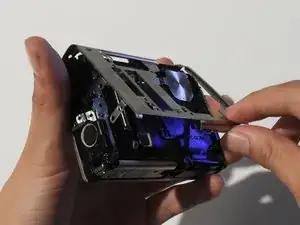
Open the multi-connector cover and slide off the side panel.
-
-
-
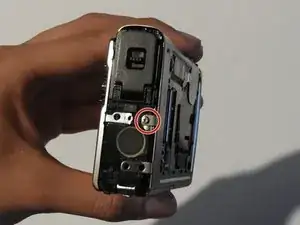
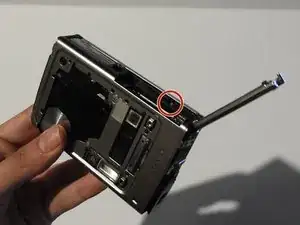
Using the Phillips #00 screwdriver, unscrew the screw above the speaker.
-
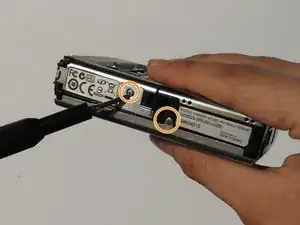
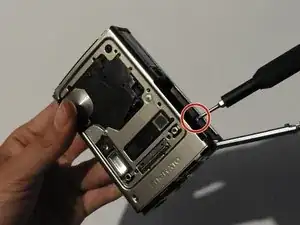
On the bottom side of the camera, unscrew the two screws.
-
-
-
Open the battery compartment cover.
-
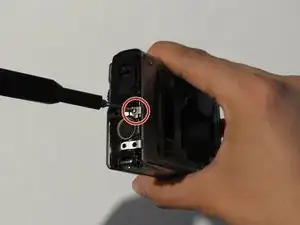
Use the Phillips #00 screwdriver to unscrew the screw in the battery compartment.
-
-
-
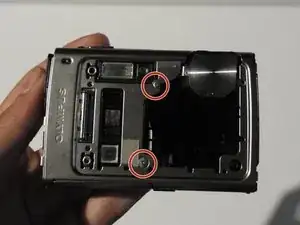
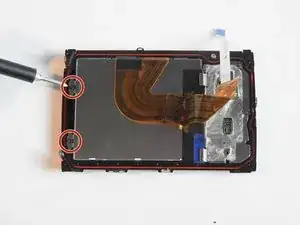
On the front of the camera, unscrew the two screws shown.
-
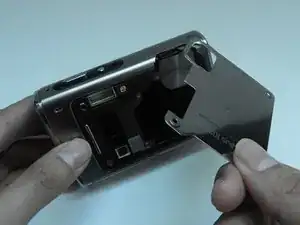
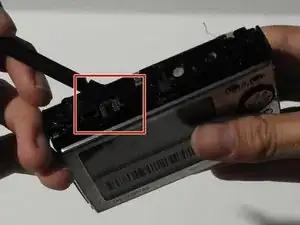
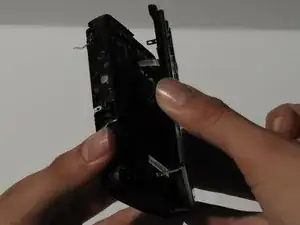
Gently pull on the side until the camera is separated from the back panel.
-
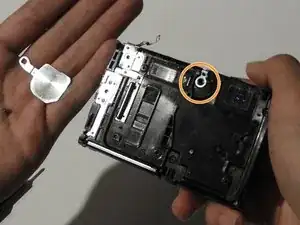
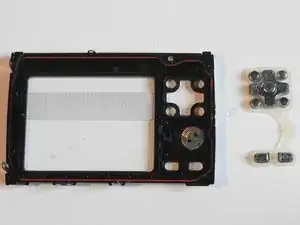
Remove the shutter and power button.
-
-
-
Use the Phillips #00 screwdriver to unscrew the four screws on the front of the camera.
-
Unscrew the shutter using the Phillips #00 screwdriver.
-
-
-
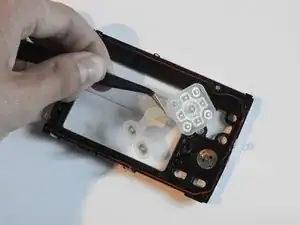
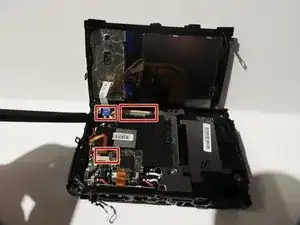
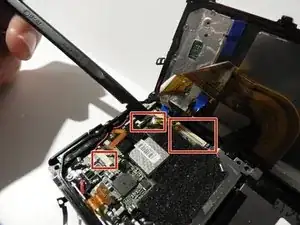
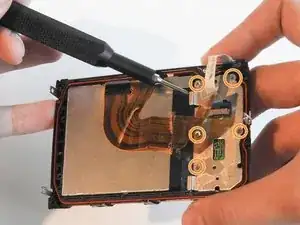
Release the top holding using a spudger.
-
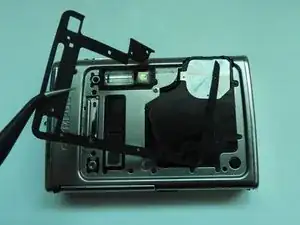
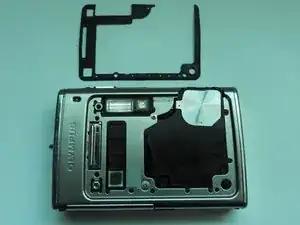
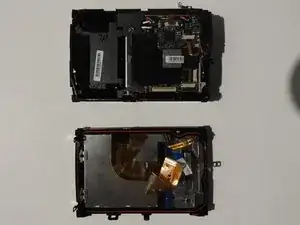
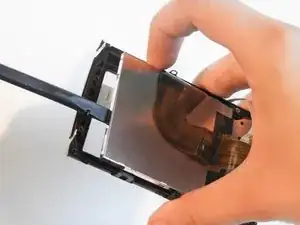
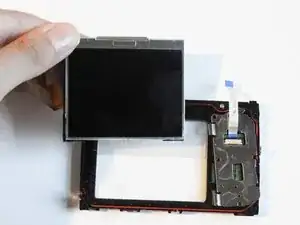
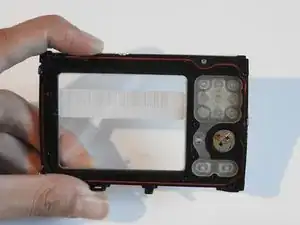
Slowly and carefully separate the front and back of the camera, exposing the electrical ribbons.
-


To reassemble your device, follow these instructions in reverse order.
What secures the plastic part back to the lens when reassembling?
Patrick Mitchell -