Introduction

This is a prerequisite-only guide! This guide is part of another procedure and is not meant to be used alone.

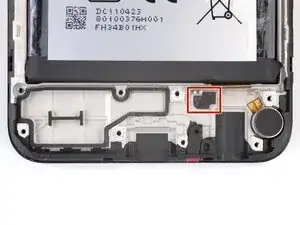
Use this guide to remove the charging port assembly in the Nokia G42 5G.

  1. pjjrJn6aBXS6XtUs
    pjjrJn6aBXS6XtUs
    FgXSSEKRGoygCMET
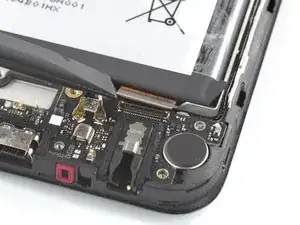
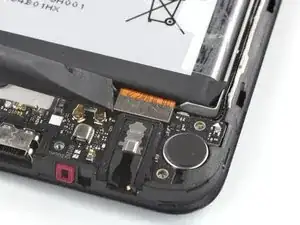
    • Use the flat end of a spudger to disconnect the interconnect cable by prying the connector straight up from its socket.

    • To re-attach press connectors like this one, carefully align and press down on one side until it clicks into place, then repeat on the other side. Don't press down on the middle. If the connector is misaligned, the pins can bend and cause permanent damage.

    Hello there, I have damaged the interconnect cable during the screen replacement process, do you offer replacement cables for sale?

    oliver gray -

    Hello Oliver, unfortunately we currently do not have interconnect replacement cables available in the iFixit store. In this case, please reach out to Nokia Phones support!

    Manuel Haeussermann -

  2. GWsOEUHZMhSOIUtO
    GWsOEUHZMhSOIUtO
    1pYOLjHveLquCXTg
    UISpQHiFAfVmEc34
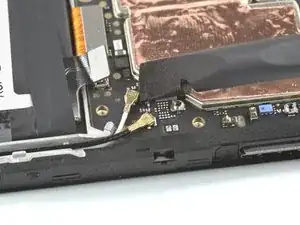
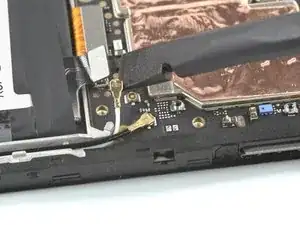
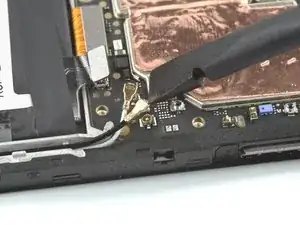
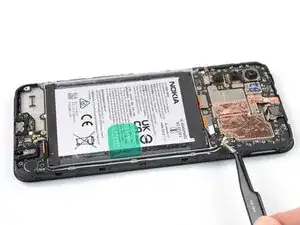
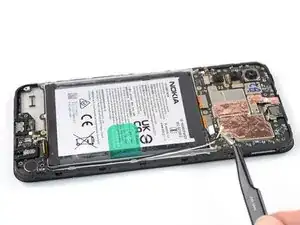
    • Use a spudger to disconnect both antenna cables by prying their connectors straight up from the sockets on the motherboard.

    easier to decouple using the pincet in my opinion

    eva -

  3. YSrMmXdJTvBdL2mg
    YSrMmXdJTvBdL2mg
    cTLMI6ciOYVoVJxc
    XstCMOGf1htfXxTq
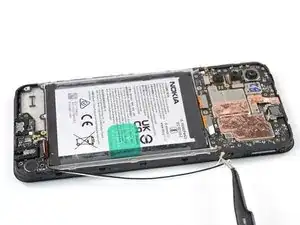
    • Use a pair of tweezers or your fingers to lift the antenna cables out of their recess in the frame.

    • During reassembly, connect the white antenna cable to the motherboard before connecting the black antenna cable. Then reseat the antenna cables into their recess.

  4. n5XENJFnaHFlX6Kw
    n5XENJFnaHFlX6Kw
    6PFD1lxsWtKJR5kE
    S2ftAU1hXCUppbY1
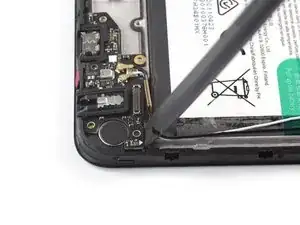
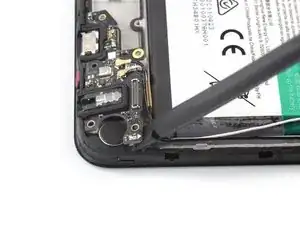
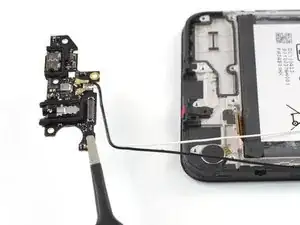
    • The top edge of the charging port assembly is held in place with adhesive.

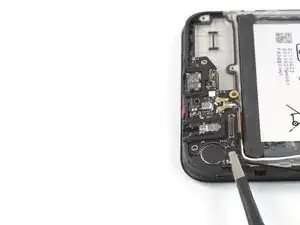
    • Insert the flat end of a spudger underneath the top right edge of the charging port assembly.

    • Pivot the charging port assembly up until you can grip it with your fingers.

  5. QfXgp1coGxfFJquF
    QfXgp1coGxfFJquF
    Glnxvs5x6kwxNQNt
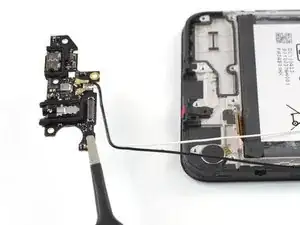
    • Use a pair of tweezers or your fingers to remove the charging port assembly.

    Seemed to help to also pry the board up from the end by the screw hole near the antenna cables. Then it popped out.

    robincm -

    CAUTION ther is a tiny sticky pad underneath this board that the guide does not knowledge which resulted in unexpected resistance and subsequently BROKE this board for me. PLEASE BE CAREFUL.

    iTS RIGHT NEXT TO THE INTERCONNECT CABLE

    Adam Toolin -

    Hi Adam,

    I'm sorry about hearing the issue you had during your repair. The adhesive you mention is being acknowledged in the previous step, see the first bullet point: "The charging port assembly is held in place with mild adhesive". Based on your feedback, I feel like this could be pointed out even more clearly, so thank you for your input.

    Manuel Haeussermann -

Conclusion

To reassemble your device, follow these instructions in reverse order.

Take your e-waste to an R2 or e-Stewards certified recycler.

Repair didn’t go as planned? Try some basic troubleshooting, or ask our Answers community for help.
Manuel Haeussermann

Member since: 13/07/22

20443 Reputation

0 comments