Introduction
If your device is experiencing display glitches, unresponsive buttons, or connection issues, the daughter board may be the root of the problem. Replacing the daughter board is a straightforward fix that can restore full functionality.
This guide will walk you through the process of replacing the daughter board using basic tools. Make sure the device is powered off and unplugged before starting the repair.
-
-
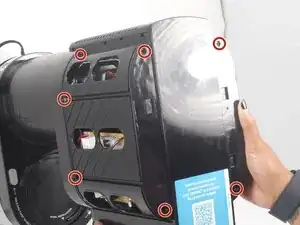
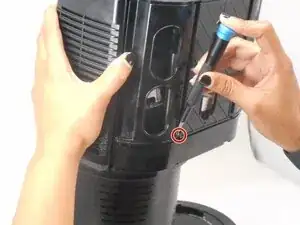
Remove the ten 13.6 mm Phillips screws from the perimeter of the outer cover.
-
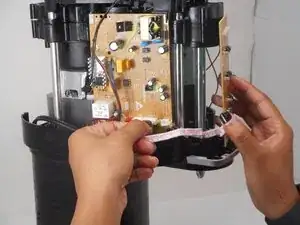
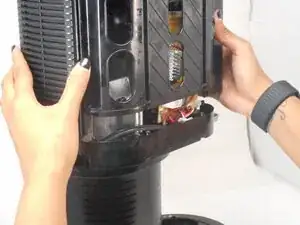
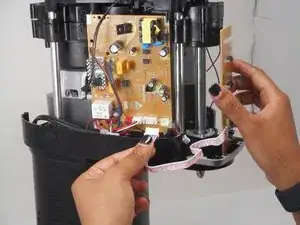
Lift the black plastic cover straight up and off.
-
-
-
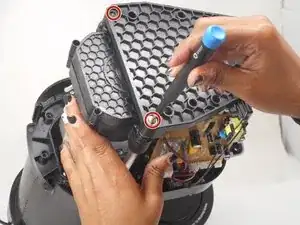
Remove the four 12.2 mm Phillips screws from the black plastic cover.
-
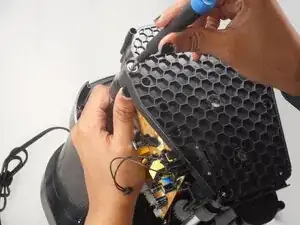
Lift the black plastic cover straight up and off.
-
Conclusion
To reassemble your device, follow these instructions in reverse order.