Introduction
Outline what you are going to teach someone how to do.
-
-
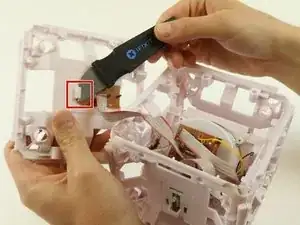
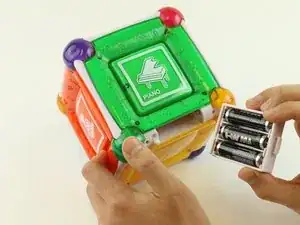
Remove the On/Off switch plate and save the screws so you can use them later to put the plate back on.
-
-
-
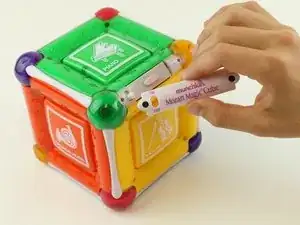
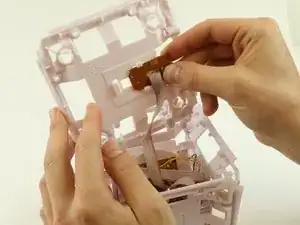
Gently pull out the battery cartridge and if needed, replace the batteries with 3 AA alkaline batteries.
-
-
-
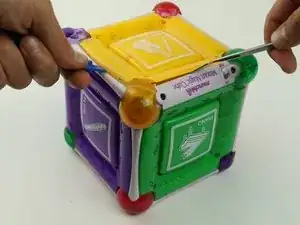
Starting with the yellow face, insert the metal spudger between the yellow face and the white frame, prying the frame apart.
-
-
-
Insert the metal spudger in the space created by the plastic opening tool between the frame and face of the cube.
-
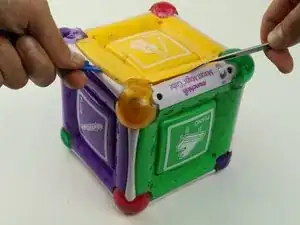
Pry the cube face from the frame.
-
-
-
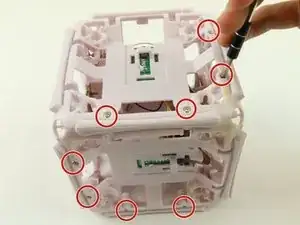
After removing the square plates, you can unscrew the screws underneath.
-
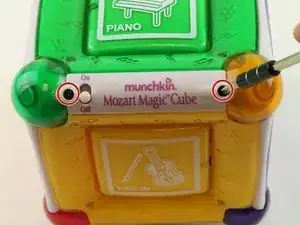
Remove four 6 mm Phillips #2 screws, located on the sides.
-
-
-
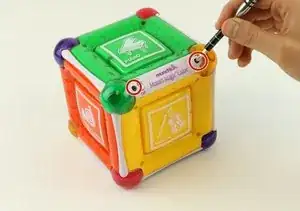
Remove twenty-four 6 mm Phillips #2 from all 6 sides.
-
Once the screws are removed, gently pull apart the frame.
-
-
-
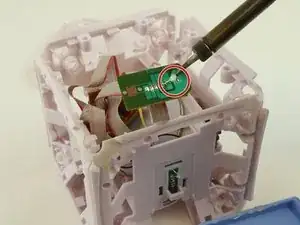
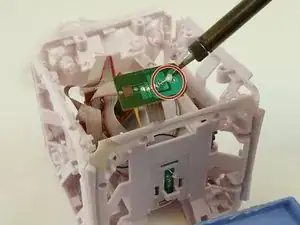
Flip the frame over so that green motherboard over so that the LED is face down and the brown side of the motherboard is face up.
-
Use the Jimmy to remove the glue connecting the motherboard to the white frame.
-
-
-
Use the soldering iron to desolder the LED by applying heat to the half sphere like connections.
-


To reassemble your device, follow these instructions in reverse order.