Introduction

If your Moto G Power 5G (2023) is no longer taking clear photos—or not taking photos at all—it could be due to a cracked or malfunctioning rear camera which is integrated into the motherboard. This issue may result from physical damage, internal hardware failure, or long-term wear. Before replacing the camera, make sure you’ve ruled out simpler causes like app glitches, low storage, or a dirty lens. This repair involves opening the device, so be prepared with the right tools and a clean workspace.

  1. 3g1WYPEPwf41LWIt
    • Hold the power button, tap “Power off,” and wait for the screen to go black.

    • If it's unresponsive, hold power and volume down for 10–15 seconds to force shut off.

  2. TGYRAuLsoayLrEgS
    TGYRAuLsoayLrEgS
    Se3nFFgT3KIVmxgs
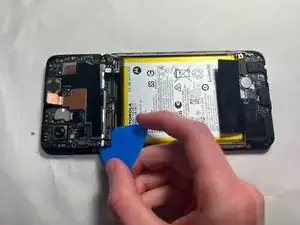
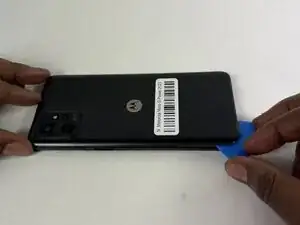
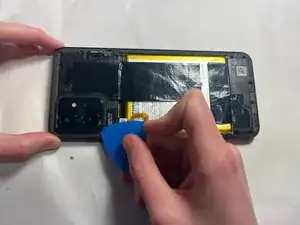
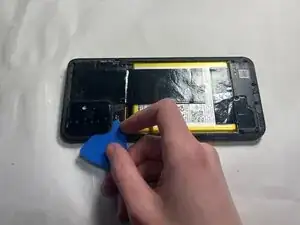
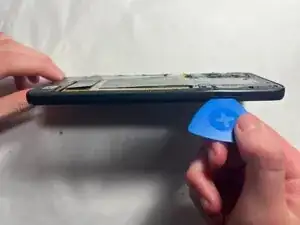
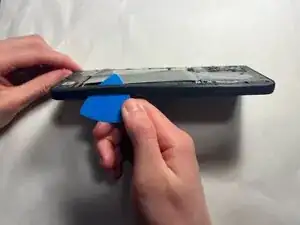
    • Slide an iFixit opening pick along the edge seam of the phone to loosen the adhesive. Work slowly around the phone until the back cover begins to lift.

    • Take your time to avoid cracking the plastic or damaging internal parts.

  3. xKjPdPHE1RRYKJ1i
    xKjPdPHE1RRYKJ1i
    LhrWYUd2jPKJL1IC
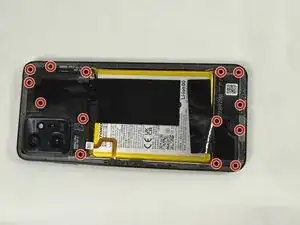
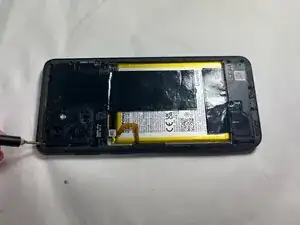
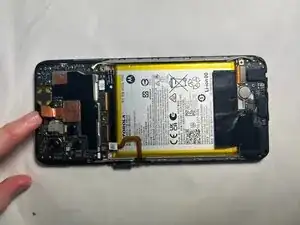
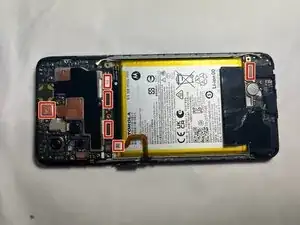
    • Use a Torx T5 screwdriver to remove fourteen 2.2 mm screws securing the internal cover edges.

  4. FO4Tp3uXHCf4wIrc
    FO4Tp3uXHCf4wIrc
    Lfjky13Fc6lpxjlQ
    45SaqcHCDAWXXZd2
    • Use the iFixit opening pick to gently pry off the back camera casing.

    • Work slowly around the edges to avoid cracking the plastic or damaging nearby components. Apply even pressure and take your time—this piece is thin and can be delicate.

  5. lQuZ45COtBGNOBrH
    lQuZ45COtBGNOBrH
    mlqlPtgUPttXajed
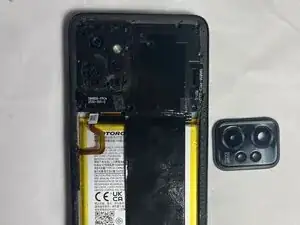
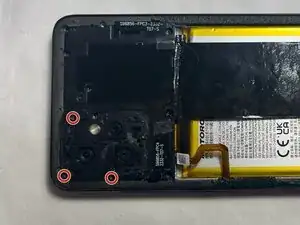
    • Remove the three 2.2 mm screws that were underneath the back camera casing using a Torx T5 screwdriver.

  6. FgFA5O5IJF5oPPAo
    FgFA5O5IJF5oPPAo
    2JCKUPoiIfGG5MxD
    • Remove the SD card by ejecting the SIM/SD tray from the side of the phone.

    • You can use a paper clip or the SIM ejector tool to pop the tray out.

  7. pGgEAmYoBUkgl6sx
    pGgEAmYoBUkgl6sx
    PjftTTNeYgGKXftC
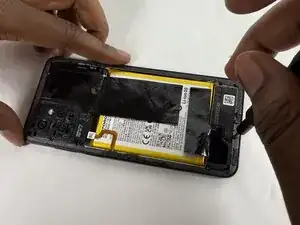
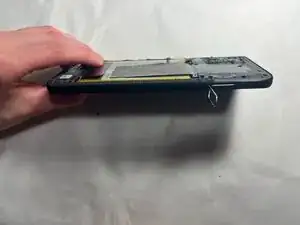
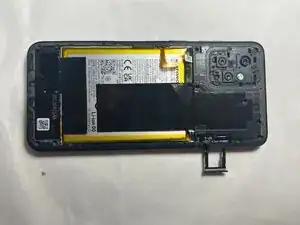
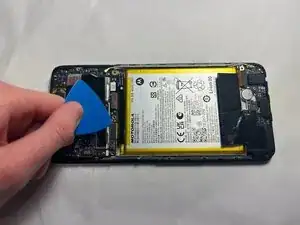
    • Remove the side casing from the phone by gently prying along the edges. Start from underneath the section of where the SD card was removed.

    • You can use the opening pick again to carefully lift and separate the casing without damaging the clips or frame.

  8. AfSBBofMhcPNCVB2
    AfSBBofMhcPNCVB2
    NWrSW3DHLkgEt5eS
    TqhpDTD2nAdqS5rN
    • Unfold the six small tabs carefully to access the internal components beneath.

  9. ILrfMZKtJSNP2URc
    ILrfMZKtJSNP2URc
    sirtaiRIMJOiqplb
    • Use an iFixit opening tool to pry the motherboard out of the device.

Conclusion

To reassemble your device, follow these instructions in reverse order.

Yussuf

Member since: 19/03/25

145 Reputation

0 comments