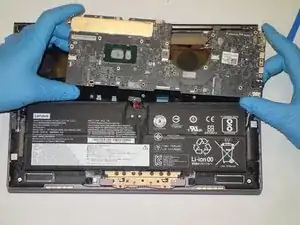
Introduction
Tools
Parts
-
-
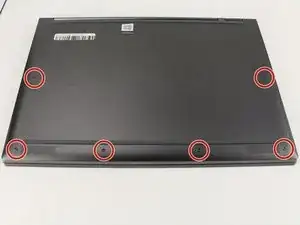
Flip the device over so that the underside is facing up.
-
Remove the six 3.5 mm T5 Torx screws.
-
-
-
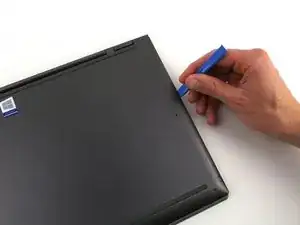
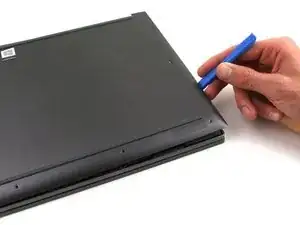
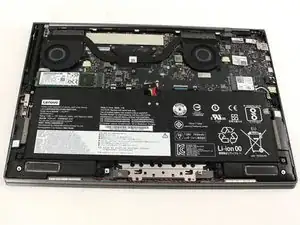
Pry off the back cover using the plastic opening tool.
-
Loosen the back cover in multiple spots using the opening tool, then remove the whole back.
-
-
-
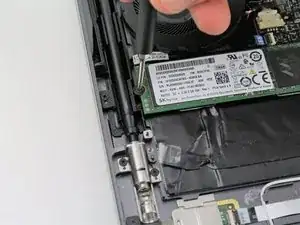
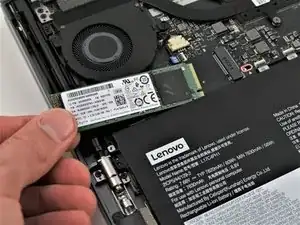
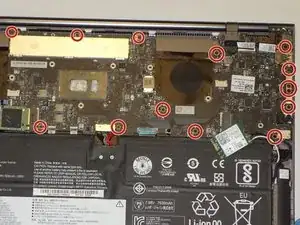
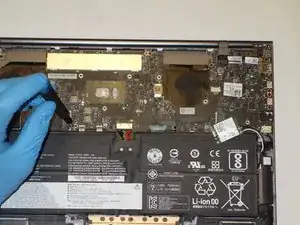
Remove the screw ( 2 mm with a 5 mm head) that connect the SSD to the motherboard using a Phillips #00 screwdriver.
-
-
-
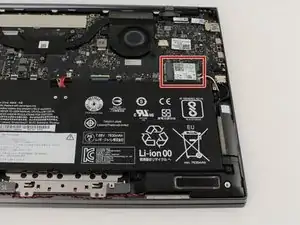
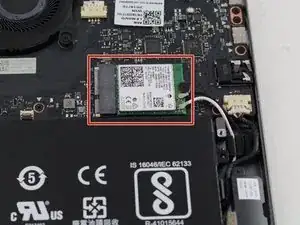
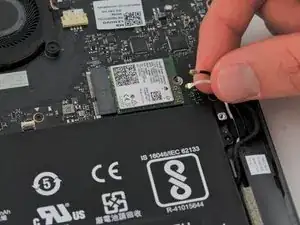
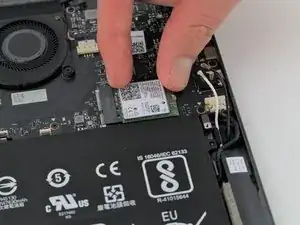
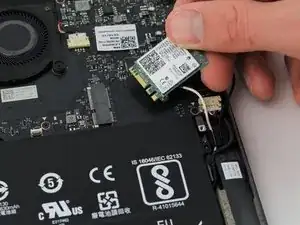
Find the Wi-Fi card located on the right just above the battery. It is a green chip with a white label that says "Intel 9260" somewhere on it.
-
-
-
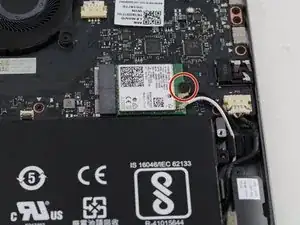
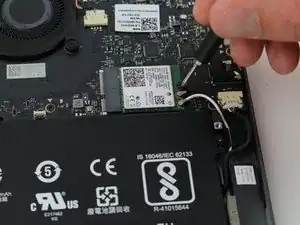
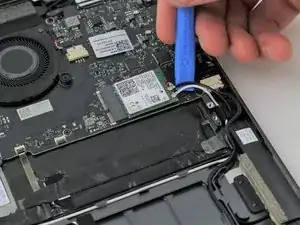
Use a Phillips #00 screwdriver to remove the single 2 mm screw that attaches the card to the motherboard.
-
-
-
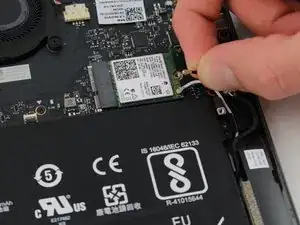
Gently pull or use the iFixit opening tool to detach the black and white wires from the card.
-
-
-
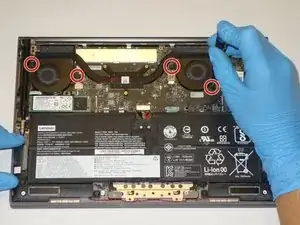
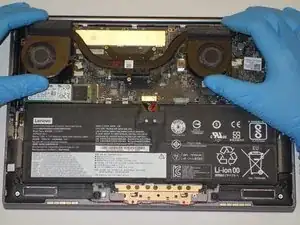
Use a plastic opening tool to remove the two small, white power cable connectors for each of the two fans.
-
-
-
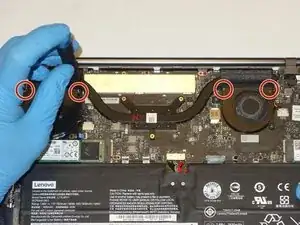
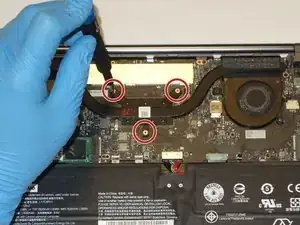
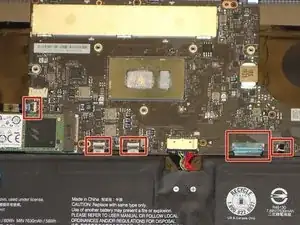
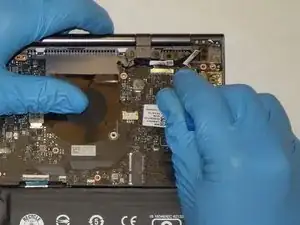
Using the Halberd Spudger, gently lift the black tab on top of each of the five ZIF connectors for the ribbon cables. Then pull the cables out from the connectors.
-
-
-
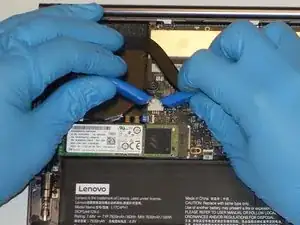
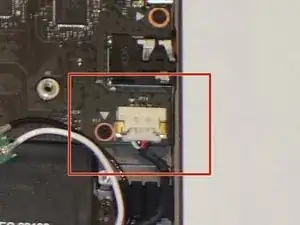
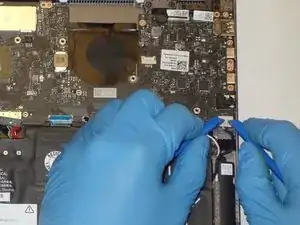
Using two plastic opening tools gently unplug the white speaker cable connector from the bottom left of the motherboard.
-
-
-
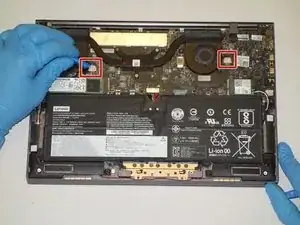
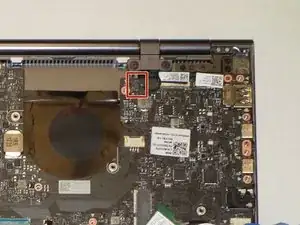
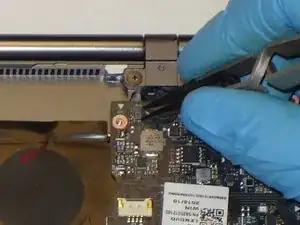
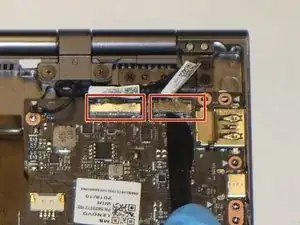
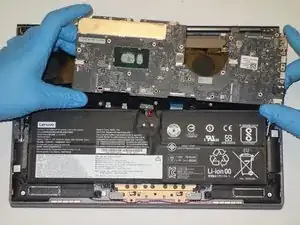
Using the plastic opening tool, gently pry up on the metal tabs of the two display cables to remove the cables from the top right corner of the motherboard.
-
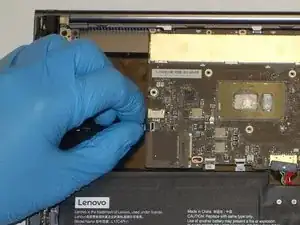
To reassemble your device, follow these instructions in reverse order.
2 comments
This is a great step-by-step walk-through. I went into replace a keyboard with all the wrong tools with me and I found out the client ordered the wrong keyboard thankfully no liquid damage inside. I found a few steps that were not required unless you were doing a parts swap to another system. I managed to instead clean out the keys without breaking the key caps and somehow the wrong keyboard had the right donor parts to fix the arrow key.
Can I really say I completed this when I ended up not replacing the keyboard?
FYI keep your liquids away from your computer!
I do have to say this system is pretty serviceable, cough if the manufacturer has parts.
Thank you for this step by step. It worked a treat!
