Introduction
Is your laptop heating up too quickly or making loud noises? Consider using this guide to replace the fan in your device.
-
-
Make sure to power down and turn off your device before proceeding with the repair.
-
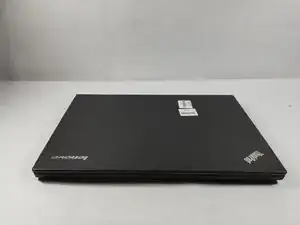
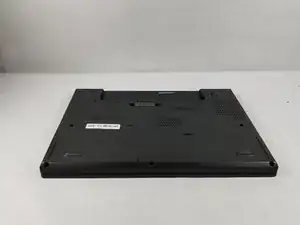
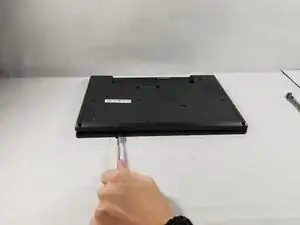
Flip your laptop over so that the backside is facing you.
-
-
-
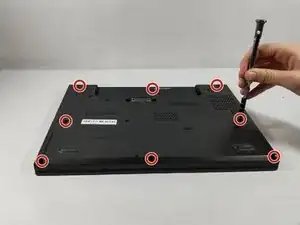
Using a Phillips #1 screwdriver, remove the eight screws securing the backplate.
-
Don’t try to force screws which won't come out. They are held in place by a stopper on the reverse side. This will not prevent you from removing the backplate.
-
-
-
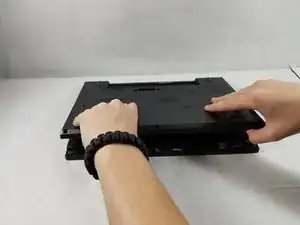
Using the metal spudger, wedge it in the seam where the backplate meets the front plate and run the tool along the seam to separate the backplate.
-
-
-
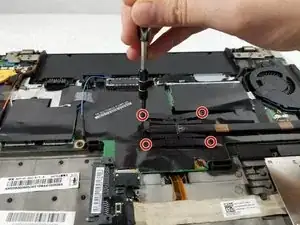
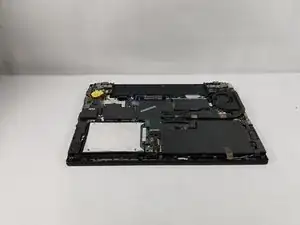
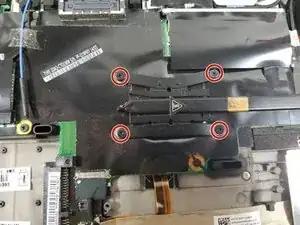
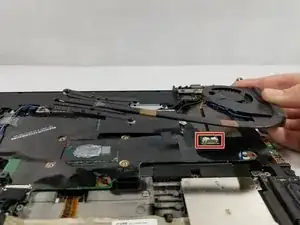
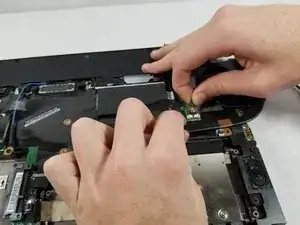
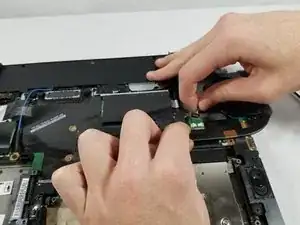
Lift the fan out of it's compartment to gain access to the cable connection, firmly grab the cable and pull it out of it's housing.
-
To reassemble your device, follow these instructions in reverse order.
4 comments
It would be helpful to have something about the fan too!
Where to get it, or at least the model number!
Iraj V -
What about thermal grease?
Useless info. This is the heatsink (with fan) replacement, NOT fan replacement. The poster is a moron.
Victor - The fan and heatsink are attached to one another. How would you propose one replace the fan only? If you have a method, please create your own guide if this one was authored by such a “moron”. Jeez.
You should also disable the internal battery in the BIOS first too.
martin8777 -