Introduction
The Lenovo ThinkPad T570 is a business-class laptop commonly used for video conferencing and online communication, with a built-in webcam located at the top of the display. This guide will show you how to replace the webcam if it stops working, produces a blurry image, or is not recognized by the system. Before beginning, power off the laptop, disconnect it from any power source, and handle internal components carefully to avoid damaging delicate cables.
Tools
-
-
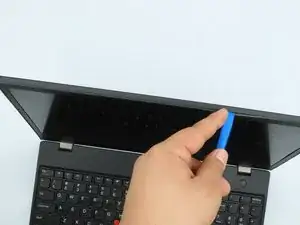
Insert the plastic opening tool between the screen and the bezel around the screen.
-
Gently pry along the top edges to loosen the frame clips.
-
Slide the tool along the entire top and bottom edge until the bezel around the display is free.
-
Remove the bezel and set it aside.
-
-
-
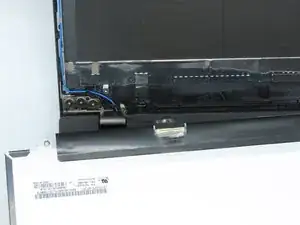
Tilt the screen forward to access the area behind the display.
-
Set the screen aside or hold it at an angle that gives you access to the webcam at the top edge.
-
-
-
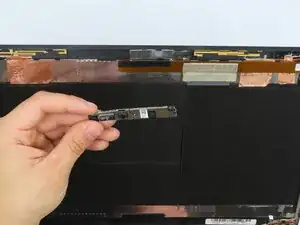
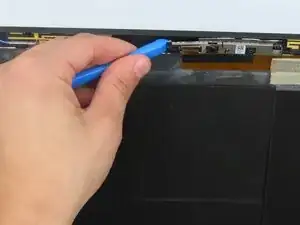
Use the plastic opening tool to lift the webcam from the top edge of the screen.
-
Once free, pull the cable to disconnect from the back of the webcam.
-
Lift the webcam out of the space.
-


To reassemble your device, follow these instructions in reverse order.