Introduction
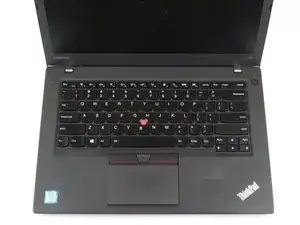
Use this guide to replace the power button board in your Lenovo ThinkPad T460.
The power button board contains the button that turns on the computer when pressed. Diagnosing a faulty power button may be tricky since some of the symptoms are similar to a faulty battery or AC adapter. If you are pressing the power button but your laptop is not turning on, take a look at this Lenovo ThinkPad troubleshooting manual before attempting a power button board replacement.
If you need to perform a replacement, make sure to disable the internal battery, power down your device, and disconnect from any external power sources before you begin.
-
-
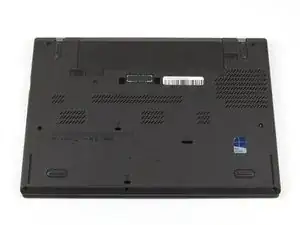
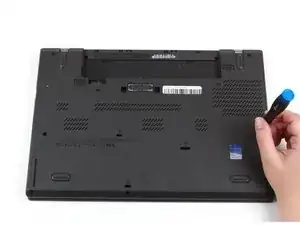
Place the laptop so that the bottom is facing upwards.
-
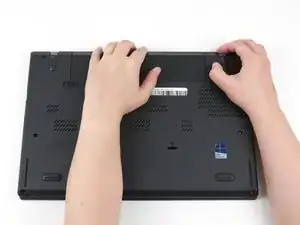
Slide the latch on the left side of the battery to the left until it clicks in place.
-
-
-
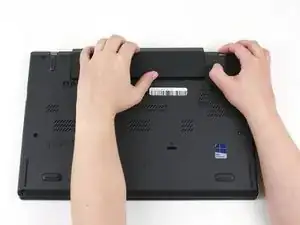
Slide the latch on the right side of the battery to the right and hold it in place with your thumb.
-
Use your other hand to slide the battery towards the back of the laptop.
-
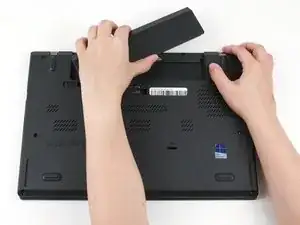
Lift the battery up and away from the laptop.
-
-
-
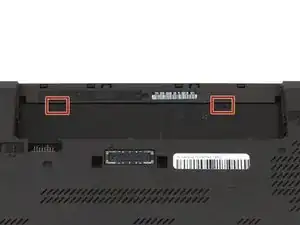
Use the pointed end of a spudger to pry the two rubber stoppers out of the battery compartment.
-
-
-
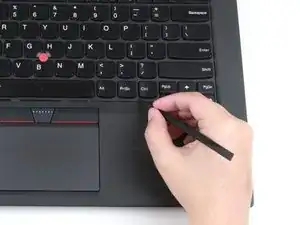
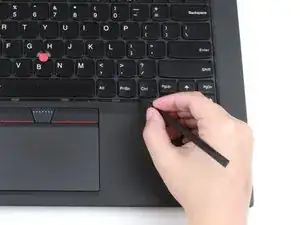
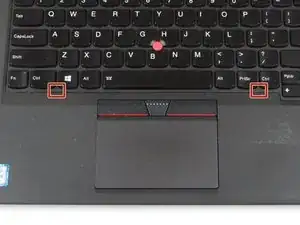
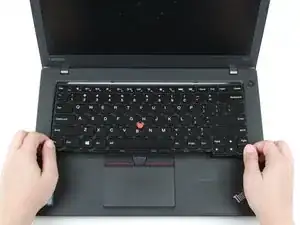
Use the pointed end of a spudger to push the keyboard towards the screen using the two notches on the bottom of the keyboard.
-
-
-
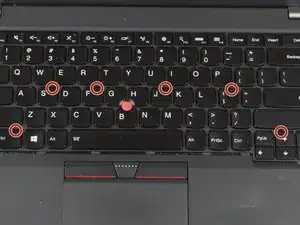
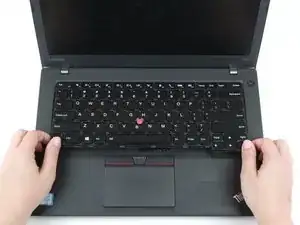
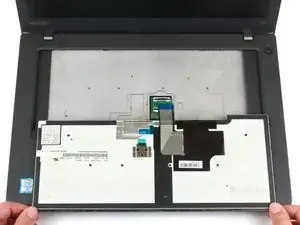
Use your hands to pull the keyboard up and towards you by a few millimeters to remove it from its tray.
-
-
-
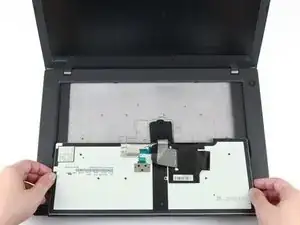
Grab the bottom edge of the keyboard with your hands, and flip the keyboard upside-down, so it rests on the bottom of the laptop.
-
-
-
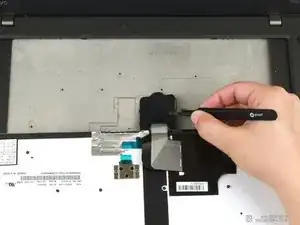
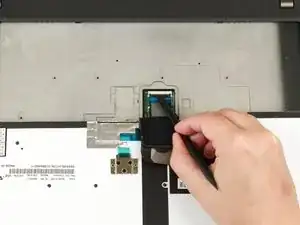
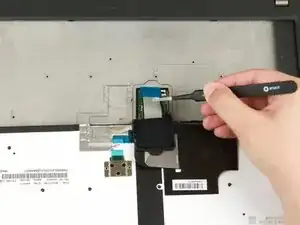
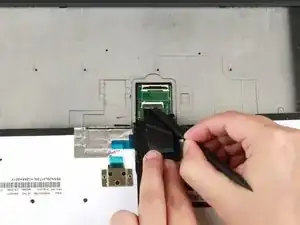
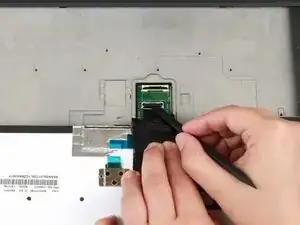
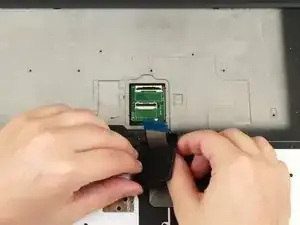
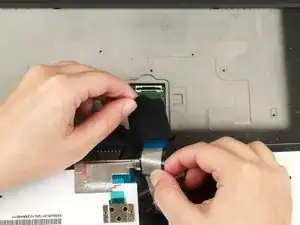
Pull the ribbon cables through the slot in the black flap.
-
Remove the black flap from the keyboard.
-
-
-
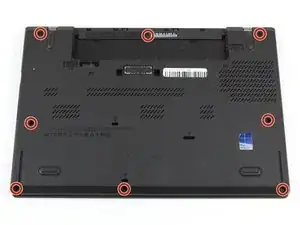
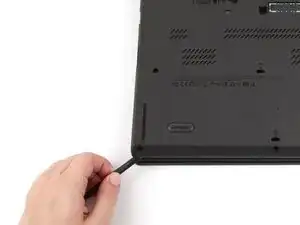
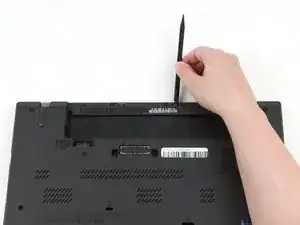
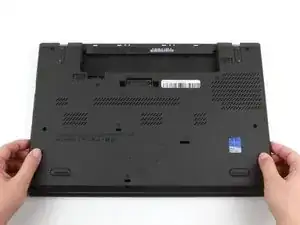
Insert the flat end of a spudger in between the bottom cover and the rest of the laptop, starting in the lower left corner.
-
Pry the lower left corner of the bottom cover up by a few millimeters.
-
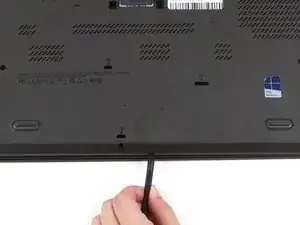
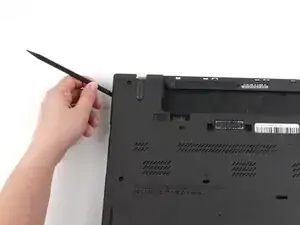
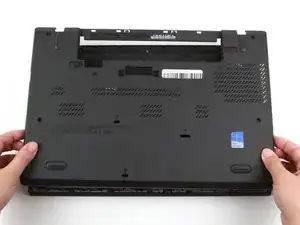
Slide the spudger along the bottom of the laptop to release the clips until you reach the lower right corner.
-
-
-
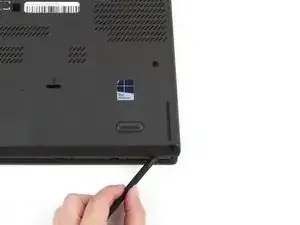
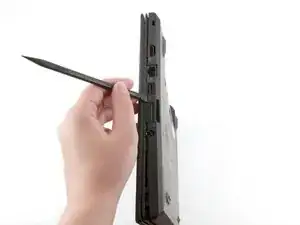
Use the spudger to pry the upper left corner up by a few millimeters.
-
Pry up the sections of the bottom cover with printed logos of the ports.
-
-
-
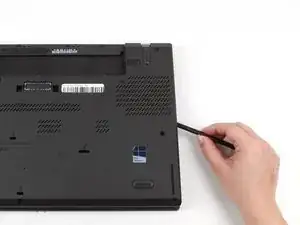
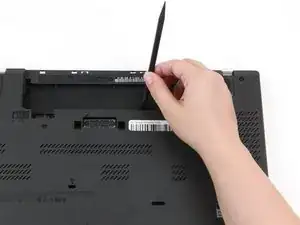
Use the spudger to pry up the bottom cover in the lower portion of the external battery compartment by a few millimeters.
-
-
-
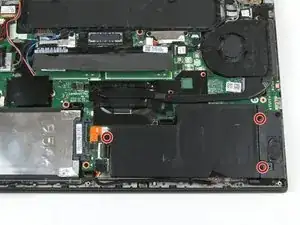
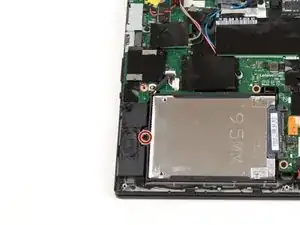
Remove the single 3.7 mm screw from the left side of the hard drive using a Phillips #1 screwdriver.
-
-
-
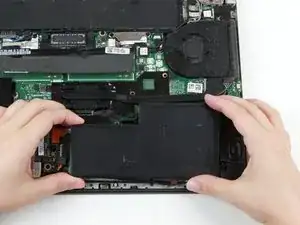
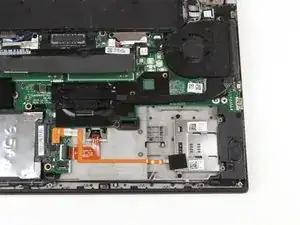
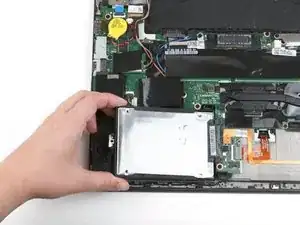
Use your hand to lift up the hard drive by a few millimeters.
-
Pull the hard drive to the left to detach it from its connector and remove it from the laptop.
-
-
-
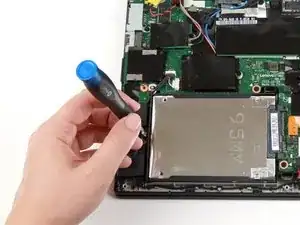
Use the flat end of a spudger to disconnect the gray and black coaxial wires from the Wi-Fi card.
-
-
-
Remove the single 3.7 mm screw from the right side of the Wi-Fi card using a Phillips #1 screwdriver.
-
-
-
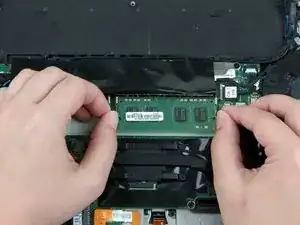
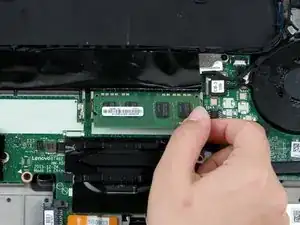
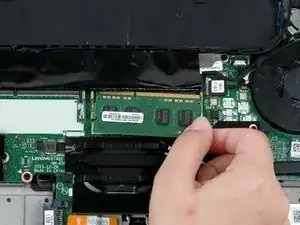
Use your fingers to lift the Wi-Fi card up and out of its slot.
-
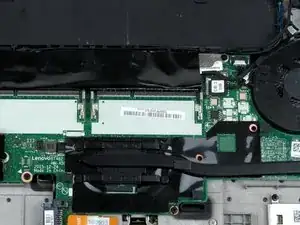
This laptop does not include a WWAN card, but if yours does, follow the same procedure as Steps 32-35 to remove it.
-
-
-
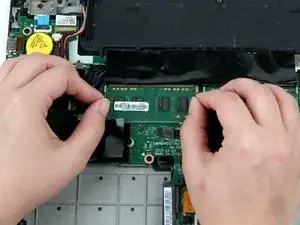
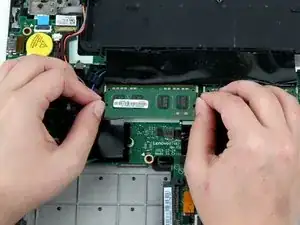
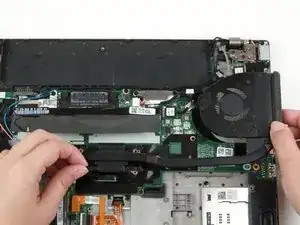
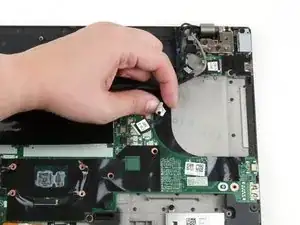
Use a pair of blunt nose tweezers to pull the white fan connector out of its socket on the motherboard.
-
-
-
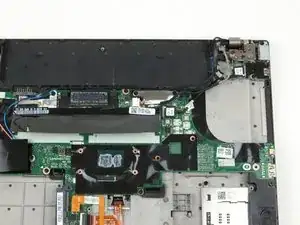
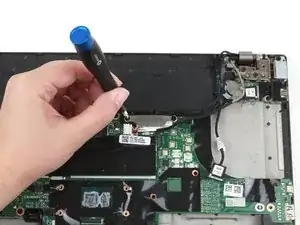
Use a Phillips #1 screwdriver to loosen the first pair of captive screws on the fan assembly in a crosswise pattern.
-
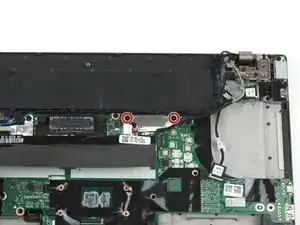
Use a Phillips #1 screwdriver to loosen the second pair of captive screws on the fan assembly in a crosswise pattern.
-
-
-
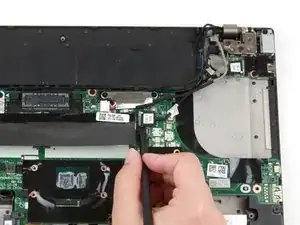
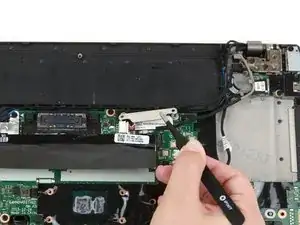
Use the pointed end of a spudger to lift up the metal bracket on the camera/microphone cable.
-
-
-
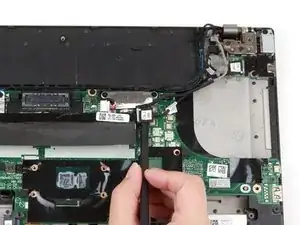
Use the flat end of a spudger to detach the camera/microphone cable connector from its socket.
-
-
-
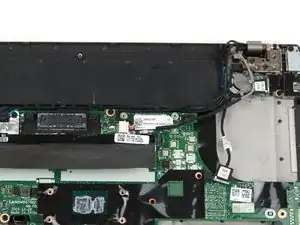
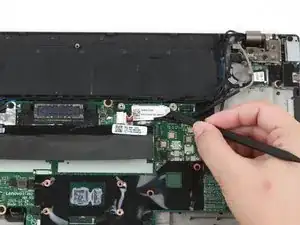
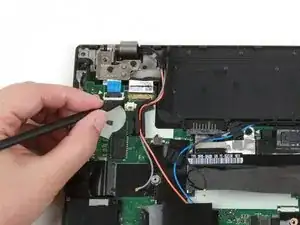
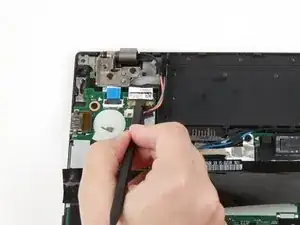
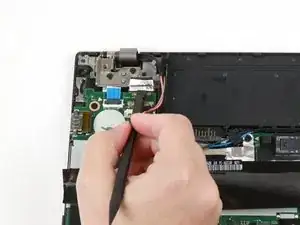
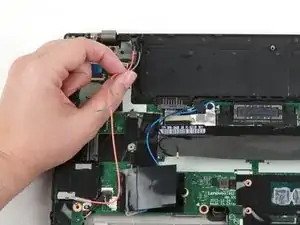
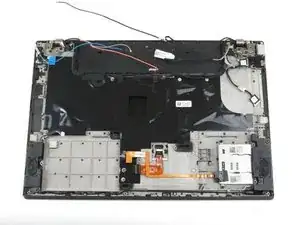
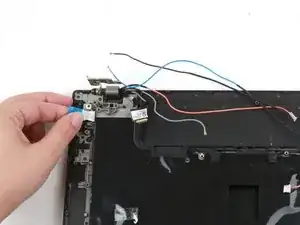
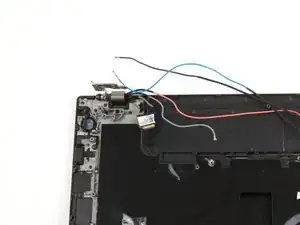
Use your fingers to remove the gray and red coaxial cables from their slots along the motherboard.
-
-
-
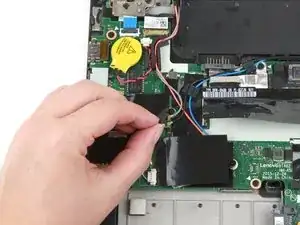
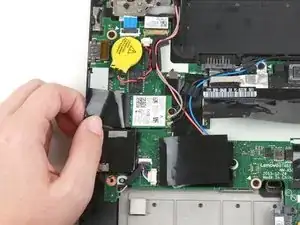
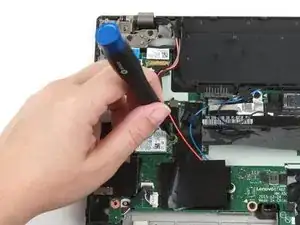
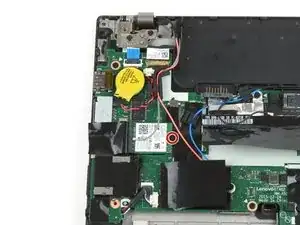
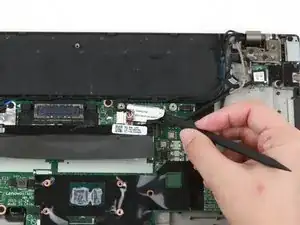
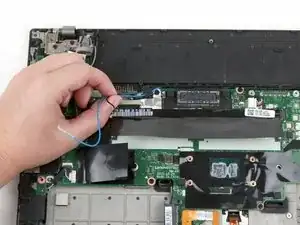
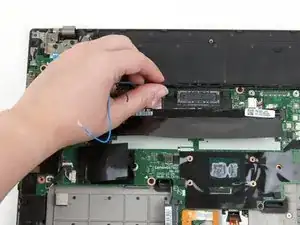
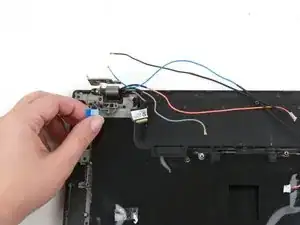
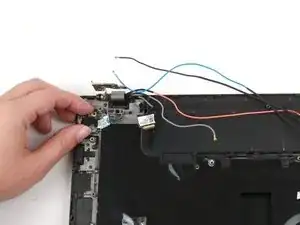
Use your fingers to remove the blue and black coaxial cables from their slots along the top of the motherboard.
-
-
-
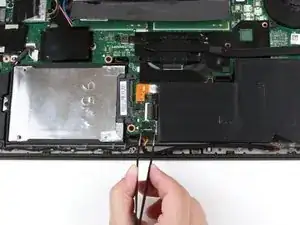
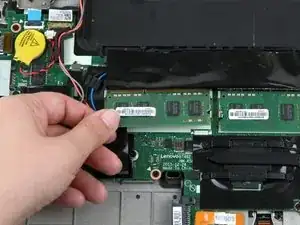
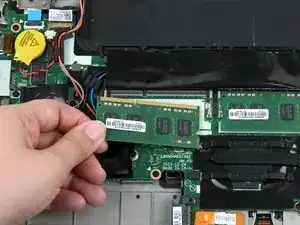
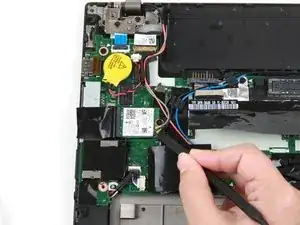
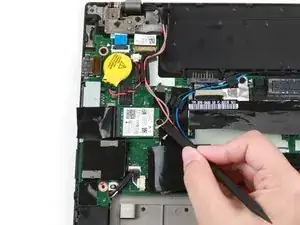
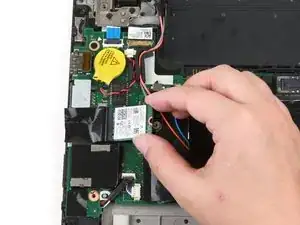
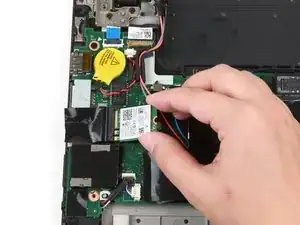
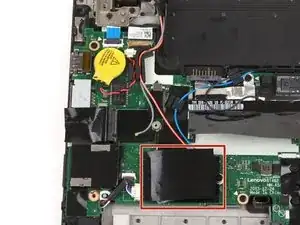
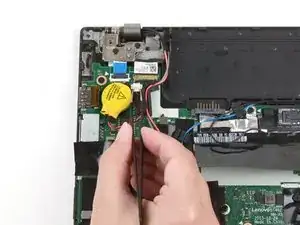
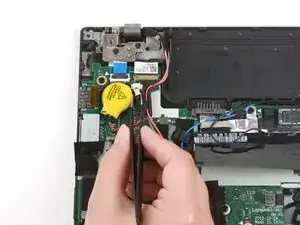
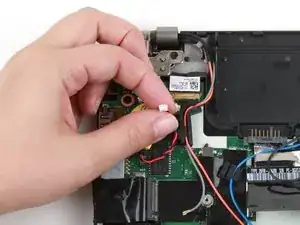
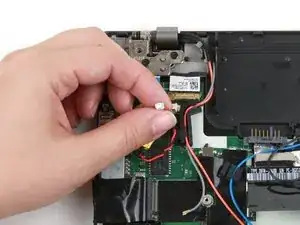
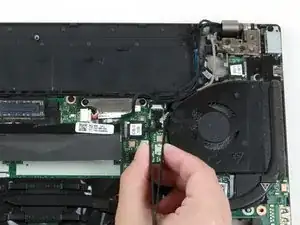
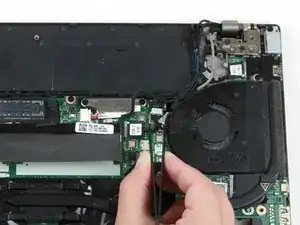
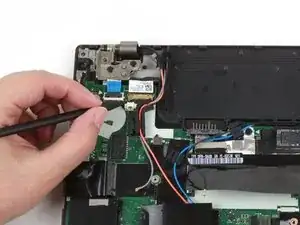
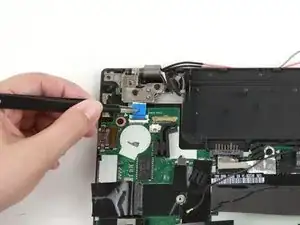
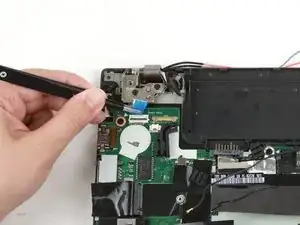
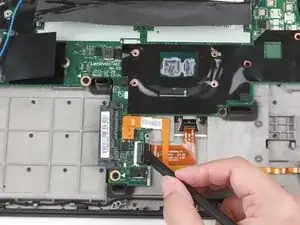
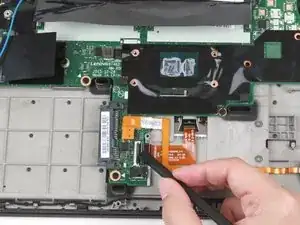
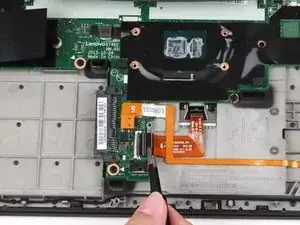
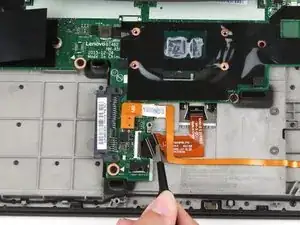
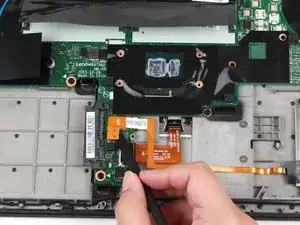
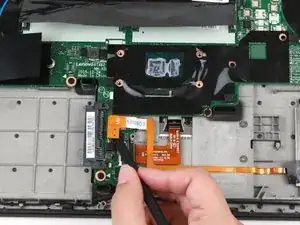
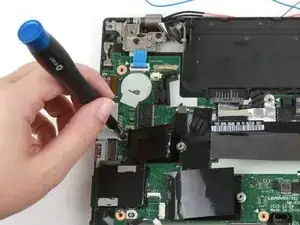
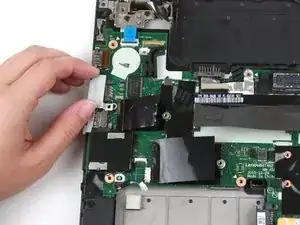
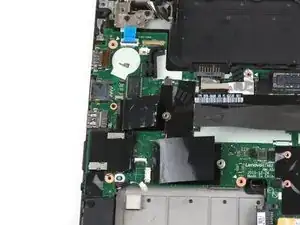
Use a pair of blunt nose tweezers to slide the power button cable out of its connector on the motherboard.
-
-
-
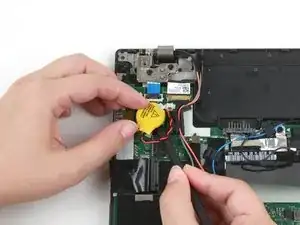
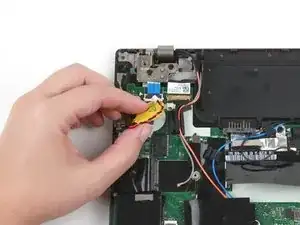
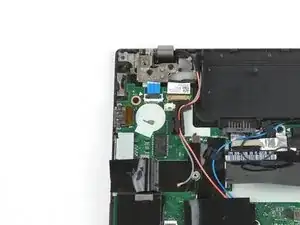
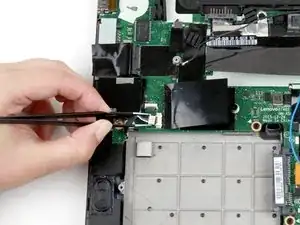
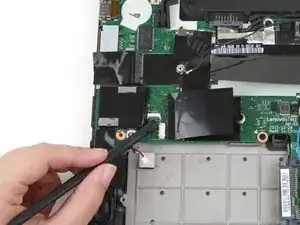
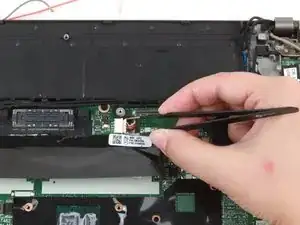
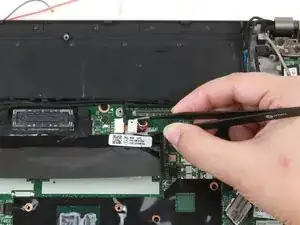
Use a pair of blunt nose tweezers to pull the white speaker cable out of its socket on the motherboard.
-
-
-
If your laptop has a fingerprint reader, use the flat end of a spudger to lift up the black tab and slide the cable out of its socket on the motherboard.
-
-
-
Use the flat end of a spudger to flip up the locking flap securing the trackpad ribbon cable.
-
-
-
Use a pair of blunt nose tweezers to pull the white DC-in cable out of its socket on the motherboard.
-
-
-
Remove the single 5.6 mm screw from the Ethernet/USB port bracket using a Phillips #1 screwdriver.
-
-
-
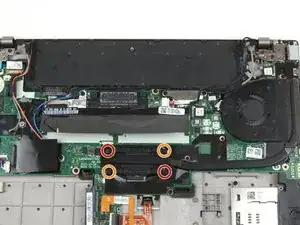
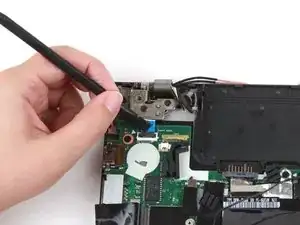
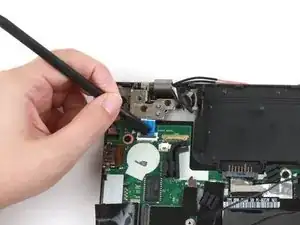
Remove two 4.7 mm screws from the hinge in the upper left corner using a Phillips #1 screwdriver.
-
-
-
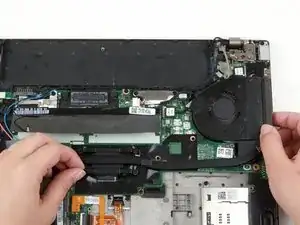
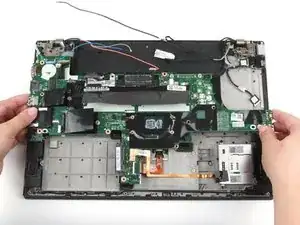
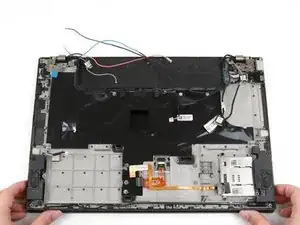
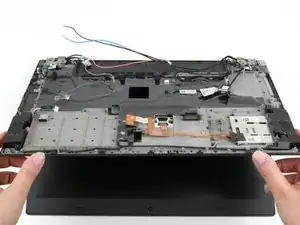
Lift the bottom of the laptop up by a few inches to rotate the hinge in the upper left corner.
-
Place the bottom of the laptop back down.
-


To reassemble your device, follow these instructions in reverse order.
Take your e-waste to an R2 or e-Stewards certified recycler.
Repair didn’t go as planned? Try some basic troubleshooting, or ask our Answers community for help.