Introduction

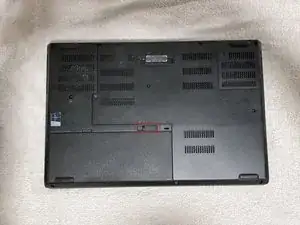
If you notice slow performance, frequent crashes, trouble opening files, slow startup, or error messages, your hard drive may be failing and should be replaced. Fortunately, replacing a damaged SSD is often more straightforward than it seems. This guide will walk you through the essential steps to safely remove and replace your laptop M.2 SSD using simple and straightforward steps.

  1. Lb4naAfR6FGneW4M
    Lb4naAfR6FGneW4M
    KhJSo3JKpGVfGdm1
    • Slide the battery latch to the left to unlock it and remove the battery.

  2. KjrXjvJJJ2NAqiDo
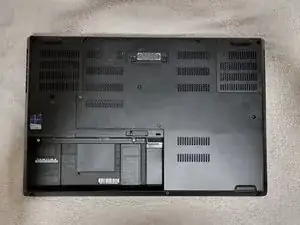
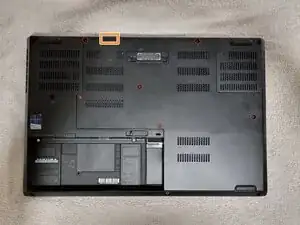
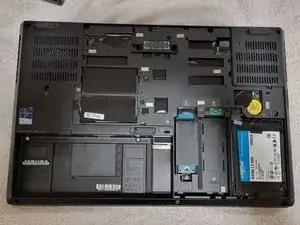
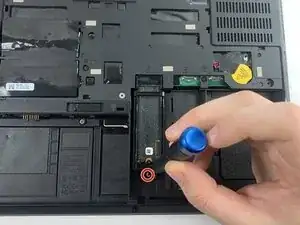
    • Loosen the six 12.6 mm captive screws that secure the lower case with the Phillips #00 screwdriver.

    • The screws will not come all the way out; do not attempt to remove them from the case.

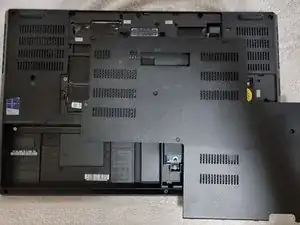
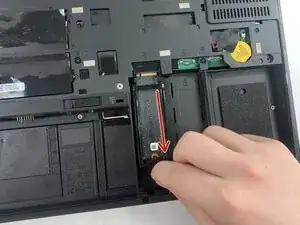
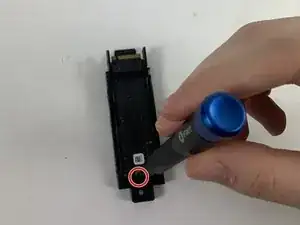
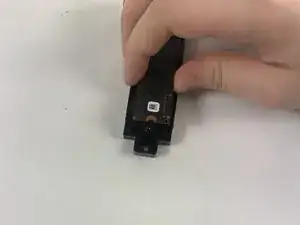
    • Pull up the notch with your fingernail or a spudger.

  3. PZZRX2aaBCOPyWXm
    PZZRX2aaBCOPyWXm
    N6NNemRax3aYYKdQ
    • Lift the lower case up and off of the chassis.

  4. EQRLNMmUU2kK6YAS
    • Remove the 4.4 mm Phillips #00 screw securing the SSD.

  5. VfcCFpaUFfWbaZ24
    VfcCFpaUFfWbaZ24
    pk1jGqIjtMa3Wc3O
    • Slide the harness backwards, then pull it out.

  6. nRxtaSgFVr1iOygC
    nRxtaSgFVr1iOygC
    6bMNhQFR25WROZGf
    • Remove the 3.7 mm screw securing the SSD to the harness with a Phillips #00 screwdriver.

  7. tWJILuiDjmZZTYZZ
    tWJILuiDjmZZTYZZ
    hdwJ3eXpHc6VOPTI
    • Lift the drive up at about a 35 degree angle and pull out to remove it from the case.

Conclusion

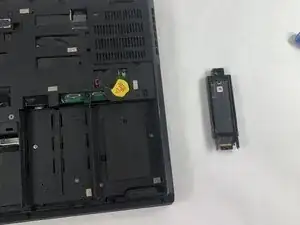
To reassemble your device, follow the above steps in reverse order.
Take your e-waste to an R2 or e-Stewards certified recycler.
Repair didn’t go as planned? Try some basic troubleshooting or ask our Answers community for help.

Sara Richardson

Member since: 21/03/25

609 Reputation

0 comments