Introduction
A comprehensive how-to guide on replacing the motherboard in a Lenovo Ideapad 120s-14IAP. The motherboard replacement will fix most operational issues with your laptop. If possible, reduce the amount of contact with components of the motherboard during installation.
-
-
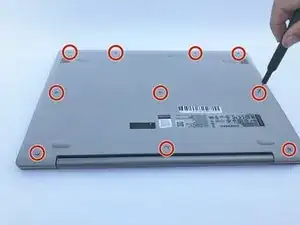
Orient the laptop so the top is laying flat on your work surface.
-
Remove ten 1.5mm Torx T5 screws from the back of the laptop.
-
-
-
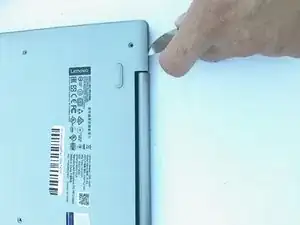
Insert the plastic opening tool or a Jimmy along the edge of the back cover and gently pry.
-
Run the tool all the way around the edge of the back cover and remove the back cover once it is no longer secure.
-
Remove the back cover.
-
-
-
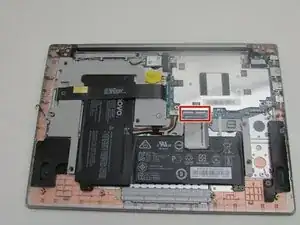
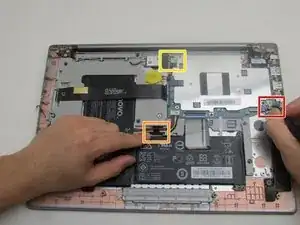
Use a spudger to lift the black fastener and disconnect the ribbon cable from the USB daughterboard.
-
-
-
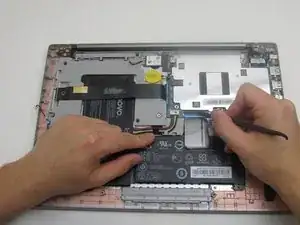
Using a spudger, disconnect the keyboard ribbon cable from the motherboard.
-
Pull on the plastic film to remove the display connection cable.
-
-
-
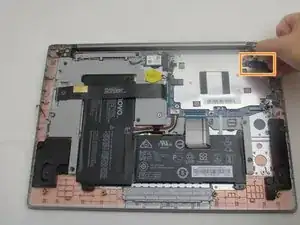
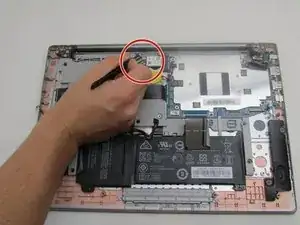
Remove the wireless card by disconnecting the two antenna cables and removing the 2.5 mm Phillips #0 screw.
-
-
-
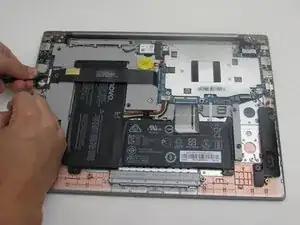
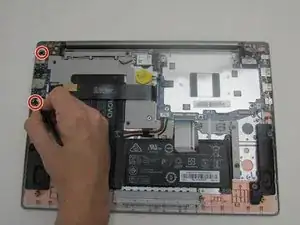
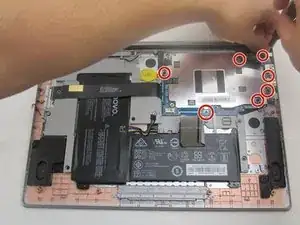
Remove seven 2.5 mm Phillips #0 screws from the motherboard.
-
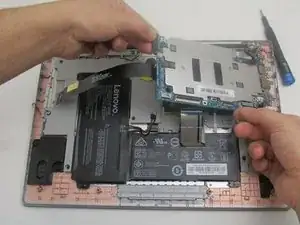
Slide the motherboard out of the laptop chassis.
-


To reassemble your device, follow these instructions in reverse order.