Introduction
Over time, batteries naturally degrade and lose their ability to hold a charge. If your Lenovo IdeaPad Duet 3 Chromebook (model 11Q727) no longer holds a charge, drains quickly, or fails to power on without being plugged in, it may be time for a battery replacement.
This guide will walk you through safely removing the old battery and installing a new one. Please take your time and follow each step carefully to avoid damaging internal components. Before beginning, make sure to completely power off the device and gather all necessary tools.
Replacing the battery can give your Chromebook a second life and restore its portability and performance.
-
-
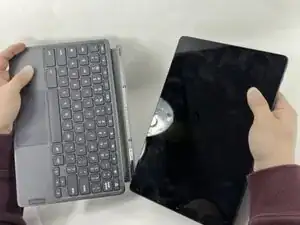
Remove any accessories such as the detachable keyboard from the device.
-
Power the device off by pressing and holding the power button for about three seconds.
-
-
-
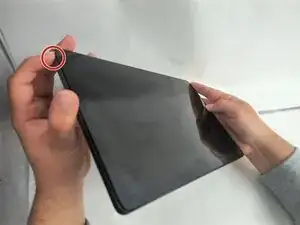
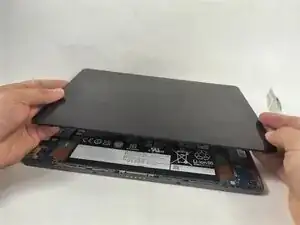
Insert a spudger into the ridge between the screen and the back of the device, creating a small gap.
-
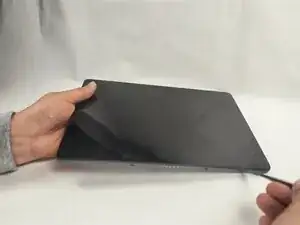
Run the spudger along the edge of the screen and around the corners to separate the screen from the rest of the device.
-
-
-
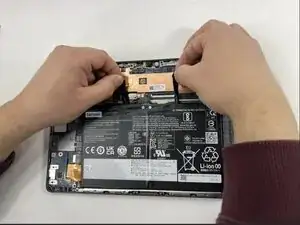
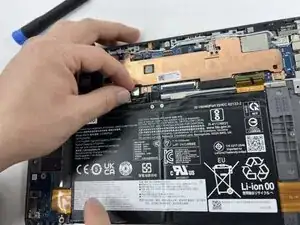
Remove two 3 mm screws from the metal bracket securing the battery connector using a Phillips #00 screwdriver.
-
Remove the metal bracket.
-


To reassemble your device, follow these instructions in reverse order.
