Introduction
Use this guide to replace the metal midframe on the interior of the Kindle Fire HD 8.9". Removing this metal casing is a prerequisite for replacing most of the Kindle Fire HD's internal components.
-
-
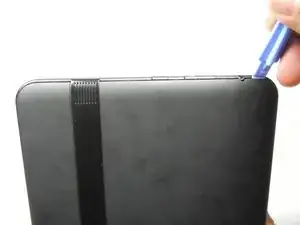
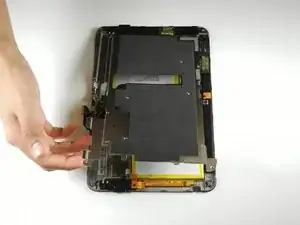
Insert a large plastic opening tool next to the Kindle's headphone jack.
-
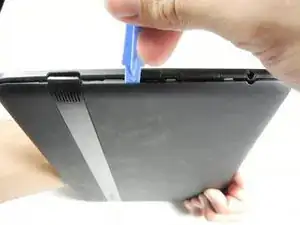
Move the plastic opening tool evenly around the Kindle, separating the two halves.
-
-
-
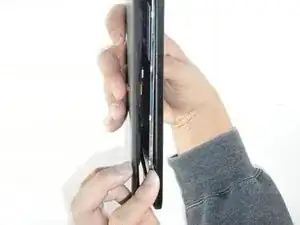
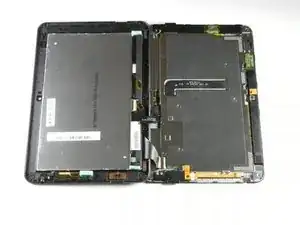
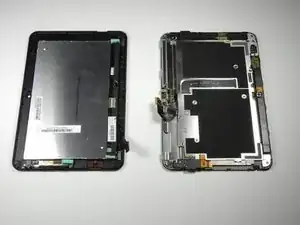
Set the Kindle down on the rear case.
-
Holding the display assembly near the camera, carefully open the display assembly up to about 90 degrees from the rear case.
-
-
-
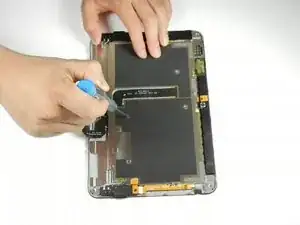
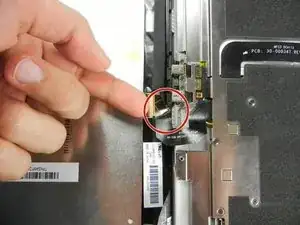
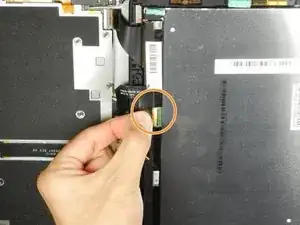
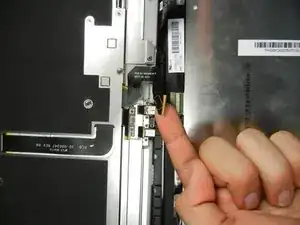
Lift the retaining flap on the ZIF connector of the upper flex cable.
-
Gently pull the cable out of its socket.
-
-
-
Remove the following sixteen screws from the metal midframe on the rear of the device:
-
Four 3 mm Phillips screw (located in each corner of the device - noted in red in the diagram)
-
Four 3 mm Phillips screws (surrounding the ports - noted in orange in the diagram)
-
Eight 3 mm Phillips screws (located around the body of the midframe - noted in yellow in the diagram)
-


To reassemble your device, follow these instructions in reverse order.
2 comments
I suggest not removing the cables (steps 3,4 and 5) because it seems impossible to reconnect them.
Tom Wood -
Those are ZIF connectors—flip up the locking tab to release the cable, and you can remove/reinsert it freely.
Getting the SIM card dummy plug out a real challenge. Broke off one end. Seems this part was never intended to be removed.
Bob Steger -