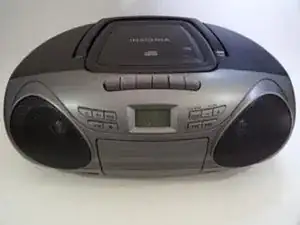
Introduction
-
-
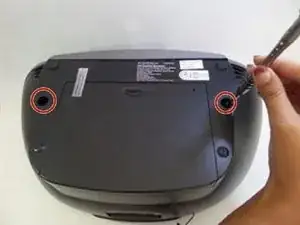
Turn the boombox around to see the back, and then flip it upside down.
-
Insert a 2.5mm flathead driver into the two holes next to the battery compartment.
-
Turn the driver counterclockwise several times to loosen and pull out the 17mm screw.
-
-
-
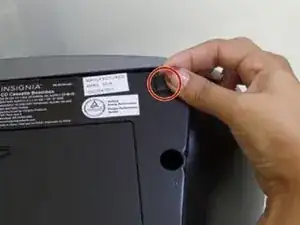
Peel off the two black square foams in front of the battery compartment to reveal a screw under each one.
-
-
-
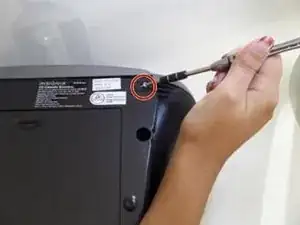
Remove the two 8mm screws using a 2.5mm flathead driver.
-
The front grey panel will loosen up once the final screw is removed.
-
-
-
Turn the boombox on its back.
-
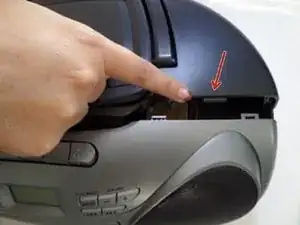
Release the front panel by pushing down on the latches holding the panels together.
-
There are four silver latches on the top side of the panel and one on the bottom.
-
-
-
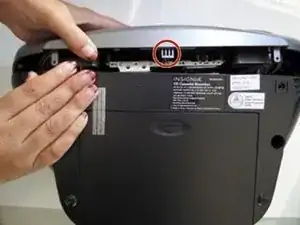
Turn the boombox around to view the back and lift the handle up.
-
Using the same driver with 2.5mm flathead, remove the two 14mm screws under the handle.
-
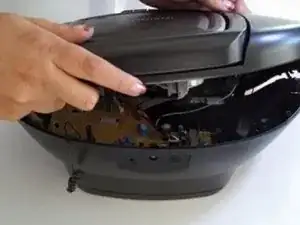
Gently lift the black top but do not pull completely away.
-
-
-
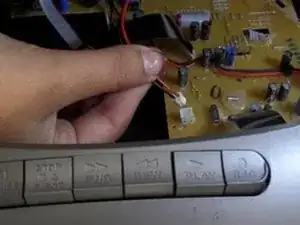
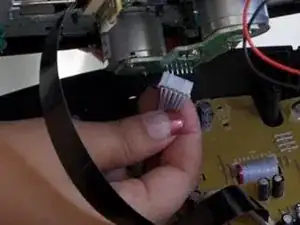
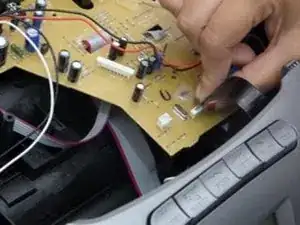
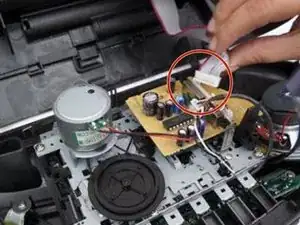
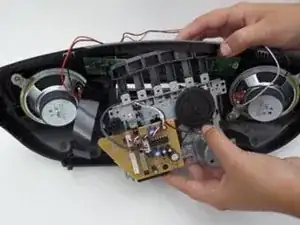
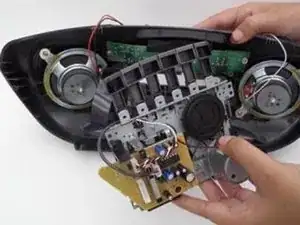
Disconnect the black shiny tape connecting the motherboard to the front of the device
-
Also disconnect the pink and white wires connecting the cassette unit to the device.
-
-
-
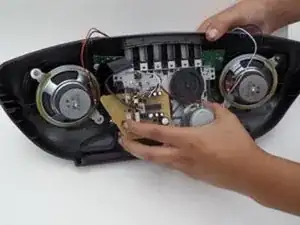
To remove the cassette unit, use a 2.5mm flathead on the 4 screws holding the unit together.
-


To reassemble your device, follow these instructions in reverse order.