Introduction
This product plays both CD's and Cassettes as well as AM/FM radio stations.
Before attempting this replacement, make sure to use a anti-static strap to prevent circuit damages to your device.
Tools
-
-
Turn the boombox around to see the back, and then flip it upside down.
-
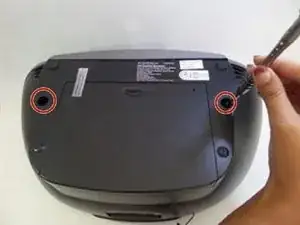
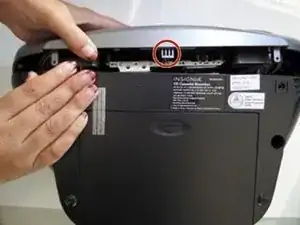
Insert a 2.5mm flathead driver into the two holes next to the battery compartment.
-
Turn the driver counterclockwise several times to loosen and pull out the 17mm screw.
-
-
-
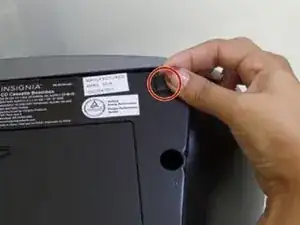
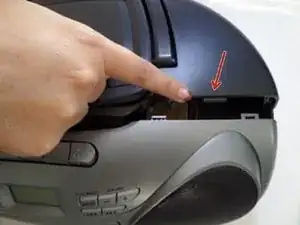
Peel off the two black square foams in front of the battery compartment to reveal a screw under each one.
-
-
-
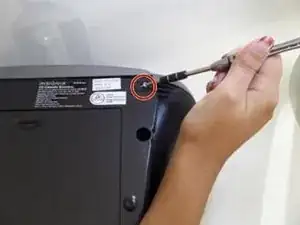
Remove the two 8mm screws using a 2.5mm flathead driver.
-
The front grey panel will loosen up once the final screw is removed.
-
-
-
Turn the boombox on its back.
-
Release the front panel by pushing down on the latches holding the panels together.
-
There are four silver latches on the top side of the panel and one on the bottom.
-
-
-
Turn the boombox around to view the back and lift the handle up.
-
Using the same driver with 2.5mm flathead, remove the two 14mm screws under the handle.
-
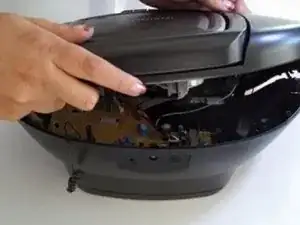
Gently lift the black top but do not pull completely away.
-
-
-
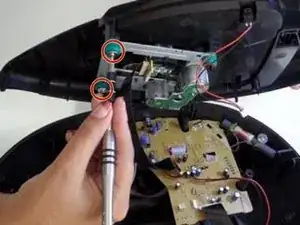
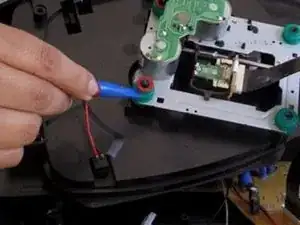
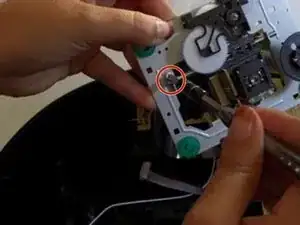
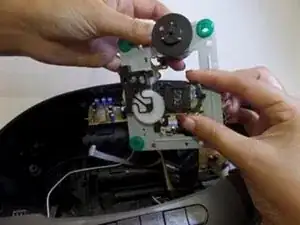
Using a Phillips #0, remove the two 11mm screws attached to the green legs underneath the top panel.
-
-
-
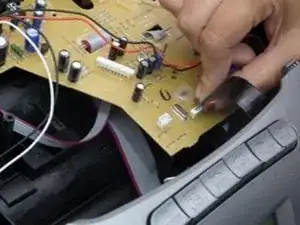
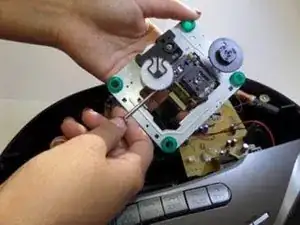
Slide the silver bar out.
-
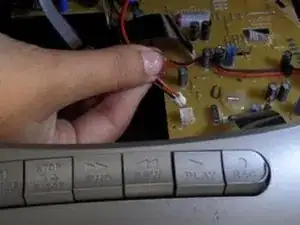
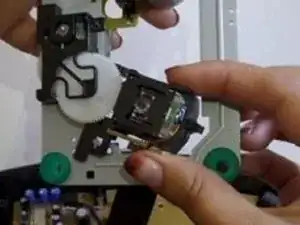
The square cube with the tiny lense is loosened. Slide it down to take out of the nook.
-
Detach the black tape so the cube is completely by itself. Replace the cube with a new one.
-
To reassemble your device, follow these instructions in reverse order.
