Introduction
prereq Main Flex Cable Connectors
-
-
Before you begin, switch off your phone.
-
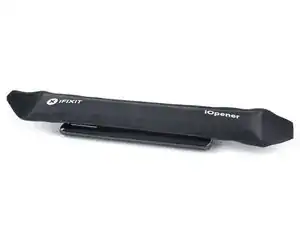
Apply a heated iOpener to the back of the phone to loosen the adhesive beneath the back cover. Apply the iOpener for at least two minutes.
-
-
-
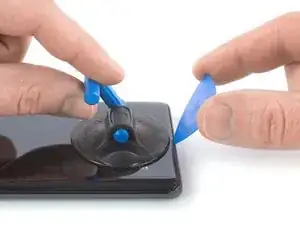
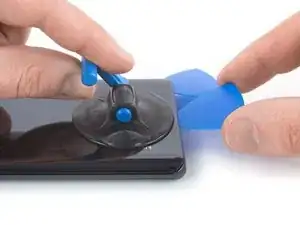
Secure a suction handle to the bottom of the back cover, as close to the edge as possible.
-
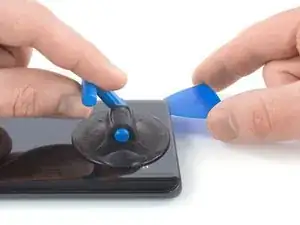
Lift the back cover with the suction handle to create a small gap between the cover and the frame.
-
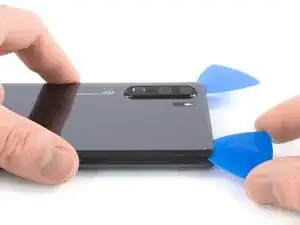
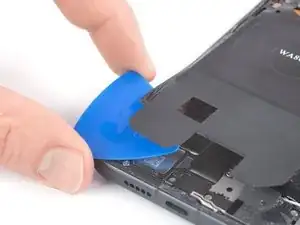
Insert an opening pick into the gap.
-
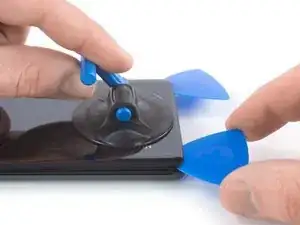
Slide the opening pick to the bottom right corner.
-
-
-
Insert a second opening pick and slide it to the bottom left corner to cut the adhesive.
-
Leave the opening picks in place to prevent the adhesive from resealing.
-
-
-
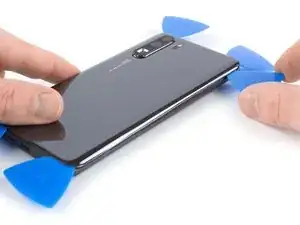
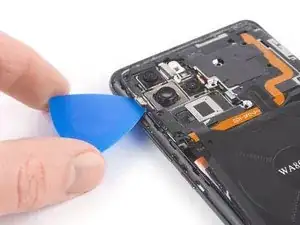
Insert a third opening pick at the bottom left corner.
-
Slide the tip of the opening pick from the bottom left corner along the side of the phone to cut the adhesive.
-
Leave the opening pick in its place at the top left corner to prevent the adhesive from resealing.
-
-
-
If the adhesive becomes hard to cut, it most likely cooled down. Use your iOpener to reheat it.
-
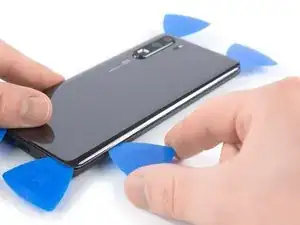
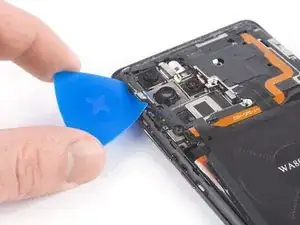
Insert a fourth opening pick under the top left corner of the back cover.
-
Slide the opening pick along the top edge of the phone to cut the adhesive.
-
Leave the opening pick in the top right corner to prevent the adhesive from resealing.
-
-
-
Insert a fifth opening pick at the top right corner of the phone.
-
Slide the opening pick along the right side to cut the remaining adhesive.
-
-
-
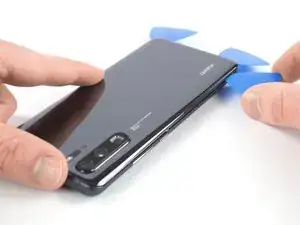
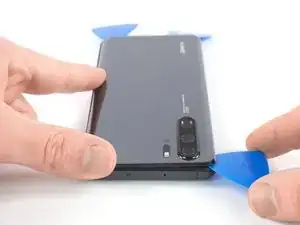
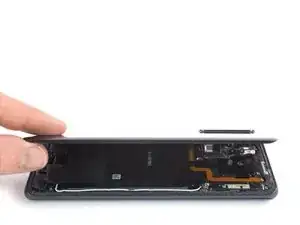
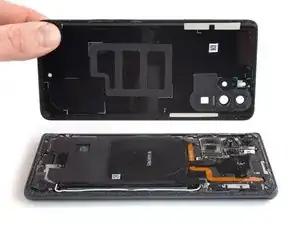
Lift and remove the back cover.
-
Before installing fresh adhesive and reassembling, remove any remaining adhesive from the phone, and clean the glued areas with isopropyl alcohol and a lint-free cloth.
-
-
-
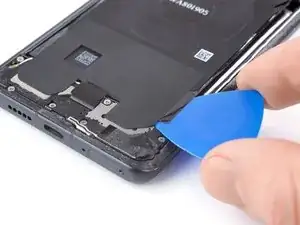
Slide an opening pick under the black adhesive at the bottom right of the charging coil.
-
Carefully loosen the adhesive with the opening pick.
-
-
-
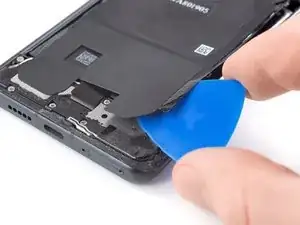
Slide an opening pick under the black adhesive at the bottom left of the charging coil.
-
Carefully loosen the adhesive with the opening pick.
-
-
-
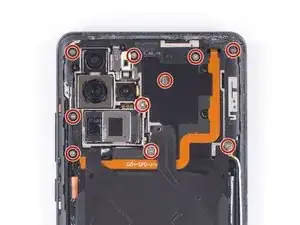
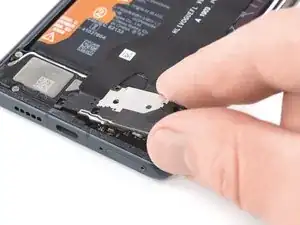
Slide an opening pick under the left side of the motherboard cover.
-
Unhinge the left side of the motherboard cover by slightly rotating the opening pick.
-
-
-
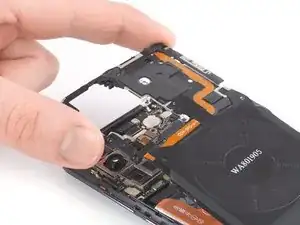
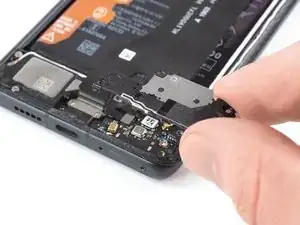
Push the motherboard cover out of the sockets at the top edge of the phone beginning with the top left corner.
-
Remove the motherboard cover including the NFC and charging coil.
-
-
-
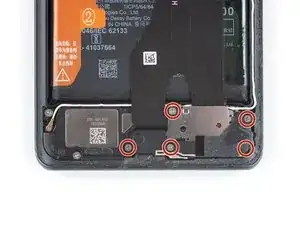
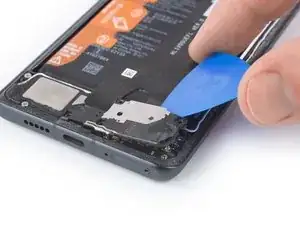
Slide an opening pick under the top edge of the daughterboard cover.
-
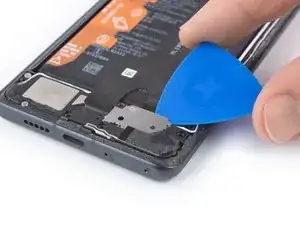
Pry up and unhinge the daughterboard cover by slightly rotating the opening pick.
-
-
-
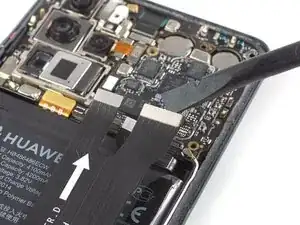
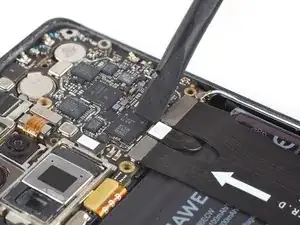
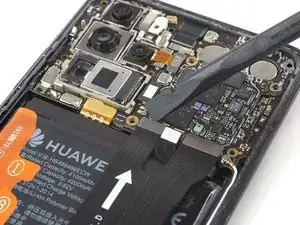
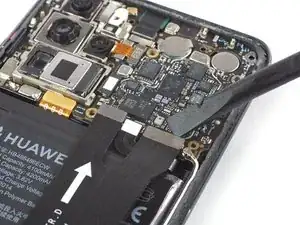
Use a spudger to pry up and disconnect the left main flex cable connector from the motherboard.
-
-
-
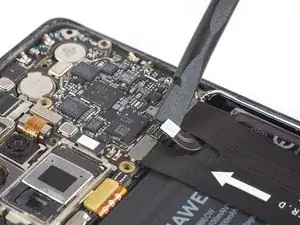
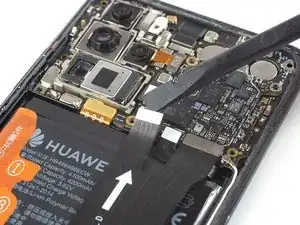
Use a spudger to pry up and disconnect the right main flex cable connector from the motherboard.
-


To reassemble your device, follow these instructions in reverse order. Apply new adhesive where necessary after cleaning the relevant areas with isopropyl alcohol (>90%).
Take your e-waste to an R2 or e-Stewards certified recycler.
Repair didn’t go as planned? Check out our Answers community for troubleshooting help.