Introduction
Introduction
This guide shows how to safely open your laptop, clean internal dust buildup from the casing and fan using compressed air and a brush, and reassemble the device. Regular cleaning helps prevent overheating and extends the life of your laptop.
⚠️ Important: Always power down and unplug your device before starting. Ground yourself with an anti-static strap if available.
-
-
Shut down the laptop. Disconnect the power adapter and any connected accessories.
-
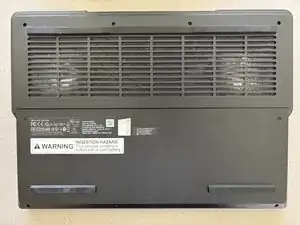
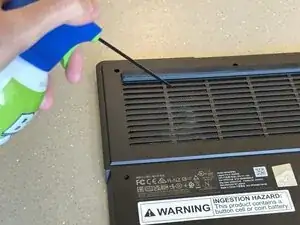
Close the lid and flip the laptop upside down.
-
-
-
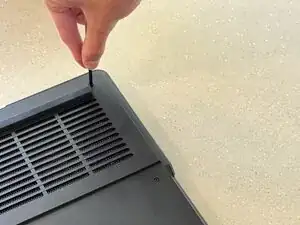
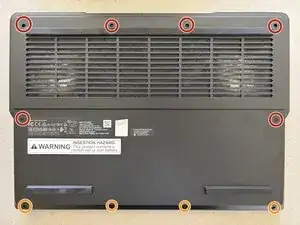
Use a Phillips #0 screwdriver to remove the screws that secure the lower case. There are 10 screws total:
-
Six 12.7 mm screws
-
Four 4.2 mm screws
-
-
-
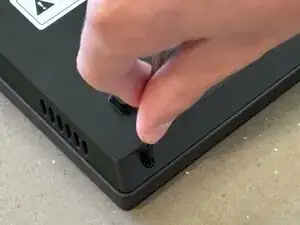
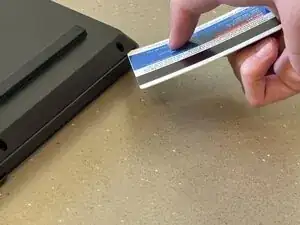
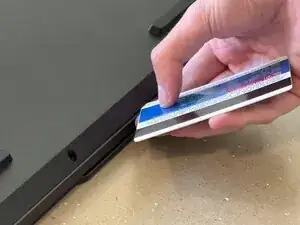
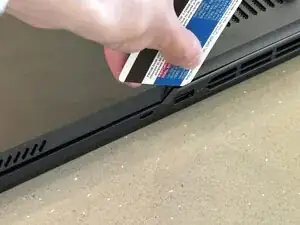
Insert a plastic card or opening pick into the corner seam between the lower case and chassis.
-
Gently slide the card across the front and side edges to release the retaining clips.
-
-
-
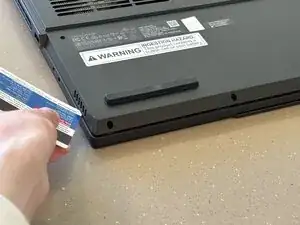
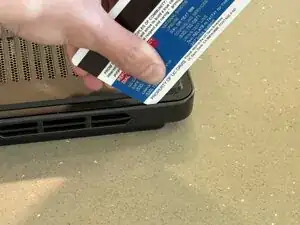
Insert the card into the crease along the back edge.
-
Slide it across both vents and the back panel to release all remaining clips.
-
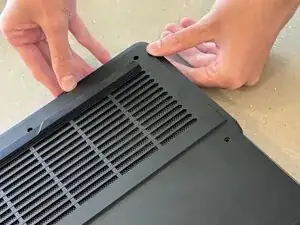
Lift the lower case away from the chassis and set it aside.
-
-
-
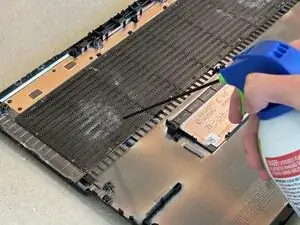
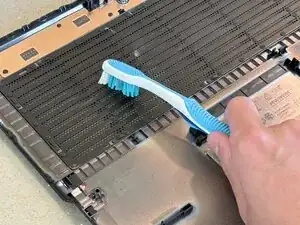
Clean the internal surfaces by using a can of compressed air to blow out loose dust and debris from the internal casing, both the exposed front and the underside of the back cover.
-
Use a clean, dry and soft toothbrush or ESD-safe brush to gently dislodge stubborn dust.
-
-
-
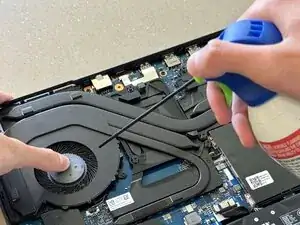
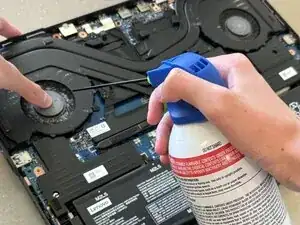
Clean the fan assembly by gently holding the fan in place with a finger while spraying it with compressed air.
-
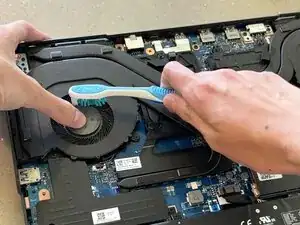
Use the toothbrush to carefully brush away any dust on the blades or surrounding area, again holding the fan still during contact.
-


To reassemble follow the steps in reverse.