Introduction
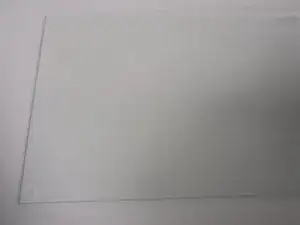
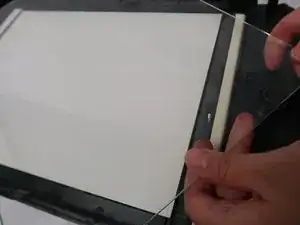
Is the glass plate in your printer broken? Consider using this guide to replace the glass plate in your printer.
Tools
-
-
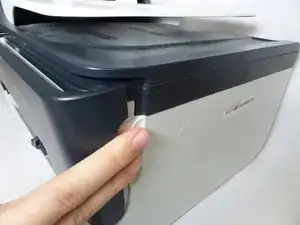
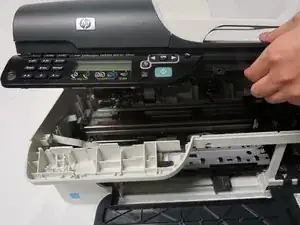
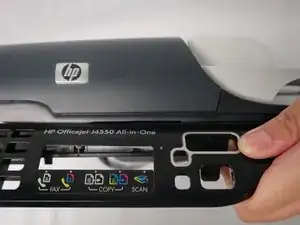
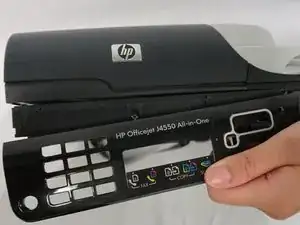
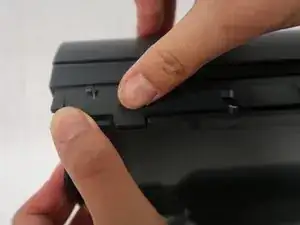
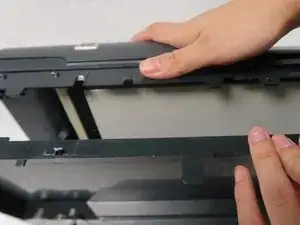
Insert 2 fingers in the dent on the right side of the printer and pull towards the front of the printer.
-
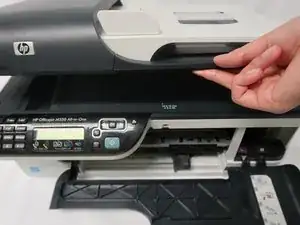
Using fingers to open the cover of the scanner which located on the top of the printer.
-
-
-
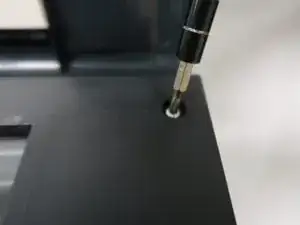
Remove four 10mm screws on the panel with T8 torx security screwdriver.
-
Remove the cover of the top part.
-
-
-
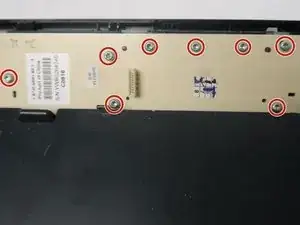
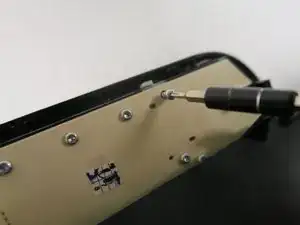
Remove eight 10mm screws on the back of the controlling keyboard with T8 torx security screwdriver.
-
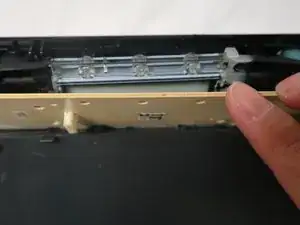
Remove the back board of the controlling keyboard.
-
-
-
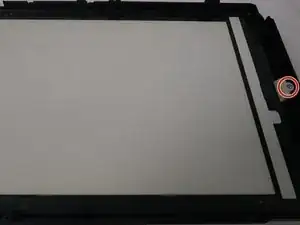
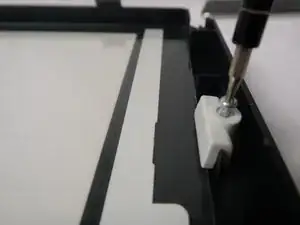
Remove the 10mm screw on the right of the board with T8 torx security screwdriver.
-
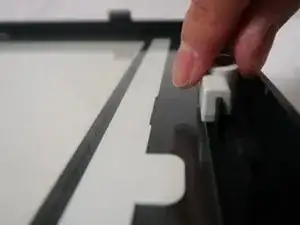
Remove the part that is under the 10mm screw.
-
To reassemble your device, follow these instructions in reverse order.
