Introduction
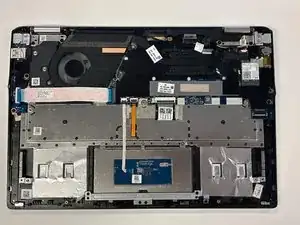
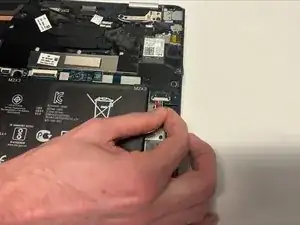
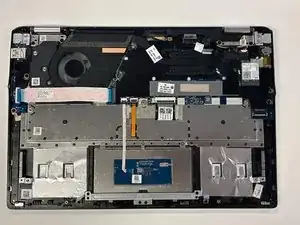
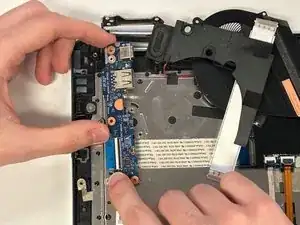
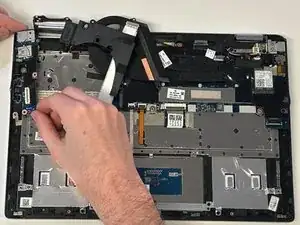
This guide demonstrates how to access the I/O Board on the HP Chromebook x360 14-da0011dx. This will allow users to remove and replace the I/O Board in their device. Before dissembling device and replacing I/O Board check I/O ports for deck and debris which may be interfering with connection. I/O Ports may also have bent receptacles that can be adjusted to fix connections issues.
Tools
-
-
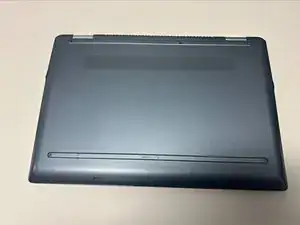
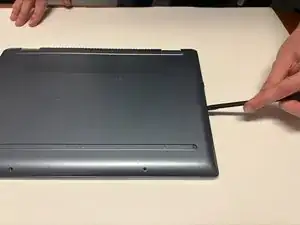
Flip the device over with the hinge facing away from you.
-
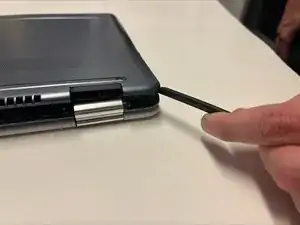
On the back of the device, remove the two rubber strips on the top and the bottom of the device using a spudger.
-
-
-
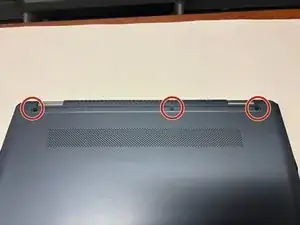
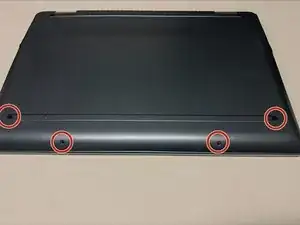
Remove the seven 8.0 mm screws located under the two rubber pads and the screws along the back of the device using a Phillips #1 screwdriver.
-
-
-
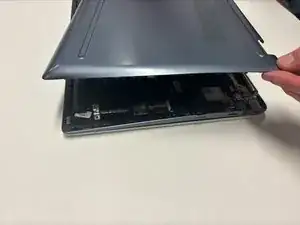
Use a spudger to gently pry the edges of the back cover off the device. Slowly work all the way around the device until the panel comes loose.
-
-
-
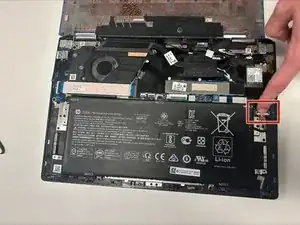
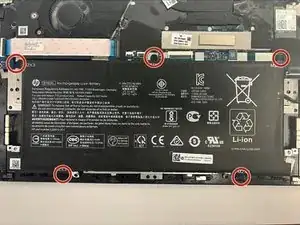
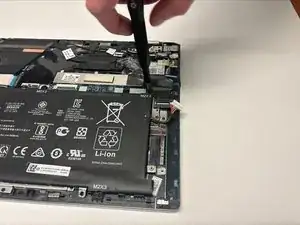
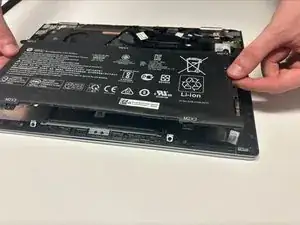
Remove the five 3.0 mm screws holding the battery in place using the Phillips #1 screwdriver.
-
-
-
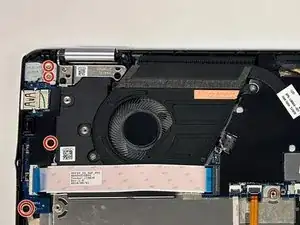
Locate the I/O Board on the top left of the laptop.
-
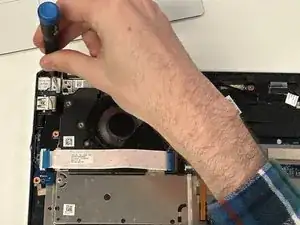
Remove the four 3.0 mm screws with the Phillips #1 screwdriver.
-
-
-
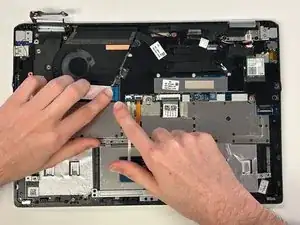
Flip up the ZIF connector locking flaps connected to the I/O board.
-
Remove the ribbon cables.
-
To reassemble your device, follow these instructions in reverse order.
